
Why the Arduino Nano and A4988 Combo Still Dominates in 2026
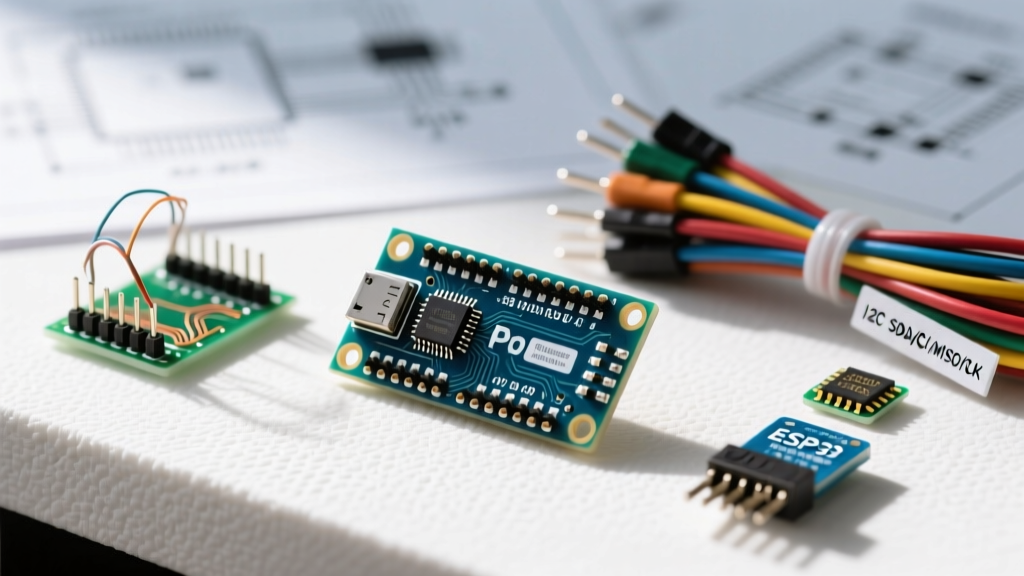
While modern silent stepper drivers like the TMC2209 have taken over the 3D printing space, the classic combination of using Arduino Nano with an A4988 driver remains the undisputed champion for high-torque, low-cost DIY CNC routers, camera sliders, and automated blinds. The Allegro A4988 delivers raw current and aggressive holding torque that newer, quieter drivers often sacrifice. When paired with the Arduino Nano V3.0, you get a compact, 5V-logic footprint that is immune to the logic-level translation headaches often encountered with 3.3V boards like the ESP32 or Raspberry Pi Pico.
In this comprehensive board review and setup guide, we break down the exact hardware specifications, real-world pricing, Vref tuning mathematics, and critical failure modes you must avoid when building your stepper motor controller.
Board Review: Arduino Nano vs. The Alternatives
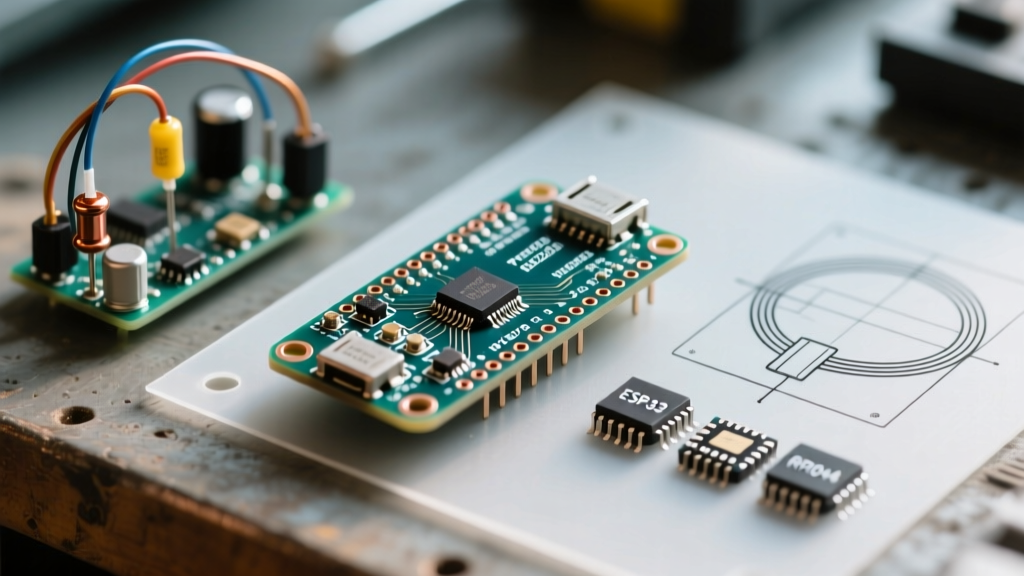
The Arduino Nano Official Documentation outlines the ATmega328P microcontroller running at 16MHz. But how does it compare to other popular microcontrollers for stepper control?
| Feature | Arduino Nano (ATmega328P) | ESP32 DevKit V1 | Raspberry Pi Pico (RP2040) |
|---|---|---|---|
| Logic Voltage | 5V (Native A4988 match) | 3.3V (Requires level shifting for noise immunity) | 3.3V (Requires level shifting) |
| Form Factor | Breadboard friendly (DIP-30) | Wider, blocks adjacent breadboard rows | DIP-40, requires large breadboard |
| 2026 Avg. Price | $22.00 (Official) / $4.50 (CH340G Clone) | $6.50 | $5.00 |
| Timer Interrupts | Hardware timers (AccelStepper optimized) | RTOS based (can cause micro-stepping jitter) | PIO state machines (excellent, but complex) |
The Verdict: The Arduino Nano's 5V logic provides superior noise immunity in unshielded DIY environments where long wires act as antennas for EMI. The A4988 logic pins accept 3.3V to 5.5V, but a 5V signal from the Nano ensures crisp STEP and DIR pulses, eliminating missed steps caused by voltage sag.
Driver Comparison: A4988 vs. DRV8825 vs. TMC2209
Before wiring, it is vital to understand where the A4988 sits in the current market. According to the Allegro MicroSystems A4988 Datasheet, the chip is designed for continuous currents up to 1A per phase without a heatsink, and 2A with active cooling.
| Specification | A4988 (Allegro) | DRV8825 (TI) | TMC2209 (Trinamic) |
|---|---|---|---|
| Max Continuous Current | 2A (with heatsink & fan) | 2.5A (with heatsink & fan) | 2.8A (RMS) |
| Microstepping | Up to 1/16 | Up to 1/32 | Up to 1/256 (StealthChop) |
| Acoustic Noise | High (Audible whine) | Medium | Silent |
| Cost (per unit) | ~$1.80 | ~$2.50 | ~$4.50 |
Step-by-Step Wiring Guide
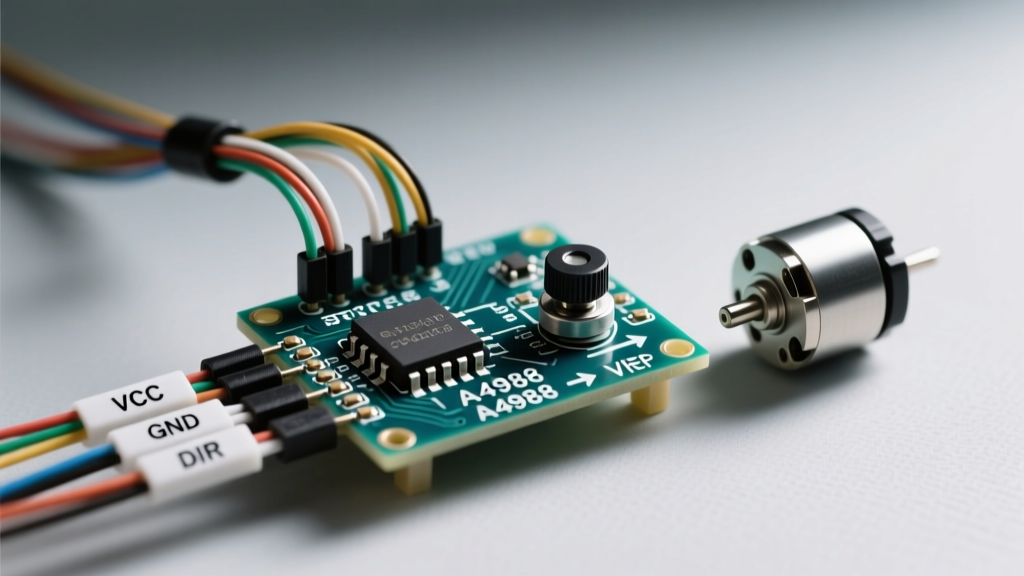
When using Arduino Nano with an A4988 driver, correct wiring is non-negotiable. A single misplaced wire can instantly destroy the driver's internal MOSFETs. Below is the exact pinout for a standard Pololu A4988 Stepper Motor Driver Carrier board.
Control Logic Wiring (Nano to A4988)
- Nano 5V → A4988 VDD (Powers the internal logic of the driver)
- Nano GND → A4988 GND (Logic ground)
- Nano Pin D2 → A4988 STEP (Pulse signal)
- Nano Pin D3 → A4988 DIR (Direction signal)
- Nano GND → A4988 MS1, MS2, MS3 (For full-step mode; see microstepping table below)
- Nano 5V → A4988 RESET & SLEEP (Jumpered together to keep the chip awake)
Power & Motor Wiring
- Power Supply (+) → A4988 VMOT (8V to 35V DC)
- Power Supply (-) → A4988 GND (Power ground)
- Motor Coil A → A4988 1A & 1B
- Motor Coil B → A4988 2A & 2B
CRITICAL WARNING: You MUST place a 100µF electrolytic decoupling capacitor across the VMOT and GND pins on the A4988 carrier board. Stepper motors generate massive inductive voltage spikes when coils are de-energized. Without this capacitor, these spikes will exceed the 35V VMOT limit and instantly punch through the driver IC, permanently destroying it.
The Most Important Step: Tuning the Vref Potentiometer
The most common failure point when using Arduino Nano with an A4988 driver is failing to tune the current limit (Vref) before running the motor. If you send full current to a small NEMA 17, you will overheat the motor and skip steps. If you send too little, you lose holding torque.
The Vref Mathematical Formula
The current limit is determined by the voltage at the wiper of the onboard potentiometer. The formula is:
Vref = Imax × (8 × Rs)
Most standard A4988 carrier boards use a sense resistor (Rs) of 0.05Ω. Therefore, the simplified formula is:
Vref = Imax × 0.4
Real-World Tuning Example
Suppose you are using a standard NEMA 17 stepper motor (Model 17HS4401) rated for 1.7A per phase. However, the A4988 maxes out at 2A with a heatsink, and running at absolute maximum causes thermal shutdown. We will target 80% of the motor's rating: 1.36A.
- Calculate Vref:
1.36A × 0.4 = 0.544V. - Power on the Nano and the VMOT power supply (do not connect the motor yet).
- Set your multimeter to DC Voltage (2V range).
- Place the black probe on the Arduino Nano GND pin.
- Place the red probe gently on the metal shaft of the tiny screw on the A4988 potentiometer.
- Using a ceramic (non-conductive) screwdriver, turn the pot clockwise to increase voltage, or counter-clockwise to decrease, until the multimeter reads exactly 0.54V.
Microstepping Configuration Matrix
Microstepping divides a full step (1.8°) into smaller increments, resulting in smoother motion and less resonance. The A4988 uses three pins (MS1, MS2, MS3) to configure this. You control these by wiring them to Nano digital pins or tying them to GND/5V.
| Mode | MS1 | MS2 | MS3 | Steps per Revolution (1.8° Motor) |
|---|---|---|---|---|
| Full Step | Low (GND) | Low (GND) | Low (GND) | 200 |
| Half Step | High (5V) | Low (GND) | Low (GND) | 400 |
| 1/4 Step | Low (GND) | High (5V) | Low (GND) | 800 |
| 1/8 Step | High (5V) | High (5V) | Low (GND) | 1600 |
| 1/16 Step | High (5V) | High (5V) | High (5V) | 3200 |
Code Implementation: AccelStepper Library
Do not write raw digitalWrite() loops for stepper control; you will block the Nano's main loop and cause timing jitter. Instead, use the AccelStepper library, which utilizes hardware timers for precise acceleration and deceleration profiles.
#include <AccelStepper.h>

// Define pins
const int stepPin = 2;
const int dirPin = 3;

// Initialize AccelStepper (Driver mode = 1)
AccelStepper stepper(1, stepPin, dirPin);

void setup() {
  // Set maximum speed and acceleration
  stepper.setMaxSpeed(1600); // Steps per second
  stepper.setAcceleration(800); // Steps per second squared

  // Target position (e.g., 1 full rotation in 1/8 microstepping = 1600 steps)
  stepper.moveTo(1600);
}

void loop() {
  // Run the stepper motor
  stepper.run();

  // Add non-blocking sensor reading or serial communication here
}
Common Failure Modes and Edge Cases
Even with perfect wiring, DIY builders encounter specific edge cases when using Arduino Nano with an A4988 driver. Here is how to troubleshoot them:
1. Motor Vibrates but Does Not Spin
Cause: The STEP pulse frequency is too high for the motor's rotor inertia to overcome, or the current limit (Vref) is too low.
Fix: Lower the setMaxSpeed() value in your code. If it still fails, re-check your Vref voltage. Ensure you are not commanding 1/16 microstepping at high speeds without adequate voltage (VMOT should be at least 24V for high-speed microstepping).
2. Driver Overheating and Shutting Down Mid-Print
Cause: The A4988 features internal thermal shutdown (typically triggering around 165°C). The standard stick-on aluminum heatsinks provided with cheap clones are largely decorative and only dissipate heat via natural convection. Fix: If you are pulling more than 1A per phase, you must add active airflow. A simple 5V 40mm USB fan directed at the driver array will drop temperatures by up to 40°C, preventing thermal throttling.
3. Disconnecting Motor While Powered
Cause: Never unplug a stepper motor from the A4988 while VMOT is energized. The sudden open circuit causes an infinite voltage spike (V = L * di/dt) that will arc internally and destroy the H-bridge MOSFETs. Fix: Always cut power to VMOT before touching the motor connectors. If you need a hardware emergency stop, wire a relay to the VMOT line, not the motor phases.
Frequently Asked Questions (FAQ)
Can I power the A4988 VMOT with 5V from the Nano?
No. The A4988 requires a minimum of 8V on the VMOT pin to operate the internal charge pump and H-bridge. Supplying 5V will result in erratic behavior and no motor movement. Use a dedicated 12V or 24V DC power supply for VMOT.
Do I need a logic level shifter if I use an ESP32 instead of a Nano?
Technically, the A4988 logic threshold is 2.5V, so the ESP32's 3.3V output will trigger the STEP pin. However, in electrically noisy environments (like a CNC spindle), 3.3V signals are highly susceptible to EMI false-triggering. Using a Nano (5V) or a dedicated level shifter with the ESP32 is highly recommended for reliability.
Why is my NEMA 17 motor getting too hot to touch?
Stepper motors draw maximum current to maintain holding torque, even when stationary. A NEMA 17 running at 1.5A will easily reach 60°C - 80°C on the casing. This is normal and within the Class B insulation rating (130°C). If it smells like burning plastic, your Vref is set too high.