
Scaling Your DIY Electronics: From Breadboard to Custom Fabrication
Every electronics hobbyist and DIY engineer eventually hits the 'prototyping ceiling.' You start with off-the-shelf breakout boards from Adafruit or SparkFun, wire them together on a solderless breadboard, and write your firmware. But when it is time to shrink your circuit into a wearable form factor, optimize for high-frequency RF signals, or prepare for a small-batch Kickstarter launch, standard hobbyist suppliers are no longer sufficient. You must transition to a precision electronic components manufacturing company.
As of 2026, the barrier to entry for custom hardware has lowered significantly, thanks to AI-assisted Design for Manufacturing (DFM) tools and globalized quick-turn prototyping networks. However, navigating the landscape of custom PCB fabrication, micro-machining, and SMT (Surface Mount Technology) assembly requires a solid understanding of industry standards. This beginner tutorial will teach you exactly how to evaluate, select, and partner with a manufacturing firm to bring your custom electronic designs to life.
Core Capabilities: What Precision Manufacturers Actually Do
Before you can choose a partner, you need to understand the specific services they offer. A true precision manufacturer does not just 'print circuit boards'; they engineer the physical and electrical tolerances of your hardware. Below is a breakdown of standard processes and their associated costs for a typical 5x5cm prototype run (5 units).
| Manufacturing Process | Typical Tolerance | Best Use Case | Est. Prototype Cost (2026) |
|---|---|---|---|
| Standard Rigid PCB (FR-4) | ±10% Impedance | Microcontrollers, IoT sensors, general logic | $15 - $40 (Bare) |
| High-Frequency (Rogers RO4003C) | ±5% Impedance | RF modules, radar, 5G/6G antennas | $80 - $150 (Bare) |
| Rigid-Flex PCB | ±0.1mm alignment | Wearables, medical implants, aerospace | $200 - $400 (Bare) |
| Custom Metal Stamping | ±0.05mm | RF shields, heat sinks, structural brackets | $500+ (Tooling + Run) |
| SMT Assembly (PCBA) | 0201 / 01005 components | High-density, miniaturized consumer electronics | $150 - $300 (Setup + Parts) |
The 4-Step Evaluation Framework for Beginners
When vetting a precision electronic components manufacturing company, do not just look at the advertised price per square inch. Use this four-step framework to ensure they can handle the specific engineering requirements of your project.
Step 1: Verify IPC Certifications and Standards
The electronics manufacturing industry is governed by the IPC (Association Connecting Electronics Industries). According to the IPC official standards body, manufacturers must adhere to strict classifications based on the end-use of the product. You need to ask the manufacturer if they build to IPC-6012 Class 2 (Standard for dedicated service life products like consumer electronics) or Class 3 (High-reliability products like medical or aerospace devices). If a company cannot provide an IPC-A-610 certification for their assembly technicians, look elsewhere.
Step 2: Assess DFM (Design for Manufacturing) Feedback Loops
Beginners often design PCBs with impossible geometries—such as a 0.1mm trace width on a standard FR-4 stack-up without realizing it requires expensive laser direct imaging (LDI). A top-tier manufacturer will not simply reject your Gerber files or silently produce a defective board. They will run an automated and manual DFM check, returning a detailed report highlighting annular ring violations, acid traps, and via aspect ratio issues (drill depth to diameter ratios exceeding 8:1). Industry analysis from EE Times highlights that in 2026, leading fab houses now integrate AI-driven DFM engines directly into their upload portals, providing real-time cost adjustments based on your trace constraints.
Step 3: Understand NRE and Tooling Costs
NRE (Non-Recurring Engineering) fees cover the one-time setup costs for your project. This includes creating custom SMT stencils, programming the pick-and-place machines, and designing test fixtures (bed-of-nails testers). Always ask for a transparent breakdown of NRE costs versus per-unit costs. A low per-unit price is often subsidized by a massive NRE fee, which is a trap for beginners ordering small prototype batches.
Step 4: Material Traceability and Compliance
Ensure the manufacturer complies with RoHS (Restriction of Hazardous Substances) and REACH directives. For foundational component theory and compliance guidelines, resources like Electronics Notes provide excellent primers on why lead-free solder profiles (which require higher reflow oven temperatures, typically peaking at 245°C to 260°C) demand specialized high-Tg (glass transition temperature) PCB laminates to prevent board warping.
Pro Tip for Hobbyists: Never send a raw CAD file (like an Altium .PcbDoc or KiCad .kicad_pcb) to a manufacturer. Always export standard Gerber X2 or RS-274X files, an Excellon drill file, and a centroid (pick-and-place) file. This ensures your design is interpreted exactly as you intended, regardless of the manufacturer's software version.
Real-World Cost Breakdown: The True Price of Prototyping
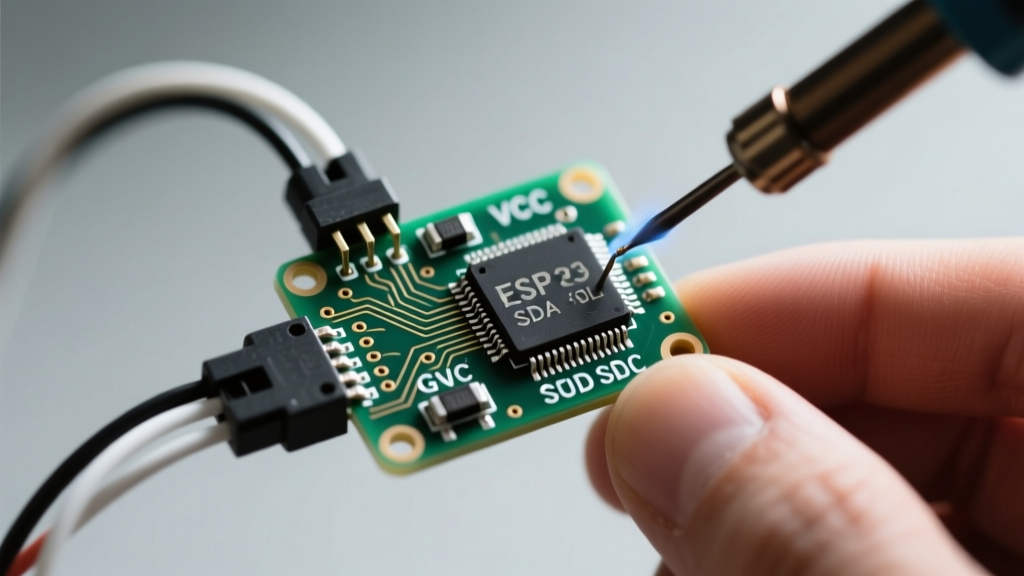
Let us look at a realistic scenario. You have designed a custom IoT environmental sensor using an ESP32-S3, a BME680 sensor, and several 0402-sized decoupling capacitors. You want 10 fully assembled prototypes.
- Bare PCB Fabrication (4-layer, 1.6mm FR-4, ENIG finish): $35.00
- SMT Stencil (Framed): $25.00
- Engineering / Setup Fee: $50.00
- Component Sourcing (BOM cost for 10 units): $85.00
- Solder Paste & Reflow Oven Time: $40.00
- Total Estimated Cost: $235.00 ($23.50 per fully assembled board)
Notice that the bare PCB is only a fraction of the total cost. The engineering setup and component sourcing dominate the budget. To optimize this, beginners should design using 'preferred' or 'in-stock' components listed on the manufacturer's component library, which eliminates the need for them to source parts from external distributors like DigiKey or Mouser, thereby reducing BOM markups and assembly lead times.
Common Beginner Mistakes to Avoid
When interacting with a precision electronic components manufacturing company, avoiding these three critical design errors will save you weeks of frustration and hundreds of dollars in scrapped PCBs.
1. Ignoring Via Tenting and Plugging
If you place vias (the plated holes connecting different copper layers) directly inside or touching SMD pads, solder will wick down the hole during reflow. This results in 'tombstoning' (where the component stands up on one end) or cold solder joints. Always specify via tenting (covering the via with solder mask) or epoxy plugging with copper capping in your fabrication notes if vias must be near BGA (Ball Grid Array) pads.
2. Misunderstanding Impedance Control
If your design includes USB 3.0, Ethernet, or RF antennas, those traces act as transmission lines. They require a specific characteristic impedance (usually 50Ω single-ended or 90Ω/100Ω differential). You must explicitly define the dielectric stack-up and request impedance testing coupons from the manufacturer. If you leave it to default settings, the manufacturer will not guarantee the electrical performance of your high-speed data lines.
3. Inadequate Silkscreen and Polarity Markings
Precision assembly relies heavily on automated optical inspection (AOI). Ensure your silkscreen layer includes clear polarity markers for diodes, tantalum capacitors, and ICs. Furthermore, never place silkscreen text over exposed copper pads or vias, as the uneven surface will make the text illegible and interfere with automated test probes.
Conclusion: Building a Long-Term Partnership
Choosing the right precision electronic components manufacturing company is not just about finding the cheapest quote for your first prototype. It is about finding an engineering partner capable of scaling with your design from a 10-unit Kickstarter batch to a 10,000-unit production run. By prioritizing IPC certifications, demanding rigorous DFM feedback, and mastering the fundamentals of Gerber file generation and impedance control, you transition from a hobbyist tinkering on a workbench to a serious hardware engineer ready for the global market.