
The Hidden Risks of Gray-Market Silicon
As global supply chains stabilize in 2026, the secondary market remains flooded with counterfeit and remarkered parts. For hardware engineers and DIY prototypers, electronic component authentication is no longer just a concern for aerospace contractors; it is a critical step in ensuring circuit reliability. A fake STM32 microcontroller might pass a basic continuity test but fail catastrophically when executing floating-point operations, while a counterfeit MLCC capacitor can lose 80% of its capacitance under DC bias, causing power rail instability.
This tutorial provides a rigorous, step-by-step framework for authenticating integrated circuits (ICs) and passive components before and after soldering them to your prototype PCB.
Categorizing the Threat: How Fakes Enter the Prototyping Bin
Before applying testing methodologies, you must understand what you are looking for. Counterfeit components generally fall into three categories:
- Remarked (Blacktopped): Genuine lower-tier chips (e.g., an STM32F103C6 with 32KB flash) are sanded down, recoated with black epoxy, and laser-etched as higher-tier, more expensive chips (e.g., an STM32F103C8 with 64KB flash).
- Recycled/Pulled: Components desoldered from e-waste, re-tinned, and sold as new. These suffer from latent thermal damage and oxidized leadframes.
- Cloned Die: Unauthorized foundries produce functional but out-of-spec silicon clones, often lacking internal ESD protection structures or power-gating logic.
Phase 1: Pre-Soldering Visual and Physical Inspection
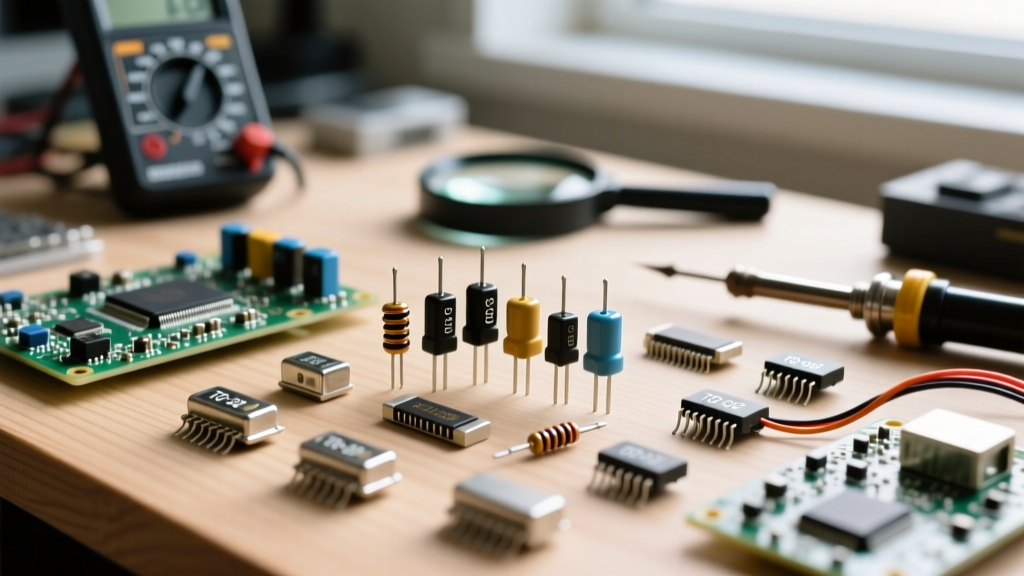
Do not skip physical inspection. A $15 USB microscope (250x magnification) and a set of digital calipers are your first line of defense.
The Acetone Swab Test
Remarked chips are often coated with a quick-cure epoxy paint to hide sanding marks. Dip a cotton swab in 99%+ pure acetone and rub the top surface of the IC firmly for 15 seconds. Genuine factory-molded epoxy is impervious to acetone. If the swab picks up black residue or the laser-etched text begins to smear, the part is remarkered.
Leadframe and Chamfer Analysis
Inspect the pin-1 indicator. Genuine ICs feature a precise, laser-drilled or molded dimple with consistent depth and sharp edges. Fakes often have shallow, asymmetrical, or hand-drilled dimples. Furthermore, check the leadframe width. Using a Mitutoyo 500-196-30 caliper, measure the package width. A genuine SOIC-8 package should measure exactly 3.90mm (±0.10mm). Clones frequently measure 3.75mm or 4.10mm due to non-standard mold tooling.
Phase 2: In-Circuit Electrical Authentication
Visual inspection cannot catch cloned silicon. For that, we must perform electronic component authentication using electrical signatures. This requires a digital multimeter (DMM) with a diode-test function and a programmable power supply.
Step 1: Quiescent Current (Iq) Profiling
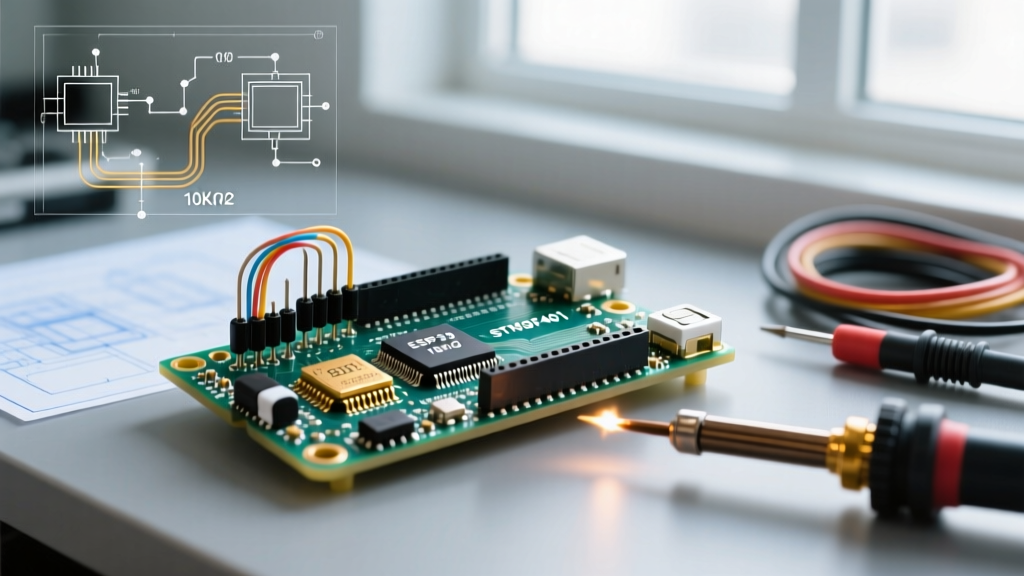
Cloned microcontrollers and voltage regulators often lack advanced power-management circuitry. Connect your prototype board to a bench power supply set to the nominal voltage (e.g., 3.3V for an ESP32-WROOM-32 module) with the current limit set to 500mA. Place the IC in its deepest sleep state via firmware.
- Genuine ESP32: Deep sleep current typically measures between 5µA and 10µA.
- Counterfeit ESP32: Often draws 2mA to 15mA in deep sleep due to missing power-gating transistors on the cloned die.
Step 2: DMM Diode-Mode Signature Mapping
Every genuine CMOS IC features internal ESD clamp diodes connecting I/O pins to VCC and GND. You can map these forward voltage drops to create a 'silicon fingerprint'.
- Set your DMM to Diode Test mode.
- Connect the black (common) probe to the IC's GND pin.
- Touch the red probe to each I/O pin and record the forward voltage drop (typically 0.55V to 0.65V for standard CMOS).
- Compare your readings against a known-good reference chip from an authorized distributor.
Expert Insight: If your DMM reads 'OL' (Open Loop) or a significantly higher voltage drop (e.g., 0.85V+) on an I/O pin, the cloned die likely lacks the ESD protection ring. This part will fail in high-noise industrial environments or during hot-swapping.
Step 3: Dropout Voltage and Thermal Testing (Linear Regulators)
The LM317 is one of the most counterfeited linear regulators on the market. A genuine LM317 (e.g., TI or STMicroelectronics) has a maximum dropout voltage of roughly 2.0V at 1.5A. Counterfeit versions, often built on cheaper, older process nodes, exhibit dropout voltages exceeding 3.5V and lack internal thermal shutdown. When prototyping power supplies, always load-test the regulator with a power resistor to verify thermal stability and dropout thresholds before integrating it into sensitive analog circuits.
Electrical Signature Comparison Matrix
| Component Model | Test Parameter | Genuine Signature | Common Counterfeit Signature |
|---|---|---|---|
| STM32F103C8T6 | Sleep Mode Iq (3.3V) | ~20µA | 8mA - 15mA (Missing power gates) |
| LM317 (TO-220) | Dropout Voltage @ 1A | 1.5V - 2.0V | 3.2V - 4.5V (Bipolar clone die) |
| NE555 (SOIC-8) | Pin 7 (Discharge) to GND | 0.60V (Diode Mode) | OL / Open (Missing discharge BJT) |
| SN74HC595N | Standby Current (VCC=5V) | < 80µA | > 2mA (Non-CMOS clone process) |
Phase 3: Passive Component Authentication
ICs are not the only targets. Multi-Layer Ceramic Capacitors (MLCCs) are frequently mislabeled, particularly regarding dielectric materials. A common scam involves selling Y5V or Z5U dielectric capacitors relabeled as X7R.
The DC Bias Derating Test
X7R capacitors maintain stable capacitance across temperature and voltage, while Y5V capacitance plummets under DC bias. To authenticate a 10µF X7R MLCC:
- Solder the capacitor to a test jig with a capacitance meter (e.g., Keysight U1733C).
- Measure baseline capacitance at 0V DC bias (should read ~10µF).
- Apply the rated DC voltage (e.g., 16V) in series with the meter.
- Result: A genuine X7R will drop to roughly 4µF - 6µF (normal DC bias derating). A fake Y5V part will drop to 0.5µF or lower, effectively acting as a high-frequency short rather than a decoupling capacitor.
Sourcing and Verification Standards
The most effective authentication method is avoiding the gray market entirely. When prototyping, restrict your Bill of Materials (BOM) to authorized distributors like Mouser, Digi-Key, or Farnell. If you must use brokers for obsolete or allocated parts, cross-reference the supplier against the Electronic Risk Management (ERAI) database, which tracks known counterfeit offenders and suspicious broker networks.
For high-reliability or commercial prototypes, familiarize yourself with the SAE AS5553 standard, which outlines the aerospace industry's rigorous requirements for counterfeit electrical and electronic parts detection, mitigation, and disposition. While you may not need to perform destructive decapsulation (using fuming nitric acid to expose the silicon die) in your home lab, understanding these professional frameworks elevates your prototyping rigor.
Conclusion
Electronic component authentication is a non-negotiable skill in modern circuit design. By combining the acetone swab test, DMM diode-mode mapping, and quiescent current profiling, you can confidently filter out gray-market clones before they cause inexplicable bugs in your firmware or thermal failures in your power stages. Invest the 15 minutes required to test your samples; it will save you weeks of debugging phantom hardware anomalies.