
The Hidden Cost of the "Ziploc Bag" Method
Every beginner in electronics starts with the same rite of passage: purchasing a massive, unsorted 500-piece or 1000-piece component kit from an online marketplace. You excitedly tear open the packaging, only to be greeted by a chaotic avalanche of loose resistors, unmarked capacitors, and fragile integrated circuits (ICs) spilling out of flimsy plastic baggies. While tossing everything into a single tackle box or a drawer might seem like a viable short-term solution, this "Ziploc bag" method is the leading cause of abandoned projects and fried components in home labs.
A proper electronic component organiser is not just about aesthetics; it is a critical piece of test equipment that protects your investment, speeds up prototyping, and prevents catastrophic wiring errors. In 2026, with the resurgence of through-hole DIY kits and the continued dominance of surface-mount devices (SMDs), setting up a scalable storage system from day one is essential. This guide breaks down the exact hardware, labeling strategies, and ESD-safe practices you need to organise your first beginner kit.
Understanding ESD: Why Your Tackle Box Might Be Killing ICs
Before selecting a physical container, we must address an invisible threat: Electrostatic Discharge (ESD). Standard plastic storage bins—like those used for fishing tackle or hardware screws—are highly prone to triboelectric charging. Simply sliding a plastic drawer open and shut can generate static voltages exceeding 2,000V in low-humidity environments.
The 30V Threshold: While a human cannot feel a static shock until it reaches roughly 3,000V, sensitive CMOS logic gates (like the 4000-series ICs included in almost every beginner kit) can be permanently destroyed by as little as 30V to 100V of static discharge.
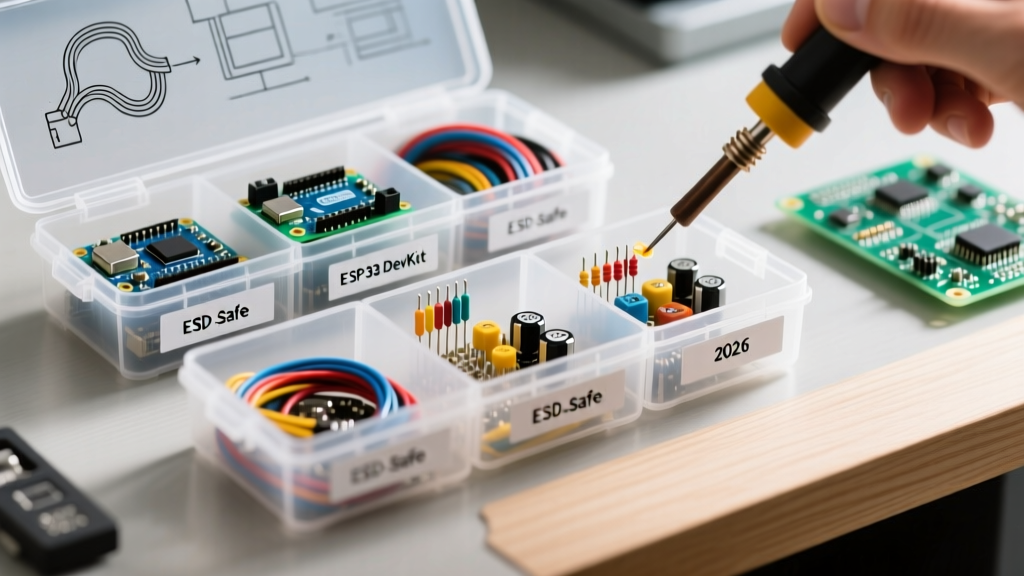
According to the ESD Association, proper handling and storage of static-sensitive devices require either dissipative materials or a grounded environment. If your beginner kit includes MOSFETs, op-amps, or CMOS timers, storing them in standard, non-treated plastic compartments during dry winter months is a gamble. You must either purchase ESD-safe drawers (which are carbon-impregnated and cost roughly 3x more) or keep sensitive ICs in their original anti-static metallised bags and place those bags inside standard drawers.
2026 Comparison Matrix: Beginner Organiser Setups
Choosing the right form factor depends on your workspace footprint and whether you plan to transition to SMD components. Here is how the top three setups compare for beginners in 2026.
| Organiser Type | Example Model | Avg. Price (2026) | Pros | Cons | Best For |
|---|---|---|---|---|---|
| Multi-Drawer Cabinet | Akro-Mils 10164 | $75 - $85 | High density, scalable, easy to label | Heavy footprint, not portable | Through-hole kits, resistors, LEDs |
| Grid Tackle Box | Stanley Deep Bin 25 | $25 - $35 | Portable, cheap, adjustable dividers | Hinges break easily, high ESD risk | Field repairs, Arduino modules |
| SMD Binder Booklets | Generic ESD SMD Books | $15 - $25 | Perfect for 0805/0603 SMDs, compact | Useless for bulky THT components | SMD resistors, tiny capacitors |
The Gold Standard: Akro-Mils 10164 Drawer Cabinet
For 90% of beginners building a home lab, the Akro-Mils 10164 remains the undisputed champion of electronic component organisation. As detailed in Akro-Mils' industrial storage lineup, this cabinet features 64 individual drawers, each measuring roughly 150mm x 100mm x 50mm.
Optimising for the E12 Resistor Series
A standard 1/4W through-hole resistor is approximately 6.3mm long and 2.5mm in diameter. The E12 resistor series contains 12 base values per decade (e.g., 10, 12, 15, 18, 22, 27, 33, 39, 47, 56, 68, 82). By using the included plastic dividers, you can split a single Akro-Mils drawer into four sections. This allows you to dedicate exactly one full drawer to a single decade (e.g., the 1kΩ to 8.2kΩ range), making it mathematically impossible to accidentally grab a 4.7kΩ resistor when you need a 47kΩ resistor.
Handling SMD vs. Through-Hole Components
If your beginner kit includes Surface Mount Devices (SMDs), do not dump them into the large drawers. An 0805 SMD resistor measures just 2.0mm x 1.25mm and will vanish into the crevices of a standard drawer. Instead, invest in a set of ESD-safe SMD component books (which look like trading card binders with small ziplock pages) and store those books vertically on a shelf next to your drawer cabinet.
Labeling: The Difference Between a Lab and a Junkyard
An unlabelled electronic component organiser is useless within three months. Handwriting labels with a marker on masking tape leads to faded text and misread values (e.g., confusing a 100Ω with a 100kΩ).
The recommended approach is to use a thermal transfer label printer, such as the Brother PT-D210 (priced around $45 in 2026). According to Brother's label printer support resources, using 12mm (1/2 inch) TZe laminated tapes ensures the labels will not peel off plastic drawers, even when exposed to flux splatters or isopropyl alcohol cleaning.
- Font Sizing: Use a bold 10pt font for the primary value (e.g., 10kΩ) and an 8pt regular font for secondary specs (e.g., 1/4W 1%).
- Color Coding: Use black tape on white for passives (resistors/capacitors), and red tape for active components (transistors, diodes, ICs) to create instant visual scanning zones.
Step-by-Step: Sorting Your First 500-Piece Kit
Do not attempt to sort your kit in one sitting. Follow this systematic workflow to ensure accuracy and prevent component loss.
- Preparation & Grounding: Set up an ESD mat on your desk and wear a grounding wrist strap. Open all anti-static bags containing ICs and transistors first, keeping them on the mat.
- Verification: Beginner kits frequently contain mislabelled components. Use a digital multimeter to spot-check at least one resistor from every colour-code band group before committing them to a drawer.
- Categorisation: Sort into four macro-piles: Passives (Resistors, Caps, Inductors), Actives (Diodes, Transistors), ICs (555 timers, Op-Amps), and Electromechanical (Relays, Switches, Potentiometers).
- Drawer Assignment: Assign the top two rows of your cabinet to high-use passives (1kΩ, 10kΩ, 100nF capacitors). Place fragile ICs in the middle rows, and bulky items in the bottom rows.
- Label and Lock: Print your labels, apply them to the drawer fronts, and immediately load the components. Do not print all labels at once; print and apply row-by-row to avoid mix-ups.
Edge Cases & Troubleshooting Bulky Components
Beginner kits often include odd-shaped components that simply do not fit into standard 50mm deep drawers. Here is how to handle the outliers:
Potentiometers and Trimpots
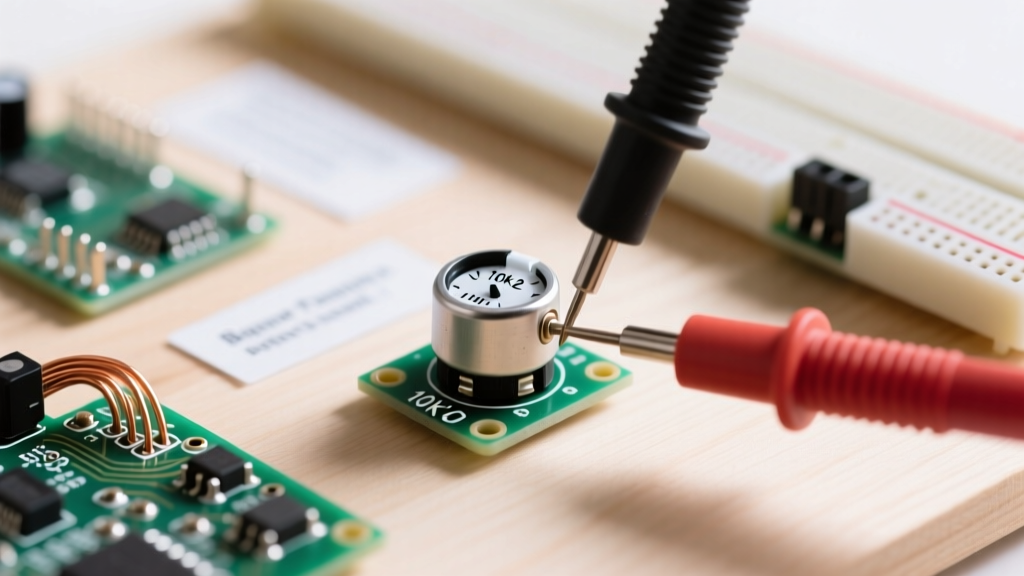
10kΩ and 100kΩ potentiometers are bulky and have fragile metal tabs. Store these in a dedicated, undivided drawer lined with a thin sheet of ESD foam. This prevents the metal wiper tabs from bending when the drawer is opened and closed.
Electrolytic Capacitors (100µF and above)
Large radial electrolytic capacitors (e.g., 470µF 25V) are too tall for standard drawers. Do not bend their leads to force them to fit, as this stresses the internal dielectric and leads to premature failure. Instead, utilise the "over-door shoe organiser" hack: hang a clear plastic shoe organiser on the side of your workbench or cabinet, dedicating each pocket to a specific voltage/capacitance rating.
Wire Spools and Header Pins
Spools of 22AWG solid core wire and strips of 40-pin male headers should never go inside a component cabinet. Use a wall-mounted PVC pipe rack or a dedicated pegboard for wire, and store header pins in a long, shallow bin (like the Akro-Mils 30210) mounted directly above your main drawer cabinet.
Final Thoughts on Scaling Your Lab
Your first electronic component organiser setup does not need to be perfect; it needs to be maintainable. By investing in a modular drawer system like the Akro-Mils 10164, respecting ESD safety protocols for sensitive ICs, and committing to a thermal labeling standard, you transform a chaotic pile of parts into a professional-grade prototyping environment. As your skills grow and you begin ordering specific components for advanced microcontroller projects, your organisational foundation will seamlessly scale with your expertise.