
In electrical wiring, assuming a conductor's size based on visual estimation is a critical failure point. The human eye is easily deceived by varying insulation thicknesses, oxidation, and the physical differences between solid and stranded cores. Whether you are pulling THHN through commercial conduit or terminating NM-B Romex in a residential panel, relying on a precise wire gauge actual size chart and proper metrology tools is non-negotiable for safety and code compliance.
The Deception of Insulation: Why Visual Estimation Fails
One of the most common mistakes made by junior electricians and DIYers is judging wire gauge by the overall diameter of the insulated cable. The National Electrical Code (NEC) and manufacturers like Southwire dictate conductor sizing strictly by the bare copper or aluminum cross-section, completely ignoring the insulation.
For example, a 12 AWG THHN wire (used in conduit) has a very thin, slick nylon/PVC jacket. Its overall diameter is roughly 0.115 inches. Conversely, a 12 AWG UF-B (Underground Feeder) cable has a thick, rugged PVC jacket designed for direct burial, pushing its overall diameter well past 0.200 inches. If you attempt to strip and terminate the UF-B wire using the 12 AWG notch on a standard stripper calibrated for THHN, you will likely nick the copper core, creating a localized hot spot and a severe fire hazard.
Decoding the AWG System: The Inverse Logarithmic Scale
The American Wire Gauge (AWG) system, originally known as the Brown & Sharpe wire gauge, is logarithmic and inverse. This means that as the AWG number increases, the physical wire diameter decreases. Furthermore, a decrease of 3 gauge numbers (e.g., from 12 AWG to 9 AWG) results in an approximate doubling of the cross-sectional area. A decrease of 6 gauge numbers doubles the diameter.
Understanding this mathematical relationship is crucial when calculating voltage drop over long runs or when paralleling conductors. According to data standardized by The Engineering Toolbox, the formula for the diameter of an AWG wire relies on the 39th root of 92, making physical verification in the field a necessary habit rather than an option.
Master Wire Gauge Actual Size Chart (AWG to mm² & Diameter)
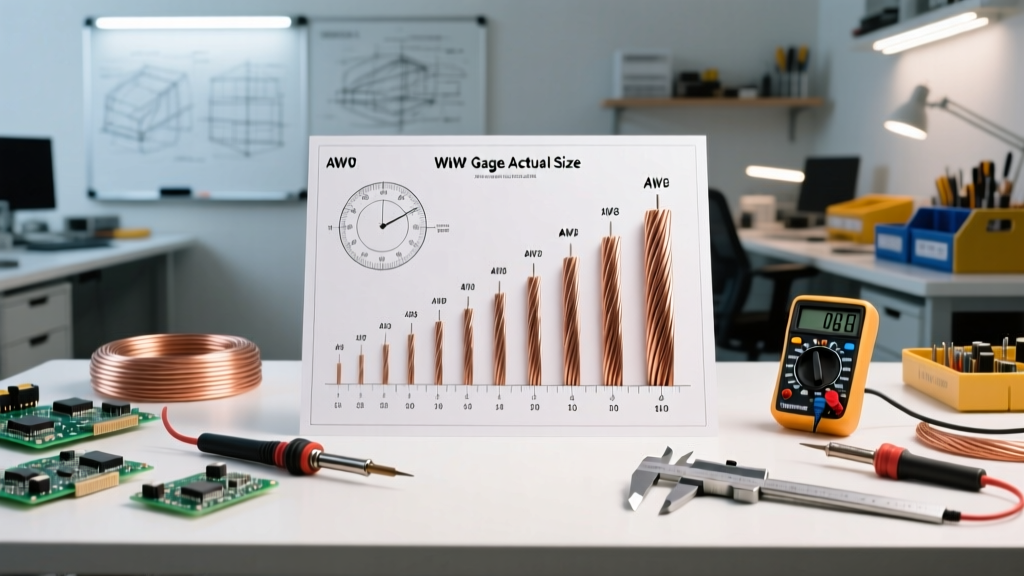
The following chart provides the exact physical dimensions for standard solid copper conductors. Note that stranded wire of the same AWG will have a slightly larger overall bare diameter due to the interstitial air gaps between the individual copper strands.
| AWG Size | Diameter (Inches) | Diameter (mm) | Area (mm²) | Area (kcmil) |
|---|---|---|---|---|
| 18 AWG | 0.0403 | 1.024 | 0.823 | 1.62 |
| 16 AWG | 0.0508 | 1.291 | 1.31 | 2.58 |
| 14 AWG | 0.0641 | 1.628 | 2.08 | 4.11 |
| 12 AWG | 0.0808 | 2.053 | 3.31 | 6.53 |
| 10 AWG | 0.1019 | 2.588 | 5.26 | 10.4 |
| 8 AWG | 0.1285 | 3.264 | 8.37 | 16.5 |
| 6 AWG | 0.1620 | 4.115 | 13.3 | 26.3 |
| 4 AWG | 0.2043 | 5.189 | 21.2 | 41.7 |
| 2 AWG | 0.2576 | 6.543 | 33.6 | 66.4 |
| 1/0 AWG | 0.3249 | 8.252 | 53.5 | 106 |
| 2/0 AWG | 0.3648 | 9.266 | 67.4 | 133 |
| 3/0 AWG | 0.4096 | 10.40 | 85.0 | 168 |
| 4/0 AWG | 0.4600 | 11.68 | 107 | 212 |
Field Metrology: Calipers vs. Notch Gauges vs. Micrometers
When you strip a wire and the printed markings on the insulation are illegible, faded, or missing, you must measure the bare conductor. The tool you choose dictates your accuracy.
1. Wire Stripper Notches (The Quick Check)
Standard wire strippers feature semi-circular notches labeled with AWG sizes. While useful for stripping, they are notoriously inaccurate for measuring. Manufacturing tolerances on budget strippers can vary by up to 0.005 inches, which is the difference between 12 AWG and 10 AWG. Use notches only for their intended purpose: shearing insulation.
2. Digital Calipers (The Field Standard)
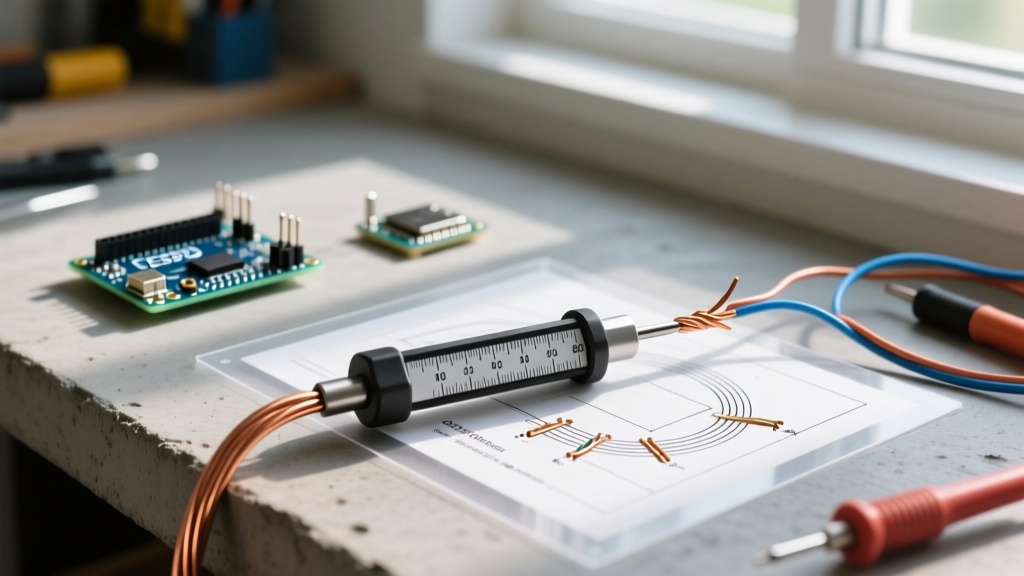
A high-quality digital caliper, such as the Mitutoyo 500-196-30 Absolute AOS, resolves measurements down to 0.0005 inches (0.01 mm). To measure a wire gauge accurately:
- Strip at least 1 inch of insulation without nicking the copper.
- Zero the caliper while closed to account for any dust or offset.
- Clamp the jaws gently on the bare copper. Do not overtighten, as copper is relatively soft and can deform, yielding a false reading.
- Rotate the wire 90 degrees and measure again to check for ovality (out-of-roundness), which is common in older pulled wire.
3. Dedicated Wire Gauge Plates
Tools like the Klein Tools 1010 Wire Gauge feature precision-machined circular holes. You drop the stripped wire into the hole; if it passes through without force but cannot fit into the next size down, you have your exact AWG. This is superior to calipers for stranded wire, as the plate compresses the stray strands into a unified cross-section.
Cross-Referencing Ampacity: When Physical Size Meets NEC Code
Physical dimensions directly correlate to current-carrying capacity (ampacity), but the relationship is governed by thermal dissipation, not just geometry. The National Fire Protection Association (NFPA 70), specifically NEC Article 310, outlines these limits.
A 12 AWG copper wire has a physical diameter of 0.0808 inches and a baseline ampacity of 20A (at 60°C/75°C column limits for standard residential branch circuits). However, if you bundle more than three current-carrying 12 AWG conductors in a single conduit, the physical proximity prevents heat dissipation. NEC Table 310.15(C)(1) requires you to apply an 80% derating factor, effectively dropping the allowable ampacity to 16A, even though the physical wire gauge actual size remains unchanged.
Troubleshooting Common Sizing Failures in the Wild
As an electrical diagnostic expert, I frequently encounter failures stemming from gauge mismatches. Here is a framework for identifying them:
The 'Oversized Lug' Micro-Arcing Failure: When a 10 AWG wire is terminated into a breaker lug designed for 6 AWG, the set screw cannot apply adequate surface pressure. Over time, thermal cycling (expansion and contraction) loosens the connection. This increases contact resistance, leading to localized heating, melted breaker housings, and eventual arc faults. Always match the wire gauge to the lug's specified torque and size ratings.
Oxidation and the 'False Gauge' Reading
In coastal or high-humidity environments, bare copper oxidizes, forming a dark, crusty layer of copper oxide. If you measure an oxidized wire with calipers, the crust adds up to 0.003 inches to the diameter, potentially causing you to misidentify a 14 AWG wire as a 12 AWG wire. Always lightly sand the bare conductor with 400-grit sandpaper or a Scotch-Brite pad before taking a metrology reading.
Stranded vs. Solid Diameter Discrepancies
If you measure a 12 AWG stranded wire with calipers, you might read 0.092 inches instead of the expected 0.0808 inches. This is not an error; it is physics. Stranded wire requires physical space for the air gaps between the concentric lay strands. When consulting your wire gauge actual size chart, remember that the chart reflects the equivalent solid cross-sectional area of copper, not the outer envelope of a stranded bundle. For stranded termination, always use ferrule crimps or tinned ends to compress the bundle to its true geometric equivalent before insertion into screw-terminal lugs.