
The Hardware Baseline: Understanding Your XIAO ESP32S3 Variant
The Seeed XIAO ESP32S3 has rapidly become the gold standard for edge AI, tinyML, and space-constrained IoT projects. Measuring just 21 x 17.5mm, it packs a dual-core Xtensa LX7 processor running at 240MHz, native USB, and vector instructions for neural network acceleration. However, configuring this board in the Arduino IDE requires a precise understanding of its hardware revisions and memory architecture.
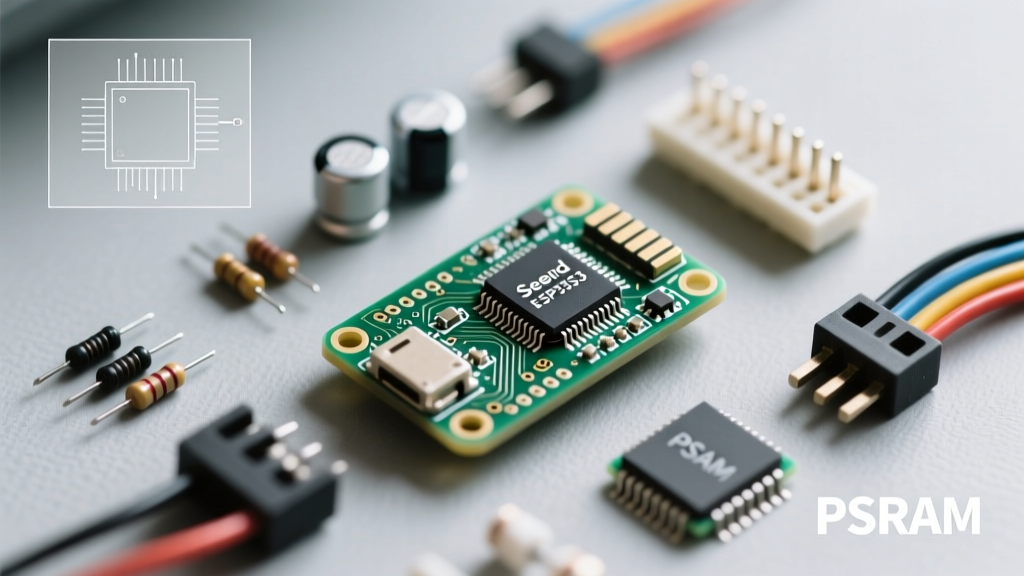
Before writing a single line of code, you must identify which hardware revision you possess. Seeed Studio has released a few iterations, most notably varying in PSRAM configuration and deep-sleep power management. The flagship XIAO ESP32S3 Sense and standard variants typically feature the N8R8 module (8MB Flash, 8MB OPI PSRAM). Older or budget revisions might lack the OPI (Octal Peripheral Interface) PSRAM, drastically altering how you configure the Arduino Tools menu for camera and machine learning workloads.
| Feature | XIAO ESP32S3 (N8R8) | Standard ESP32-WROOM |
|---|---|---|
| Processor | Dual-Core Xtensa LX7 (240MHz) | Dual-Core Xtensa LX6 (240MHz) |
| Flash / PSRAM | 8MB / 8MB OPI | 4MB / None (usually) |
| USB Interface | Native USB (GPIO19/20) | External UART Bridge |
| AI Instructions | Yes (Vector Instructions) | No |
| Typical Price | ~$13.99 USD | ~$6.00 USD |
Crucial Deep Sleep Warning: Early hardware revisions of the XIAO ESP32S3 suffered from a ~1mA deep sleep current draw due to the onboard LDO quiescent current and RGB LED pull-up resistors. If your project requires micro-amp deep sleep (e.g., battery-powered sensor nodes), ensure you are using the latest hardware revision, or physically desolder the RGB LED and pad-modify the LDO enable line as detailed in the official Seeed XIAO Wiki.
Arduino IDE 2.x Environment Setup
The XIAO ESP32S3 is not natively bundled with the base Arduino IDE. You must install the Espressif Arduino Core. While the ESP-IDF is the native environment for the ESP32-S3, the Arduino core provides a massive abstraction layer that is essential for rapid prototyping.
- Open Arduino IDE 2.x and navigate to File > Preferences.
- In the 'Additional Boards Manager URLs' field, paste the official Espressif JSON link:
https://raw.githubusercontent.com/espressif/arduino-esp32/gh-pages/package_esp32_index.json - Open the Boards Manager tab, search for
esp32, and install the core. Expert Tip: Version 2.0.14 is currently the most stable for production XIAO deployments. Version 3.0.x introduces breaking changes to the FreeRTOS API and ADC calibration that may break legacy sensor libraries. - Select your board via Tools > Board > esp32 > XIAO_ESP32S3.
Critical Tools Menu Configurations
Selecting the board is only step one. The ESP32-S3's flexible architecture means the Arduino IDE relies on the 'Tools' menu to compile the correct bootloader and partition table. Misconfiguring these settings is the root cause of 90% of compilation and runtime errors on this specific microcontroller.
Memory and USB Matrix
| Tools Setting | Recommended Value | Technical Rationale |
|---|---|---|
| USB CDC On Boot | Enabled | Routes Serial to the native USB port. If disabled, Serial.print will output to UART0 (D6/D7) and you will see no serial monitor output over USB. |
| USB DFU On Boot | Disabled | Only enable if you are flashing via DFU mode without the ROM bootloader. |
| Flash Mode | QIO 80MHz | Quad I/O at 80MHz provides the fastest read speeds for XIP (Execute In Place) from the 8MB SPI Flash. |
| Partition Scheme | Huge APP (3MB No OTA/1MB SPIFFS) | Edge AI models and camera buffers consume massive flash space. Default 1.2MB app partitions will trigger 'Sketch too big' errors quickly. |
| PSRAM | OPI PSRAM | Crucial for the N8R8 variant. Enables the 8MB Octal PSRAM, required for frame buffers in the esp32-camera library. |
| JTAG Adapter | Disabled | Enable only if using an external ESP-Prog for hardware debugging via the B2B connector. |
Pinout Mapping & Native USB Quirks
Unlike the original ESP32, which relied on a dedicated CP2102 or CH340 UART-to-USB bridge, the ESP32-S3 features a native USB peripheral mapped directly to GPIO19 (D-) and GPIO20 (D+). This fundamentally changes how serial communication and boot modes operate.
The Seeed XIAO silkscreen labels pins D0 through D10, but these do not perfectly align with sequential ESP32-S3 GPIO numbers. Refer to this mapping when initializing I2C, SPI, or UART peripherals:
- D0 (GPIO1): Analog / Digital I/O
- D1 (GPIO2): Analog / Digital I/O
- D2 (GPIO3): Analog / Digital I/O (Beware: Strapping Pin)
- D3 (GPIO4): Analog / Digital I/O
- D4 (GPIO5): Default I2C SDA
- D5 (GPIO6): Default I2C SCL
- D6 (GPIO7): SPI SCK / Default UART0 TX
- D7 (GPIO8): SPI MISO / Default UART0 RX
- D8 (GPIO9): SPI MOSI
- D9 (GPIO10): SPI SS
- D10 (GPIO43): Default UART TX (if native USB is used for Serial)
When configuring I2C devices like the BME280 or OLED displays, always explicitly define the pins in your setup function rather than relying on default Wire constants, as the XIAO's physical layout favors D4 and D5 for I2C routing.
The Bootloader Entry Sequence
Because the native USB port handles both serial communication and bootloader handshakes, the auto-reset circuit sometimes fails to trigger the ROM bootloader, resulting in the dreaded 'Failed to connect to ESP32-S3: Timed out waiting for packet header' error in the Arduino IDE output console.
To force the XIAO ESP32S3 into download mode manually:
- Press and hold the physical BOOT button (tied to GPIO0) on the XIAO board.
- While holding BOOT, press and release the RESET button.
- Release the BOOT button.
- Click 'Upload' in the Arduino IDE. The native USB will enumerate as a CDC device and accept the binary.
Optimizing for Edge AI and Camera Integration
The primary reason makers choose the XIAO ESP32S3 over the RP2040 or standard ESP32 is the B2B connector on the bottom, which interfaces directly with the Seeed XIAO Sense expansion board featuring an OV2640 camera module and SD card slot.
To utilize the camera, you must include the Espressif esp32-camera library. However, simply including the library will cause a Guru Meditation Error (core panic) if the PSRAM is not correctly initialized. The OV2640 at UXGA (1600x1200) resolution requires roughly 400KB of contiguous memory for the frame buffer, which exceeds the ESP32-S3's internal SRAM limits.
Ensure your code initializes the camera configuration struct with PSRAM awareness:
camera_config_t config;
config.frame_size = FRAMESIZE_UXGA;
config.fb_location = CAMERA_FB_IN_PSRAM; // Critical for N8R8 variant
config.jpeg_quality = 12;
If you experience corrupted frames or green-tinted images, lower the XCLK (camera clock) frequency from the default 20MHz to 10MHz in the camera config struct. The XIAO's compact PCB traces can introduce signal integrity issues at higher frequencies, especially when powered via a noisy USB hub.
Troubleshooting Common Compilation Failures
Even with perfect hardware, the Arduino IDE can throw highly specific errors related to the ESP32-S3's unique architecture. Here is a decision framework for the most common roadblocks.
1. TinyUSB Compilation Errors
If you enable 'USB CDC On Boot' but receive fatal errors regarding tusb.h or TinyUSB descriptors, it means your selected Partition Scheme or Flash Size is conflicting with the USB stack allocation. Ensure your Flash Size is explicitly set to 8MB in the Tools menu, not 4MB. The Arduino IDE sometimes defaults to 4MB for generic S3 boards, which truncates the memory map and corrupts the TinyUSB stack compilation.
2. ADC Non-Linearity and Readings
The ESP32-S3 ADC is notoriously non-linear at the extremes (near 0V and near 3.3V). If your analog sensors (like moisture sensors or potentiometers) are giving erratic readings on D0-D3, do not rely on raw analogRead(). You must use the esp_adc_cal library to apply eFuse calibration values, or implement a software moving-average filter to smooth out the native S3 ADC noise floor.
3. Wi-Fi / Bluetooth Coexistence Panics
The ESP32-S3 supports Bluetooth 5 (LE) and Wi-Fi 4 simultaneously, but the RF coexistence scheduler is highly sensitive to interrupt timing. If your sketch uses aggressive delay() calls or blocks the loop for more than a few milliseconds, the Wi-Fi stack will starve, resulting in a disconnect or a core panic. Always use millis() based non-blocking timers, and yield to the FreeRTOS Wi-Fi task by using yield() or delay(1) inside heavy processing loops.
For deeper technical specifications regarding the ESP32-S3 memory map and strapping pin behaviors, always refer to the Espressif ESP-IDF Programming Guide and the Arduino-ESP32 GitHub Repository release notes. Mastering these configurations transforms the XIAO ESP32S3 from a frustrating prototyping toy into a robust, production-ready edge computing node.