
The Anatomy of a Digital Multimeter Display
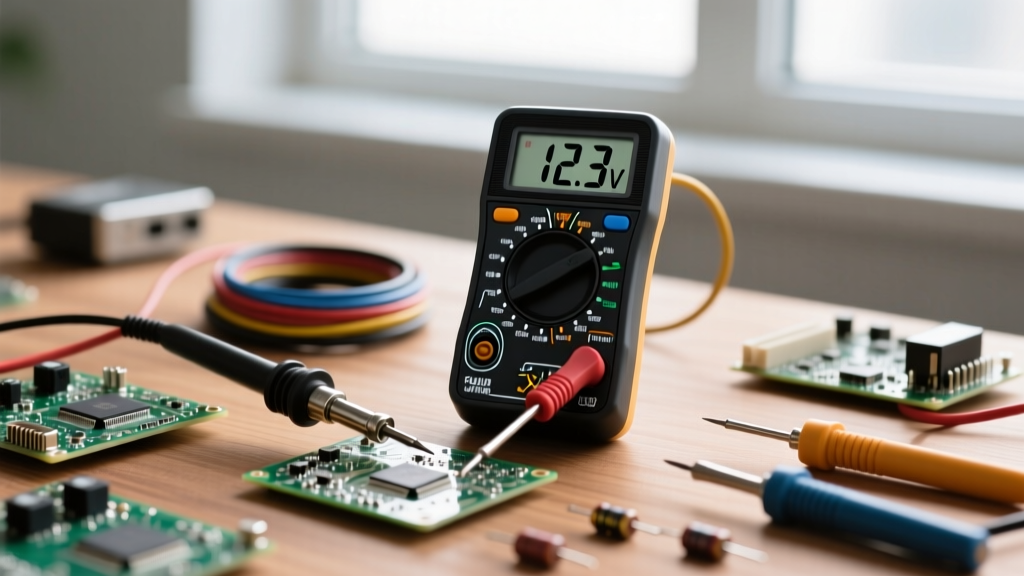
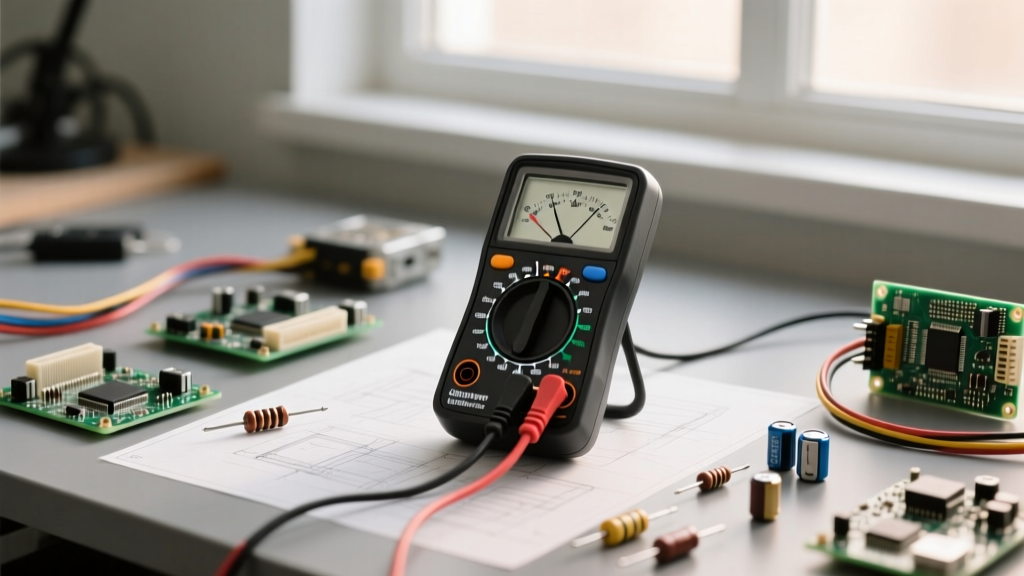
If you have ever stared at a digital multimeter (DMM) screen and wondered, 'how do you read a multimeter when the numbers keep jumping around?', you are not alone. Reading a multimeter is not just about looking at the numbers; it is about understanding the relationship between the dial setting, the measurement range, and the digital display's resolution. Before we recommend the best tools for beginners and professionals, we must break down the anatomy of the LCD screen.
Modern DMMs use a segmented LCD display. The primary numbers represent your measurement, but the annunciators (the small symbols around the edges of the screen) provide critical context. These include:
- AC/DC Indicators: Tells you if the meter is reading Alternating Current (AC) or Direct Current (DC).
- Auto/Hold Icons: 'Auto' means the meter is selecting the range for you. 'Hold' freezes the current reading on the screen.
- Unit Prefixes: 'm' (milli), 'µ' (micro), 'k' (kilo), and 'M' (mega). Misreading a milliamp (mA) as an amp (A) is a common beginner mistake that can blow a fuse or damage a microcontroller.
Understanding 'Counts' and Display Resolution
When tool manufacturers advertise a '2000-count' or '6000-count' multimeter, they are describing the display's maximum resolution. A 2000-count meter can display up to 1999 on its screen. If you are measuring a 12V battery on a 20V range, a 2000-count meter will read 12.00V. However, a 6000-count meter on a 60V range will read 12.000V, giving you an extra decimal place of precision. This is crucial when diagnosing sensitive logic-level circuits where a 0.05V drop indicates a failing voltage regulator.
Decoding the Dial: What Do the Symbols Mean?
The rotary dial is the command center of your multimeter. To accurately read the screen, you must first tell the meter what to look for. Here is the translation of the most common dial symbols:
- V⎓ (or VDC): Direct Current Voltage. Used for batteries, solar panels, and DC power supplies.
- V~ (or VAC): Alternating Current Voltage. Used for wall outlets, mains wiring, and transformers.
- Ω (Omega): Resistance. Measures how much a component opposes current flow.
- Soundwave Symbol (Continuity): The most used setting for troubleshooting. It beeps when resistance drops below a certain threshold (usually 15-30 ohms), confirming a complete electrical path.
- Diode Symbol (▷|—): Sends a small test current through a component to measure the forward voltage drop. Essential for testing LEDs and semiconductor junctions.
Tool Review: Best Multimeters for Learning to Read Measurements
Not all multimeters present data the same way. Cheap meters often suffer from slow auto-ranging delays, causing the screen to flash confusing numbers before settling. Below are our top recommendations for tools that offer clear, readable displays and intuitive dials for learners and experts alike.
1. AstroAI AM33D (Best Budget Auto-Ranging)
Price: ~$15.00 | Resolution: 2000 Count
The AstroAI AM33D is the undisputed king of the budget DIY bench. Its display is large and high-contrast, making it easy to read from a distance. However, because it uses a basic dual-slope analog-to-digital converter (ADC), the auto-ranging feature takes about 1.5 seconds to lock onto a reading. Pro Tip: When reading this meter, wait for the 'Auto' icon to stop blinking before recording your voltage.
2. Klein Tools MM400 (Best Mid-Range for DIYers)
Price: ~$45.00 | Resolution: 4000 Count
Klein Tools designed the MM400 for electricians and advanced hobbyists. The display features a dedicated backlight button—a massive information gain when working in dark breaker panels. It reads True-RMS (Root Mean Square), meaning it can accurately display the voltage of non-linear AC waveforms, which cheaper average-responding meters will misread.
3. Fluke 115 (The Professional Benchmark)
Price: ~$180.00 | Resolution: 6000 Count
If you want to know how professionals read multimeters, look at the Fluke 115. It features a massive 6000-count display with an integrated bar graph. The bar graph acts like an analog needle, updating 30 times per second. This allows you to 'see' voltage fluctuations and continuity glitches in real-time, long before the slower digital numbers can update.
Comparison Chart: Display Readability & Feature Set
| Model | Price (Approx) | Count / Resolution | Auto-Range Speed | Best For |
|---|---|---|---|---|
| AstroAI AM33D | $15 | 2000 Count | Slow (~1.5s) | Basic battery & hobby testing |
| Klein MM400 | $45 | 4000 Count | Medium (~0.8s) | Home wiring & automotive |
| Fluke 115 | $180 | 6000 Count | Fast (~0.3s) | Industrial & precision electronics |
Real-World Scenarios: Reading the Screen in Action
Let us apply this knowledge to practical troubleshooting scenarios. According to the experts at SparkFun, mastering these two scenarios will cover 90% of your daily electronics needs.
Scenario A: Testing a 9V Battery (DC Voltage)
- Set the dial to V⎓ (DC Voltage).
- Insert the black probe into the COM port and the red probe into the V/Ω port.
- Touch the probes to the battery terminals.
- Reading the Screen: A fresh alkaline 9V battery will read between 9.20V and 9.60V. If the screen reads 8.40V or lower, the battery is considered dead for high-drain applications, even though it might still power a low-draw smoke detector.
Scenario B: Checking a Blown Automotive Fuse (Continuity)
- Set the dial to the Soundwave (Continuity) setting.
- Touch the two probe tips together. The screen should read near 0.0Ω and the meter should emit a loud beep.
- Place the probes on the two exposed metal test points on the top of the automotive fuse.
- Reading the Screen: If the fuse is good, the meter will beep and show 0.1Ω. If the fuse is blown, the screen will display OL (Overload/Open Loop), and there will be no beep.
Common Display Errors and What They Mean
One of the most confusing aspects of learning how do you read a multimeter is encountering error codes. Instead of a number, the screen will often display a cryptic message. Here is how to interpret them:
- OL (Overload): Common on Fluke and Klein meters. This means the voltage or resistance exceeds the selected range. If you are in manual ranging mode, switch to a higher range. If you are measuring an open circuit (like a broken wire), 'OL' is the correct and expected reading.
- 1 (Leading One): Common on budget meters like the AstroAI. A standalone '1' on the far left of the screen is the exact equivalent of 'OL'. It means the meter has maxed out its ADC capacity.
- Battery Icon: A low battery doesn't just mean the meter will die soon; it means the internal voltage reference is failing. Warning: A multimeter with a low battery will provide wildly inaccurate voltage readings. Always replace the battery before trusting the screen.
Expert Insight: Never trust a continuity reading if the meter's battery is low. The meter requires sufficient internal current to push through the test leads and the component to trigger the continuity beep. A weak battery may result in a false 'OL' reading on a perfectly good fuse.
For a deeper dive into the internal circuitry and safety categories (CAT II, CAT III, CAT IV) that protect you when reading mains voltage, we highly recommend reviewing the safety guidelines published by Fluke Corporation. Understanding your tool's limitations is just as important as knowing how to read its display.
Final Verdict: Which Tool Should You Buy?
If you are strictly asking 'how do you read a multimeter' to check AA batteries and basic household outlets, the AstroAI AM33D is a perfectly adequate, low-risk investment. However, if you plan to repair electronics, build microcontroller projects, or diagnose automotive wiring, the slow auto-ranging and 2000-count resolution will quickly become a bottleneck. Upgrading to the Klein Tools MM400 provides the perfect bridge between beginner affordability and professional readability, ensuring the numbers on the screen actually reflect the reality of your circuit.