
Raspi SSH Explained: Headless Gateway Setup for MCU Fleets
When managing a distributed fleet of microcontrollers—whether it is a dozen ESP32s monitoring greenhouse telemetry or a cluster of Arduino Nanos handling industrial relays—the Raspberry Pi frequently serves as the edge gateway. However, deploying these Pis in remote, headless environments (without monitors or keyboards) necessitates a robust remote management protocol. This is where raspi ssh (Secure Shell) becomes the indispensable lifeline for hardware engineers and makers.
In this concept explainer, we dissect the architecture of raspi ssh, moving beyond basic terminal access to explore cryptographic handshakes, remote serial bridging for OTA (Over-The-Air) MCU flashing, and advanced troubleshooting matrices for edge deployments.
The Architecture of Headless MCU Gateways
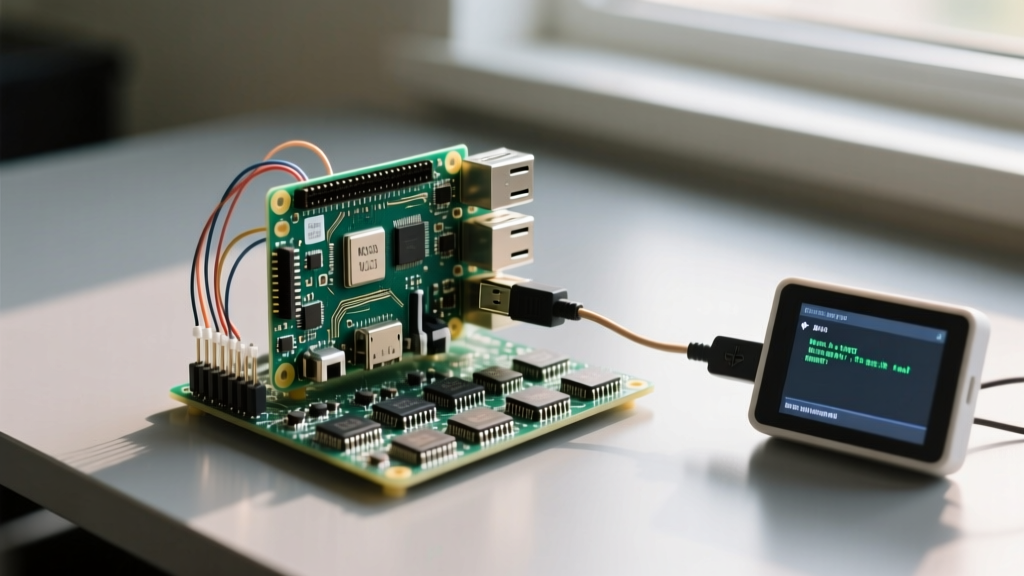
In a typical IoT edge topology, the Raspberry Pi acts as a serial concentrator and protocol translator. It reads raw UART or I2C data from attached Arduinos, packages it into MQTT or JSON, and forwards it to a cloud broker. Because these gateways are often mounted in NEMA enclosures on factory floors or agricultural sites, physical access is impossible. Raspi ssh provides the encrypted tunnel required to execute Python scripts, update firmware, and monitor system logs via journalctl.
According to the official Raspberry Pi documentation, SSH is disabled by default on fresh Raspberry Pi OS images to prevent brute-force attacks on default credentials. For headless deployments, makers must pre-enable SSH by placing an empty file named ssh (no extension) in the /boot partition of the SD card before the first boot, or by configuring it via the Raspberry Pi Imager's advanced settings.
Under the Hood: Cryptographic Foundations
SSH is not just a remote terminal; it is a suite of cryptographic protocols designed to secure data over untrusted networks. When you initiate a raspi ssh connection, the client and server perform a Diffie-Hellman key exchange to establish a symmetric session key. This ensures that even if an attacker intercepts the traffic between your workstation and the Pi gateway, the payload remains unreadable.
Why Ed25519 is the Standard for Edge Nodes
Historically, RSA-2048 was the default algorithm for SSH keys. However, for modern MCU fleet management, Ed25519 is the superior choice. Ed25519 keys are significantly smaller (making them faster to transmit over low-bandwidth cellular links often used in remote Pi deployments) and are mathematically resistant to certain side-channel attacks that plague older RSA implementations.
When generating keys for your gateway fleet, always specify the Ed25519 algorithm to ensure forward compatibility and optimal performance on resource-constrained networks.
Step-by-Step: Provisioning Passwordless Raspi SSH
Managing 20 Pi gateways with passwords is a security risk and a logistical nightmare. Passwordless authentication using public-private key pairs is mandatory for scalable deployments.
- Generate the Key Pair: On your host machine, run
ssh-keygen -t ed25519 -C 'pi-gateway-01'. This creates anid_ed25519(private) andid_ed25519.pub(public) file. - Inject the Public Key: Use the
ssh-copy-idutility to push the public key to the Pi:ssh-copy-id -i ~/.ssh/id_ed25519.pub pi@192.168.1.50. - Configure the SSH Client: Edit your local
~/.ssh/configfile to create an alias, streamlining future connections.
Host gateway-01
    HostName 192.168.1.50
    User pi
    IdentityFile ~/.ssh/id_ed25519
    IdentitiesOnly yes
Authentication Methods: Password vs. SSH Keys
Understanding the trade-offs between authentication methods is critical for securing your maker infrastructure.
| Feature | Password Authentication | SSH Key Authentication (Ed25519) |
|---|---|---|
| Brute-Force Resistance | Low (Vulnerable to dictionary attacks) | Extremely High (Cryptographically unfeasible) |
| Automation Capability | Poor (Requires external tools like sshpass) | Excellent (Native support in Ansible, Bash, CI/CD) |
| Revocation Process | Change password on all nodes | Remove public key from node's authorized_keys |
| Network Overhead | Higher (Multiple round-trips for hashing) | Lower (Streamlined handshake) |
Advanced Maker Workflow: Remote Serial Flashing via SSH
The true power of raspi ssh in the MCU space emerges when you need to flash an Arduino or ESP32 that is physically plugged into the remote Pi's USB port. You cannot physically press the 'boot' button or select the COM port in the Arduino IDE. To solve this, makers use SSH port forwarding combined with ser2net.
ser2net is a daemon that exposes local serial ports (like /dev/ttyUSB0) over TCP/IP. By tunneling this TCP port through an encrypted SSH connection, your local development machine treats the remote Arduino as if it were plugged directly into your local USB hub.
Executing the SSH Tunnel
Assuming ser2net is running on the Pi and listening on port 4321 for /dev/ttyUSB0, you establish the tunnel from your host machine:
ssh -L 4321:localhost:4321 pi@192.168.1.50 -NThe -N flag tells SSH not to execute a remote command, dedicating the session purely to port forwarding. You can now open PlatformIO or the Arduino IDE on your local machine, select the network port localhost:4321, and compile and upload your firmware directly to the remote microcontroller. This technique is foundational for maintaining remote sensor nodes without rolling a truck to the deployment site.
Troubleshooting Matrix: When Raspi SSH Refuses Connections
Edge deployments often fail due to network quirks or OS-level security defaults. Consult this matrix when your connection drops.
| Error Message | Root Cause | Resolution Strategy |
|---|---|---|
Connection refused | The SSH daemon is not running or is blocked by a local firewall. | Run sudo systemctl enable --now ssh. Ensure ufw allow 22 is configured if the firewall is active. |
Permission denied (publickey) | Strict file permissions on the Pi's .ssh directory are rejecting the key. | Execute chmod 700 ~/.ssh and chmod 600 ~/.ssh/authorized_keys on the Pi. The OpenSSH daemon will silently reject keys if parent directories are writable by others. |
Connection timed out | Network isolation, incorrect subnet, or ARP cache poisoning. | Verify the Pi's IP via your router's DHCP table. Ensure your host machine is not on a guest VLAN that blocks local peer-to-peer traffic. |
Host key verification failed | The Pi's SD card was swapped, changing its cryptographic fingerprint. | Run ssh-keygen -R 192.168.1.50 on your host to clear the old fingerprint from known_hosts, then reconnect. |
Security Hardening for Fleet Deployments
Once your raspi ssh infrastructure is operational, you must harden the daemon to protect against automated botnets scanning the internet for exposed edge nodes. Edit the /etc/ssh/sshd_config file on your Pi gateways to enforce strict policies.
According to the OpenSSH daemon configuration manual, you should implement the following directives:
PermitRootLogin no: Forces all administrative actions to be performed via the standardpiuser andsudo, creating an auditable trail.PasswordAuthentication no: Completely disables password logins, rendering brute-force attacks mathematically useless.MaxAuthTries 3: Drops the connection after three failed authentication attempts, mitigating denial-of-service vectors.ClientAliveInterval 300: Automatically terminates idle SSH sessions after 5 minutes, preventing unauthorized access if a maker walks away from an unlocked terminal.
For further reading on cryptographic key management, the SSH Academy provides excellent documentation on key rotation strategies, which is highly recommended for enterprise-grade IoT deployments.
Conclusion
Mastering raspi ssh is not merely about learning Linux commands; it is about architecting resilient, secure, and maintainable edge networks. By leveraging Ed25519 cryptography, implementing SSH port forwarding for remote serial flashing, and strictly hardening the sshd_config, makers can transform the Raspberry Pi from a simple hobbyist computer into a formidable, industrial-grade MCU gateway.