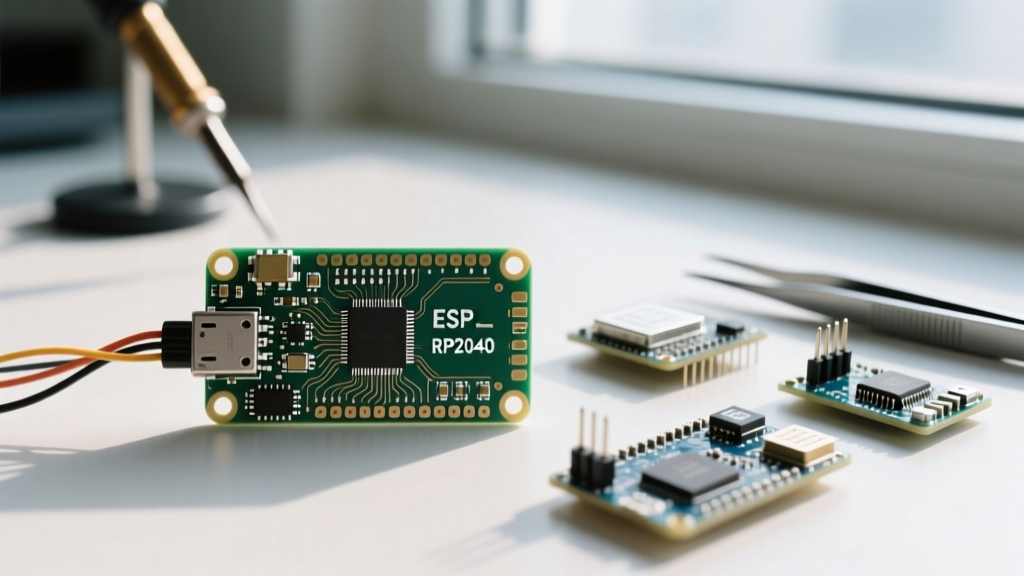

When the Raspberry Pi Foundation pivoted from single-board Linux computers to microcontrollers, the electronics community was initially skeptical. Fast forward, and the Raspberry Pi Pico has become an absolute staple on workbenches worldwide. Priced at an aggressive $4, the Pico is not just a cheap alternative to Arduino; it is a fundamentally different beast driven by the custom RP2040 silicon. In this comprehensive review, we dissect the Raspberry Pi Pico, explore its unique Programmable I/O (PIO), expose its hardware quirks, and compare it against modern alternatives like the Pico W and ESP32-C3.
Under the Hood: RP2040 Architecture and Memory
Unlike the ATmega328P or the ESP32, the RP2040 features a dual-core Arm Cortex-M0+ processor clocked at 133MHz. While the M0+ is an older, power-efficient architecture, the dual-core setup allows you to dedicate one core to high-priority interrupt handling or wireless stacks while the other manages primary application logic. The chip is also highly capable of overclocking, with many users pushing it past 250MHz without thermal throttling, provided the silicon lottery is in their favor.
Memory is where the RP2040 shines for its price point. It packs 264KB of SRAM, significantly more than the Arduino Nano's 2KB, allowing for complex buffering, audio processing, and RTOS implementations. However, it relies on an external QSPI flash chip for storage, standardizing at 2MB on the official Pico. This external flash architecture means execution happens via XIP (eXecute In Place), which introduces a slight latency compared to internal flash, though the 16KB on-chip cache mitigates this heavily for sequential code execution.
The Secret Weapon: Programmable I/O (PIO) State Machines
The most compelling reason to choose the Raspberry Pi Pico over competing microcontrollers is the PIO subsystem. The RP2040 includes eight independent PIO state machines (four per core). These are essentially tiny, secondary processors that can execute a specialized 9-instruction set to manipulate GPIO pins with deterministic, cycle-accurate timing.
According to the official RP2040 Hardware Design Guide, PIO allows the main CPU cores to offload timing-critical tasks entirely, freeing up massive amounts of processing overhead.
Why does this matter in practice? If you have ever tried to drive WS2812B addressable LEDs, read quadrature encoders, or output a VGA signal on a standard Arduino, you know the main CPU gets locked in a blocking delay loop. With PIO, you write a tiny assembly script, load it into the state machine, and the Pico handles the exact nanosecond-level pin toggling in the background while your main C++ or MicroPython code continues running uninterrupted.
Hardware Quirks: ADC Noise and Power Delivery
No board is perfect, and the Raspberry Pi Pico has a well-documented Achilles heel: its Analog-to-Digital Converter (ADC). The RP2040 features a 12-bit ADC with 5 channels (4 external, 1 internal temperature sensor). However, due to internal switching noise from the dual-core architecture and a lack of an internal voltage reference capacitor, the Effective Number of Bits (ENOB) often drops to around 8.5 to 9 bits in real-world scenarios.
Mitigating ADC Noise
If your project requires precision analog reading, such as interfacing with load cells or high-resolution potentiometers, you must implement software oversampling or add a 100nF decoupling capacitor between the ADC_VREF pin and ground. For critical analog applications, pairing the Pico with an external I2C ADC like the ADS1115 is highly recommended to bypass the internal silicon limitations.
Power Delivery Topology
The Pico's power routing can confuse beginners. Power can be supplied via the VBUS pin (5V from USB) or the VSYS pin (2V to 5V). An internal Schottky diode prevents back-feeding, but if you are designing a custom PCB, you must route VSYS correctly to avoid brownouts during high-current GPIO switching. Always consult the official Pico Datasheet before integrating it into a battery-powered sled.
Physical Design: Castellated Pads and the USB-C Debate
From a hardware design perspective, the Pico's castellated edge pads are a massive win for DIYers and embedded engineers. You can solder the Pico directly flush to a custom PCB without needing bulky pin headers, saving vertical space. Additionally, the 3-pin SWD debug header is exposed, allowing for professional JTAG debugging via a Picoprobe.
However, the board's physical layout is not without criticism. The original Pico utilizes a Micro-USB connector, which feels increasingly archaic as the industry standardizes on USB-C. Furthermore, when standard 0.1-inch headers are soldered to the Pico, it spans exactly 21 pins wide, leaving only one row of holes available on a standard 830-point breadboard. This makes wiring complex circuits slightly more cumbersome compared to narrower boards like the Arduino Nano or ESP32-C3 SuperMini.
Board Comparison: Pico vs. Pico W vs. ESP32-C3
Choosing the right board depends heavily on your project constraints. Here is how the standard Raspberry Pi Pico stacks up against its wireless sibling and Espressif's budget RISC-V competitor.
| Feature | Raspberry Pi Pico | Raspberry Pi Pico W | ESP32-C3 SuperMini |
|---|---|---|---|
| Price (Approx) | $4.00 | $6.00 | $3.50 |
| MCU Architecture | Dual-Core Arm M0+ | Dual-Core Arm M0+ | Single-Core RISC-V |
| Clock Speed | 133 MHz | 133 MHz | 160 MHz |
| Wireless | None | Wi-Fi 4 / BT 5.0 | Wi-Fi 4 / BT 5.0 |
| SRAM | 264 KB | 264 KB | 400 KB |
| ADC Resolution | 12-bit (Noisy) | 12-bit (Noisy) | 12-bit (More Stable) |
| Best Use Case | Offline PIO / Timing | Low-cost IoT | Compact IoT / Wearables |
While the ESP32-C3 offers wireless connectivity at a lower price point and utilizes a modern RISC-V core, it lacks the dual-core processing and the deterministic PIO state machines found on the Pico. If your project involves driving complex LED matrices or reading high-speed sensors without dropping packets, the Pico remains superior.
Troubleshooting UF2 Boot Mode Failures
The Pico's drag-and-drop UF2 bootloader is incredibly user-friendly, but it can occasionally fail, leaving the board seemingly bricked. If your Pico does not mount as an RPI-RP2 USB mass storage drive when holding the BOOTSEL button, follow these diagnostic steps:
- USB Cable Quality: Over 60% of boot failures are caused by charge-only USB cables lacking data lines. Always verify your connection with a known data-sync cable.
- BOOTSEL Timing: You must hold the BOOTSEL button before plugging in the USB cable, and release it only after the drive mounts on your OS.
- Clone Board Capacitors: Some third-party RP2040 clones use substandard decoupling capacitors on the QSPI flash lines, causing the ROM bootloader to fail to read the flash. Reflowing the flash chip or adding a 100nF capacitor across the 3.3V and GND pins near the flash IC can sometimes revive these boards.
Ecosystem and Software Support
The software ecosystem for the Raspberry Pi Pico has matured drastically since launch. The official C/C++ SDK provides bare-metal access and is compiled via CMake. While CMake offers immense build flexibility, it has a steep learning curve for Arduino IDE veterans. Fortunately, the Arduino core for the RP2040, maintained by Earle Philhower, is now exceptionally stable, fully supports the PIO via specialized libraries, and integrates seamlessly into the standard Arduino IDE board manager.
For rapid prototyping, MicroPython remains the undisputed champion on this board. The MicroPython RP2 Quick Reference provides excellent documentation for accessing hardware-specific features like the PIO, the internal temperature sensor, and the multicore threading capabilities without writing a single line of C.
Final Verdict: Is the Raspberry Pi Pico Still Relevant?
At $4, the standard Raspberry Pi Pico remains an unparalleled value for offline, compute-heavy, or timing-critical DIY projects. Its dual-core architecture and PIO state machines offer capabilities that punch far above its weight class, making it a favorite for retro-gaming emulators, custom keyboards, and robotics. However, if your project requires IoT connectivity, skip the standard Pico and opt for the Pico W or the ESP32-C3. For pure analog sensor interfacing, be prepared to work around the ADC limitations with external hardware. Ultimately, the Pico is not just a cheap microcontroller; it is a masterclass in silicon design that earns a permanent spot in your component bin.