
The Paradigm Shift: Why the Community Abandoned RPi.GPIO
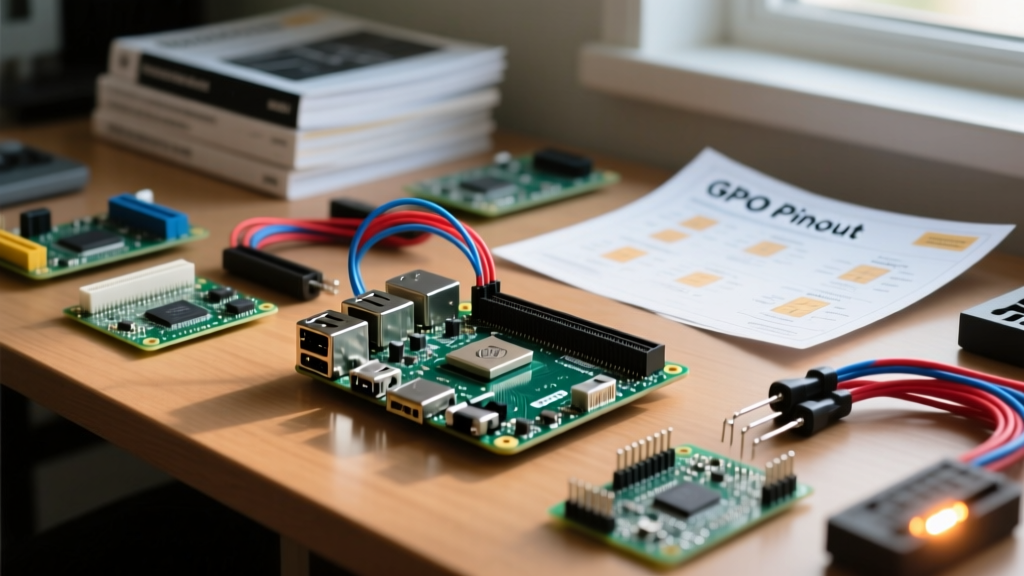
For nearly a decade, the RPi.GPIO library was the undisputed king of Raspberry Pi GPIO Python programming. However, the maker community faced a massive disruption with the release of the Raspberry Pi 5. The Pi 5 introduced the RP1 southbridge chip, fundamentally changing how the CPU communicates with the GPIO header. Direct memory-mapped I/O, which RPi.GPIO relied upon, was no longer viable. Instead of waiting for a legacy patch, the community rapidly pivoted to modern, robust alternatives.
As a community resource, we have tracked forum discussions, GitHub commit histories, and real-world maker deployments to bring you the definitive guide on controlling your Raspberry Pi GPIO with Python today. Whether you are migrating an Arduino sketch to a Pi, or building a new IoT sensor node, understanding the current Python ecosystem is critical.
Community Library Showdown: gpiozero vs. rpi-lgpio vs. pigpio
To help you choose the right tool for your workbench, we have compiled a comparison based on community adoption, Pi 5 compatibility, and performance benchmarks.
| Library | Backend / Architecture | Pi 5 Support | Best Use Case |
|---|---|---|---|
| gpiozero | Abstraction layer (uses lgpio on Pi 5) | Native | Beginners, rapid prototyping, standard sensors |
| rpi-lgpio | Python bindings for lgpio C library | Native | Hardware PWM, high-speed I2C/SPI, low jitter |
| RPi.GPIO | Direct memory mapping (BCM283x/2711) | Broken | Legacy Pi 3/4 projects only (deprecated) |
Migrating from Arduino C++ to Raspberry Pi Python
Many makers in our community use the Raspberry Pi as a host controller, replacing traditional Arduino Uno or Mega boards. The mental model shifts from a single-threaded loop() to an event-driven, multi-threaded Linux environment. In Arduino C++, you might use digitalWrite(13, HIGH) and delay(1000). In Python, blocking delays freeze your entire script, preventing sensor polling or network communications.
The gpiozero library solves this via background threading. When you assign a callback like button.when_pressed, the library handles the interrupt polling in the background. This allows your main Python thread to handle MQTT messaging, database logging, or Flask web servers without missing a single button press.
Mastering gpiozero: The Maker's Default
The gpiozero library is the community darling because it treats hardware components as objects rather than raw pin numbers. Here is a standard implementation for a momentary button controlling an LED, utilizing software debouncing:
from gpiozero import LED, Button
from signal import pause

led = LED(17) # BCM Pin 17
button = Button(27, pull_up=True, bounce_time=0.05)

button.when_pressed = led.on
button.when_released = led.off

pause()
Notice the bounce_time=0.05 parameter. Mechanical switches suffer from contact bounce, which can trigger multiple false interrupts. Setting a 50ms software debounce window is a community best practice that saves you from adding external RC filter circuits to your breadboard.
I2C and SPI Bus Nuances on the RP1 Chip
If your Python GPIO project involves I2C sensors (like the BME280 or MPU6050) or SPI displays (like the ILI9341), you must understand the RP1 southbridge routing. On older Pis, I2C bus 1 was the default on pins 3 and 5. On the Pi 5, the RP1 chip exposes multiple I2C and SPI controllers, but the physical pin mapping on the 40-pin header remains backward compatible for standard use cases.
However, community stress tests have revealed that the internal pull-up resistors on the Pi 5 I2C lines are approximately 1.5kΩ, compared to the 1.8kΩ on the Pi 4. This stiffer pull-up means you may need to adjust your external pull-up resistor network when driving long I2C traces or multiple capacitive loads. A safe community standard is to use 4.7kΩ external pull-ups on the 3.3V side to ensure clean signal edges without exceeding the RP1 GPIO sink current limits (typically 8mA per pin, 50mA total bank limit).
When to Use rpi-lgpio for Precision Timing
While gpiozero is fantastic for high-level logic, it relies on software PWM for dimming LEDs or driving servos. Software PWM on a Linux system is subject to OS scheduling jitter, which can cause servos to twitch or LEDs to flicker. For precision hardware PWM, the community recommends rpi-lgpio.
The lgpio C library, wrapped for Python, accesses the hardware PWM peripherals directly. This guarantees a stable frequency, crucial for driving ESCs (Electronic Speed Controllers) or audio DACs. A typical hardware PWM setup requires configuring the clock divider and range, concepts familiar to AVR ATmega makers but new to Pi beginners.
Hardware Reality: 3.3V Logic and Level Shifting
A common trap for makers transitioning from 5V Arduino microcontrollers to the Raspberry Pi is ignoring the 3.3V logic limit. Feeding 5V into a Pi GPIO pin will destroy the RP1 chip or the BCM2711 SoC. When your Python script reads a sensor, the hardware layer must be flawless.
Community-Tested Level Shifters
- TXS0108E (Bi-directional): Excellent for I2C and 1-Wire. However, the community has noted that its internal edge-rate accelerators can cause ghosting on long SPI lines exceeding 10MHz. Priced around $3.50 on breakout boards.
- BSS138 MOSFET-Based Shifters: The gold standard for I2C. They rely on external pull-up resistors (typically 10kΩ for 100kHz, 2.2kΩ for 400kHz). They are slower but infinitely more stable than the TXS0108E for basic sensor networks. Usually available for $2.00 per module.
- CD4050B (Uni-directional): Best for 5V to 3.3V step-downs, such as reading a 5V Arduino UART TX line into the Pi RX line. A simple, unidirectional buffer that prevents back-feeding.
"The shift to the RP1 chip wasn't just a hardware change; it forced the Python community to adopt better, more standardized abstractions. gpiozero combined with the lgpio backend gives us Arduino-like simplicity with Linux-grade multitasking." — Consensus from the Raspberry Pi Forums Hardware & Peripherals thread, 2024.
Community Resources and Next Steps
For deeper dives into the backend architecture, consult the official gpiozero documentation. For advanced C-level bindings and hardware PWM specifics, the lgpio Python documentation is an invaluable community resource. Finally, tracking the RP1 peripheral changes and real-world failure modes is best done via the Raspberry Pi 5 Hardware Forum.
Always remember to double-check your pinout diagrams using the pinout command in the Pi terminal before wiring your breadboard. The maker community thrives on shared knowledge—document your own GPIO discoveries and contribute back to the forums.