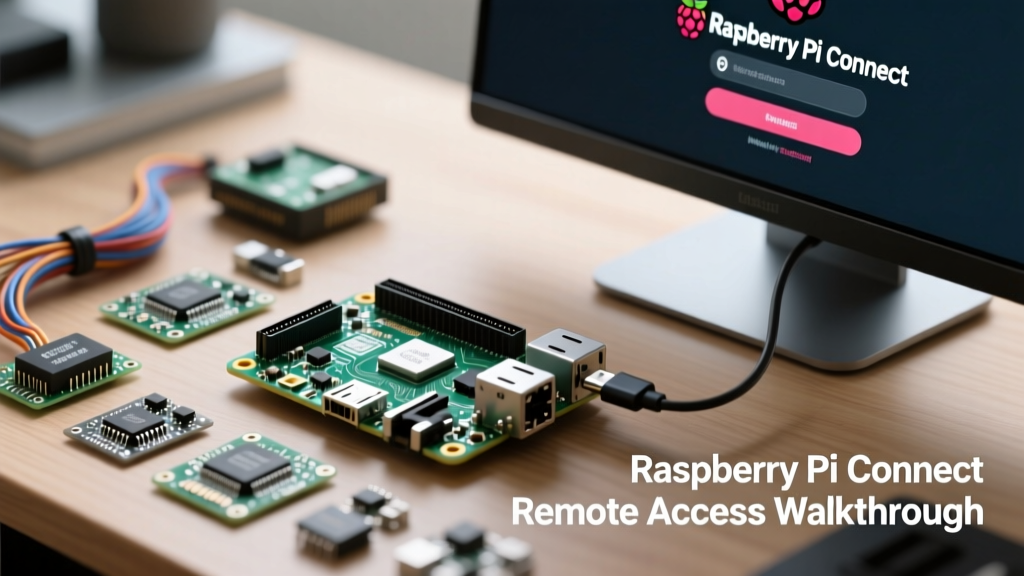

The Architecture Behind Raspberry Pi Connect
For years, accessing a Raspberry Pi remotely meant wrestling with router port forwarding, dynamic DNS services, or setting up complex reverse SSH tunnels. While third-party tools like Tailscale and Cloudflare Tunnels offered workarounds, the ecosystem lacked a native, first-party solution. Enter Raspberry Pi Connect, an official remote access service that provides secure browser-based shell and desktop access without exposing your local network to the public internet.
Unlike traditional VNC setups that require inbound port 5900 to be open, Raspberry Pi Connect utilizes an outbound relay architecture. The rpi-connect daemon running on your Pi initiates an outbound WebRTC connection to Raspberry Pi's secure relay servers. When you log into the web portal, your browser connects to the same relay, bridging the gap. This means zero inbound firewall rules, zero router configuration, and a drastically reduced attack surface.
Pre-Flight Checklist: Hardware and OS Constraints
Before diving into the terminal, it is critical to understand that Raspberry Pi Connect is not a universal legacy tool. It relies heavily on modern display server protocols and specific hardware capabilities. According to the official Raspberry Pi Connect documentation, the service is strictly gated by the following requirements:
| Hardware Model | OS Requirement | Display Server | Remote Desktop Support | Remote Shell Support |
|---|---|---|---|---|
| Raspberry Pi 5 | Bookworm (or newer) | Wayland | Yes (Native) | Yes |
| Raspberry Pi 4 / 400 | Bookworm (or newer) | Wayland | Yes (Native) | Yes |
| Raspberry Pi 3B+ | Bookworm | Wayland / X11 | No (Hardware limits) | Yes |
| Pi Zero 2 W | Bookworm | Wayland / X11 | No (Hardware limits) | Yes |
| Any Pi (Legacy) | Bullseye / Buster | X11 | No (Unsupported) | Yes (Shell only) |
Note: Remote Desktop functionality requires the Wayland display server. If you are running the legacy X11 server, you will only have access to the Remote Shell feature.
Phase 1: Installing the Connect Daemon
The installation process is straightforward, provided you are running a fresh, updated instance of Raspberry Pi OS Bookworm. Open your local terminal or existing SSH session and execute the following package management commands:
sudo apt update
sudo apt upgrade -y
sudo apt install rpi-connect
Once the package is installed, the daemon does not start automatically in the user space. Because Raspberry Pi Connect maps remote desktop sessions to your specific logged-in user's Wayland session, the service must be enabled at the user level, not the system root level.
systemctl --user enable rpi-connect
systemctl --user start rpi-connect
To verify that the daemon is actively polling the relay servers, check the status:
systemctl --user status rpi-connectPhase 2: Authentication and Portal Linking
With the daemon running, you must cryptographically link your local Pi instance to your Raspberry Pi ID account. This is done via a secure, one-time URL generation command.
rpi-connect signinThe terminal will output a unique URL and a verification code. Open this URL on any authenticated browser, log into your Raspberry Pi ID, and enter the verification code. Once confirmed, your device will appear in the Raspberry Pi Connect Web Portal.
Pro-Tip for Headless Setups: If you are running a headless Pi 5 or Pi 4 and used the Raspberry Pi Imager to disable the default user or auto-login, Wayland may not start a desktop session on boot. Without a Wayland session, the Remote Desktop feature will fail to connect. Ensure 'Auto-login' is enabled in raspi-config (System Options -> Boot / Auto Login -> Desktop Autologin) so the user session—and consequently the wayvnc server—initializes on reboot.
Phase 3: Remote Desktop vs. Remote Shell
The web portal offers two distinct modalities for interacting with your device.
Remote Shell (SSH over WebRTC)
The Remote Shell feature acts as a fully functional terminal emulator directly in your browser. It bypasses the need for local SSH keys or knowing your Pi's local IP address. This is invaluable for quick diagnostics, restarting Docker containers, or editing config.txt via nano when you are away from your home network. The latency is remarkably low, as the WebRTC protocol prioritizes text-based packet delivery.
Remote Desktop (Wayland Streaming)
When you click 'Connect' on the desktop tile, the portal initiates a WebRTC video stream powered by wayvnc running natively in the background. You get full clipboard sharing and dynamic resolution scaling based on your browser window size. However, because this is a video stream of the Wayland compositor, heavy GUI tasks (like compiling code in a visual IDE or playing video) will exhibit compression artifacts and frame-rate drops. It is designed for configuration, file management, and light GUI interaction, not high-framerate rendering.
Troubleshooting: The Wayland and X11 Divide
The most common point of failure for users adopting Raspberry Pi Connect is attempting to use Remote Desktop on an X11-based system. If you migrated an older SD card from Bullseye to Bookworm, you might still be running X11.
Error:
Remote desktop is not supported on this device. Please ensure you are using the Wayland display server.
To diagnose your current display server, run:
echo $XDG_SESSION_TYPEIf the output is x11, you must switch to Wayland. Run sudo raspi-config, navigate to Advanced Options -> Wayland, and select Wayland. Reboot the system. Be aware that some legacy GPIO GUI libraries (like older versions of Tkinter or PyGame) may require XWayland compatibility layers to render correctly after this switch.
The Headless Dummy Plug Issue
If your Pi is headless (no monitor attached), Wayland may default to a fallback resolution of 800x600 or fail to start the desktop environment entirely, resulting in a black screen in the Connect portal. To force a high-definition headless resolution, edit your boot configuration:
sudo nano /boot/firmware/config.txtAdd or uncomment the following lines to force a 1080p virtual display:
hdmi_force_hotplug=1
hdmi_group=2
hdmi_mode=82
Alternatively, for the Raspberry Pi 5, using an HDMI dummy plug (a $5 hardware dongle that emulates an EDID monitor response) remains the most reliable method to guarantee the Wayland compositor initializes a proper desktop surface for the Connect daemon to capture.
Security Posture: Connect vs. Third-Party Tunnels
How does Raspberry Pi Connect stack up against established DIY networking tools? Here is a practical decision framework for your smart home or IoT deployment:
- Raspberry Pi Connect: Best for users who want zero-config, out-of-the-box remote access to the Pi's native desktop and shell without managing third-party accounts or routing tables. It is free for personal use but requires an active internet connection on both ends.
- Tailscale / ZeroTier: Best for users building a mesh network of multiple SBCs, NAS drives, and remote laptops. Tailscale creates a virtual LAN, allowing you to use native VNC, SSH, and SMB protocols as if the devices were in the same room. It requires installing the daemon and managing subnet routing.
- Cloudflare Tunnels: Best for exposing specific local web services (like Home Assistant or OctoPrint) to the public internet securely via a custom domain. It does not provide native remote desktop GUI streaming.
As detailed in the official Raspberry Pi Connect launch announcement, the service is built with enterprise-grade isolation. Each session is ephemeral, and the relay servers cannot inspect the encrypted WebRTC payloads. For DIYers managing a fleet of Pi-based Home Assistant nodes or digital signage, Raspberry Pi Connect eliminates the friction of remote maintenance, making it an essential tool in the modern SBC software stack.