
The Hardware Baseline: Selecting the Right SBC
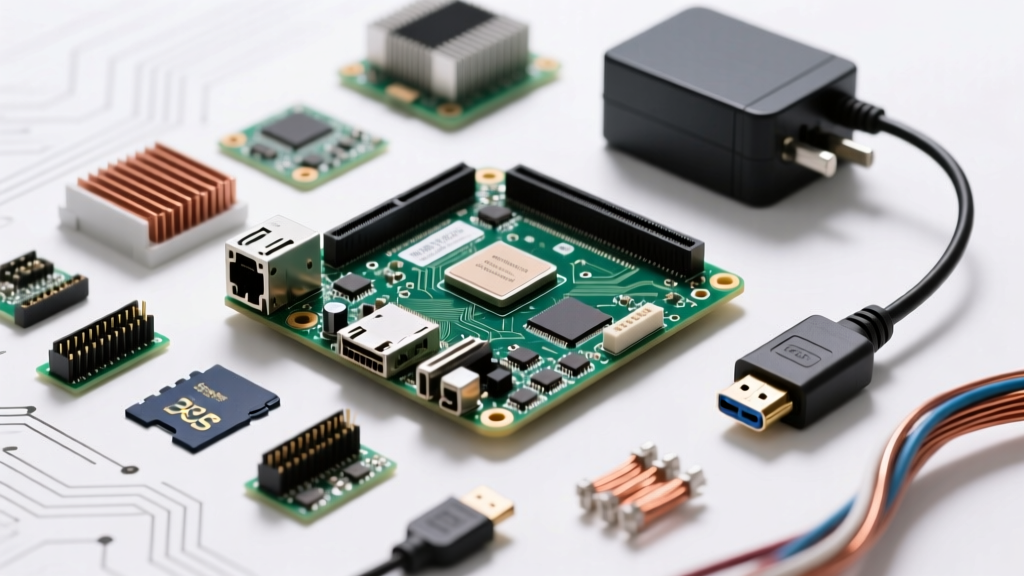
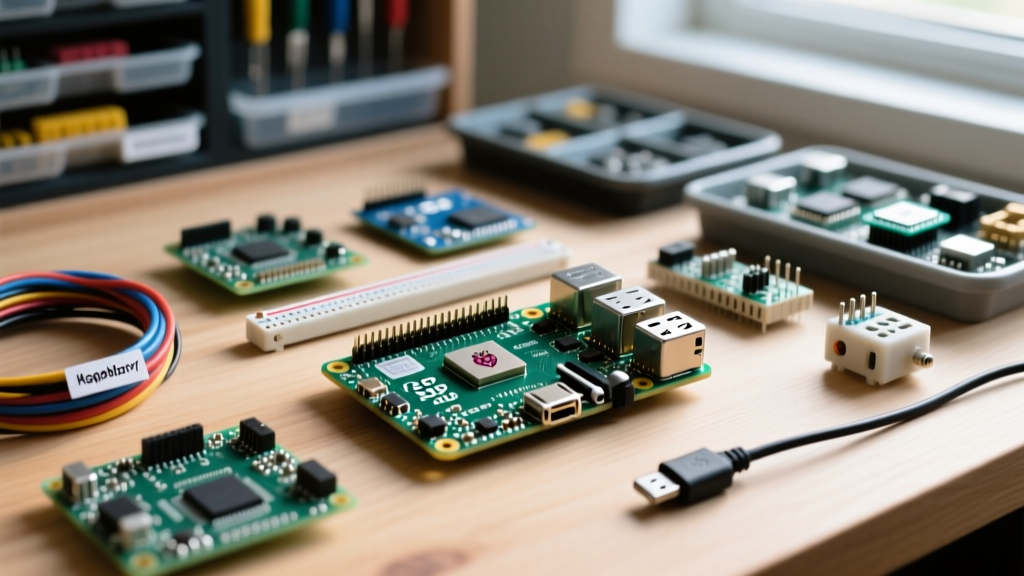
When engineers and advanced hobbyists evaluate projects using Raspberry Pi boards, the most common point of failure occurs before the first line of code is written: hardware mismatch. A Raspberry Pi Zero 2 W is exceptional for low-power IoT sensor nodes, but it will catastrophically bottleneck when tasked with running a local AI vision model or a heavy Home Assistant database. Selecting the correct silicon and supporting peripherals is the first step in a resilient setup.
| SBC Model | Ideal Project Scope | Power Requirement | Critical Configuration Note |
|---|---|---|---|
| Raspberry Pi 5 (8GB) | Home Assistant, Frigate NVR, Jellyfin | 27W USB-C PD (5V/5A) | Requires active cooling; PCIe Gen 2 NVMe boot highly recommended. |
| Raspberry Pi 4B (4GB) | Pi-hole, OctoPrint, MQTT Brokers | 15W USB-C (5.1V/3A) | USB-C power delivery negotiation can fail with older smartphone chargers. |
| Pi Zero 2 W | Portable RetroPie, Remote Weather Nodes | 10W Micro-USB (5V/2A) | Lacks native Ethernet; relies on Wi-Fi or USB-OTG adapters for networking. |
For any project involving continuous database writes (like Home Assistant or Grafana), abandon standard microSD cards. Standard cards suffer from wear-leveling exhaustion within months. Instead, use a SanDisk High Endurance or Samsung PRO Endurance microSD card, or bypass the SD slot entirely by configuring a USB 3.0 to NVMe SSD boot sequence via the Pi's EEPROM.
Core OS Configuration: Headless Setup and SSH Hardening
Most automation projects run headless. Using the Raspberry Pi Imager, you can pre-configure your network and SSH access before the first boot. However, security hardening is mandatory if your SBC will be exposed to local network traffic or remote tailscale tunnels.
Flashing Raspberry Pi OS Lite (64-bit)
Always select the Lite version of the 64-bit OS for server-class projects. The desktop environment consumes roughly 400MB of RAM at idle and introduces unnecessary X11/Wayland dependencies that can conflict with Docker containers. In the Imager's advanced settings (Ctrl+Shift+X), enable SSH with public-key authentication only. Disable password authentication entirely by modifying the SSH daemon configuration post-boot:
sudo nano /etc/ssh/sshd_config
Locate and change the following parameters:
PasswordAuthentication no
PermitRootLogin no
PubkeyAuthentication yes
Restart the service via sudo systemctl restart ssh. This prevents brute-force botnets from targeting the default 'pi' or custom user accounts.
Configuring Heavyweight Projects Using Raspberry Pi
1. Home Assistant OS (HAOS) vs. Supervised
When deploying Home Assistant, you have two primary architectural choices: HAOS (a dedicated, minimal Linux distribution) or HA Supervised (running on top of standard Raspberry Pi OS via Docker). For 90% of users, HAOS is the superior choice. It handles OS-level updates, add-on sandboxing, and Supervisor management natively.
To install HAOS on a Pi 4 or Pi 5, download the specific image from the official Home Assistant installation documentation. Flash it using BalenaEtcher. Upon first boot, the Pi will expand the filesystem and initialize the Docker containers. This process takes up to 20 minutes. Do not unplug the device; monitor your router's DHCP lease table to see when the 'homeassistant' hostname appears on the network.
Expert Troubleshooting: If your Pi 5 is connected to a standard 15W power supply, the firmware will restrict downstream USB current to 600mA. If you are using an external USB SSD for your HAOS data disk, this current limit will cause the drive to disconnect during heavy database I/O, corrupting your MariaDB instance. Always use the official 27W Raspberry Pi 27W USB-C PD Power Supply.
2. Pi-hole with Unbound Recursive DNS
Setting up Pi-hole as a network-wide ad blocker is a classic among projects using Raspberry Pi boards. However, relying on upstream DNS providers like Google (8.8.8.8) or Cloudflare (1.1.1.1) defeats the privacy benefits of blocking trackers. The optimal configuration pairs Pi-hole with Unbound, a validating, recursive, caching DNS resolver.
Install Unbound on Raspberry Pi OS Bookworm:
sudo apt install unbound -y
Download the root hints file and configure Unbound to listen on port 5335 to avoid conflicting with Pi-hole's port 53. In your Pi-hole admin dashboard, navigate to Settings > DNS, uncheck all upstream providers, and add 127.0.0.1#5335 as your custom upstream DNS. This ensures all DNS queries are resolved recursively from the root servers, eliminating third-party telemetry.
Mitigating Common Failure Modes in SBC Deployments
Power Supply Ripple and Brownout Warnings
The most frequent cause of random reboots and SD card corruption in Raspberry Pi deployments is voltage drop. The Pi's internal power management IC (PMIC) monitors the 5V rail. If voltage drops below 4.63V, a brownout warning is triggered, and the system may throttle USB ports and CPU frequency.
To diagnose historical undervoltage events, query the kernel ring buffer:
dmesg | grep -i voltage
If you see Under-voltage detected!, your power supply is inadequate, or your USB-C cable has too high a resistance (voltage drop across thin wires). Replace the cable with a thick, 20AWG USB-C cable rated for 5A.
Thermal Throttling and Active Cooling
The Raspberry Pi 5 features a significantly more powerful BCM2712 SoC that generates much more heat than the Pi 4's BCM2711. Without active cooling, the Pi 5 will thermal throttle at 80°C, severely degrading performance in compute-heavy projects like Frigate NVR or local LLM inference.
The Raspberry Pi Active Cooler is mandatory for Pi 5 deployments. It interfaces directly with the PWM fan headers on the board. You can monitor thermal states in real-time using the vcgencmd utility:
vcgencmd measure_temp
For custom enclosures, ensure there is a minimum 10mm clearance above the SoC for airflow intake, and avoid sealed plastic boxes that trap convective heat.
Network Topology and Static IP Assignment
Automation servers must have predictable IP addresses. Historically, Raspberry Pi users edited /etc/dhcpcd.conf to assign static IPs. However, with the release of Raspberry Pi OS Bookworm, the networking stack transitioned to NetworkManager. Editing legacy config files will no longer work and will break your network stack.
To assign a static IP in Bookworm using the nmcli command-line tool, use the following syntax (assuming your interface is 'eth0' and your gateway is 192.168.1.1):
sudo nmcli con mod "Wired connection 1" ipv4.addresses 192.168.1.50/24
sudo nmcli con mod "Wired connection 1" ipv4.gateway 192.168.1.1
sudo nmcli con mod "Wired connection 1" ipv4.dns "127.0.0.1,1.1.1.1"
sudo nmcli con mod "Wired connection 1" ipv4.method manual
sudo nmcli con up "Wired connection 1"
This ensures your Home Assistant, Pi-hole, or OctoPrint instance remains reachable at the exact same address, even after unexpected power cycles or router reboots. For complete network resilience, pair this static assignment with a UPS HAT (like the PiJuice or Geekworm X1202) to gracefully shut down the SBC via ACPI signals during grid outages.