
The Brownout Epidemic in Mobile Robotics
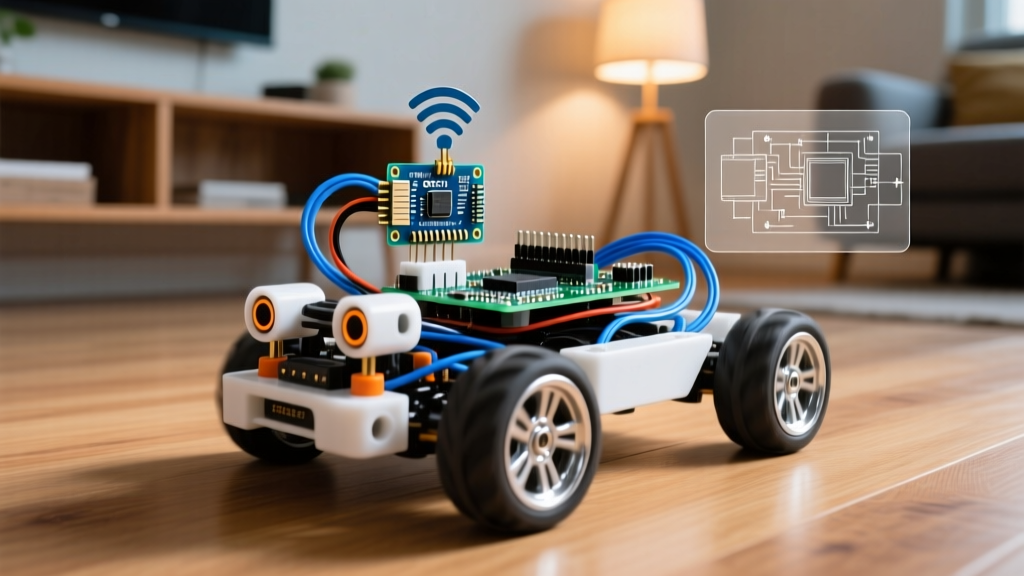
If you have ever built a mobile robot, you have likely experienced the dreaded "brownout reset." Your ESP32 or Arduino is running perfectly, you command the drive motors to accelerate, and suddenly the microcontroller reboots, the servos twitch erratically, and your I2C sensors throw CRC errors. This is the defining challenge of power supply robotics: managing the violent current transients of actuators while maintaining pristine voltage rails for sensitive logic.
Most hobbyist tutorials suggest slapping a single LM7805 linear regulator onto a battery and calling it a day. In a real-world robotic system, this approach guarantees failure. A single stalled 12V DC motor can pull 15 amps instantaneously, causing severe voltage sag on the main battery bus. If your logic and actuators share the same power delivery network (PDN), that sag will drop your 5V logic rail below the 3.3V threshold required by modern MCUs, triggering a hardware reset.
In this step-by-step tutorial, we will design and build a bulletproof, three-rail power supply for robotics that completely isolates high-current motor noise from sensitive RF and logic circuits.
System Architecture: The Three-Rail Paradigm
To achieve total noise isolation, we must abandon the single-rail mindset. A robust robotic power system requires three distinct voltage rails, all referenced to a unified star-ground topology:
- High-Voltage Actuator Rail (11.1V - 12.6V): Dedicated exclusively to main drive motors and high-torque actuators.
- Servo/Payload Rail (6.0V): Regulated power for standard RC servos, LiDAR pucks, and high-draw peripherals.
- Logic & RF Rail (5.0V / 3.3V): Ultra-clean, heavily decoupled power for the ESP32, IMUs, and camera modules.
Bill of Materials (BOM) & Cost Analysis
| Component | Model / Specification | Role | Est. Cost |
|---|---|---|---|
| Primary Battery | Zippy Compact 3S 5000mAh LiPo (11.1V) | Prime Mover Energy Storage | $38.00 |
| Anti-Spark Connector | XT60 with built-in spark suppression | Inrush Current Limiting | $4.50 |
| Logic Buck Converter | Pololu D24V50F5 (5V, 5A Step-Down) | Clean Logic Power | $14.95 |
| Servo Buck Converter | XL4015 5A Adjustable Buck Module | High-Current 6V Rail | $6.00 |
| Decoupling Capacitors | 470µF 25V Low-ESR Electrolytic (x4) | Transient Motor Sag Buffer | $3.00 |
| Supercapacitor Array | 10F 2.7V (x2 in series) + 100Ω Balancing | Logic Ride-Through | $8.50 |
Phase 1: High-Current Battery Integration
The foundation of any power supply robotics project is the battery. We are using a 3S LiPo, which provides a nominal 11.1V and a fully charged voltage of 12.6V. This gives us enough headroom to step down to 6V and 5V efficiently using switching regulators.
Solving the Inrush Current Problem
When you first connect a LiPo to a robot with large electrolytic capacitors on the buck converters, those capacitors act as dead shorts for a fraction of a millisecond. The inrush current can easily exceed 80A. This will weld the brass contacts of your XT60 connector, degrade the battery tabs, and potentially rupture the dielectric layer of your capacitors.
The Fix: Use an Anti-Spark XT60 connector. These feature a built-in high-wattage resistor that pre-charges the system capacitance slowly when you plug in the first half of the connector, before the main high-current pins make contact. If you are using standard connectors, you must build an external pre-charge loop using a 47Ω 5W ceramic resistor and a momentary push-button switch.
Phase 2: DC-DC Step-Down & RF Isolation
Converting 12.6V down to 5V and 6V requires switching buck converters. However, not all buck converters are created equal when it comes to RF interference.
Selecting the Right Switching Frequency
Cheap, ubiquitous modules based on the XL4015 chip switch at roughly 180kHz. While fine for powering motors, the harmonic noise generated by the switching inductor can severely degrade the signal-to-noise ratio (SNR) of sensitive analog sensors and interfere with 433MHz RF receivers. According to SparkFun's guide on voltage regulation, switching noise is a primary culprit in erratic sensor readings.
For the ESP32 logic rail, we are using the Pololu D24V50F5. This regulator operates at a much higher switching frequency (1.2MHz) and features heavy internal shielding. The high frequency pushes the switching noise far above the audio and sub-GHz RF bands, making it trivial to filter out with small ceramic capacitors.
Wiring the Servo Rail: Connect the input of the XL4015 directly to the main battery terminals. Use a multimeter to adjust the potentiometer until the output reads exactly 6.0V. Warning: Never adjust the potentiometer while the servo rail is under load, as mechanical vibration can cause the wiper to jump, sending 12V directly into your 6V servos. Apply a drop of hot glue to the potentiometer screw once calibrated.
Phase 3: Star Grounding & Decoupling Networks
The most common point of failure in power supply robotics is improper grounding. Never daisy-chain your ground wires. If the ground wire for your ESP32 is connected to the ground wire of your drive motors, the high current returning from the motors will create a voltage differential across the wire's resistance (V = I × R). The ESP32 will interpret this fluctuating ground as a fluctuating supply voltage, leading to ADC errors and I2C bus corruption.
Implementing a Star Ground
Create a central ground busbar (a thick copper terminal block). Run a single, heavy-gauge (12 AWG) ground wire from the battery's negative terminal to this busbar. From this single point, run individual ground wires to:
- The motor controllers (ESC / H-Bridge).
- The XL4015 servo buck converter ground.
- The Pololu logic buck converter ground.
This ensures that high-current return paths never cross the reference planes of your low-voltage logic.
Decoupling and Supercapacitor Ride-Through
Place 470µF Low-ESR electrolytic capacitors directly across the power input terminals of your motor controllers. As noted in Texas Instruments' application notes on motor drive noise, bulk capacitance at the point of load is mandatory to absorb the high-frequency current spikes generated by PWM motor commutation.
For the ultimate brownout protection on the 5V logic rail, wire two 2.7V 10F supercapacitors in series (yielding 5.4V, 5F) in parallel with the ESP32's 5V input. You must wire a 100Ω 1/4W balancing resistor across each supercapacitor to ensure voltage divides evenly. If a motor stalls and the main battery voltage sags below 5V, the supercapacitors will keep the ESP32 alive long enough to execute a graceful shutdown routine, save SD card data, and safely halt the I2C bus.
Validation: Simulating Motor Stall Events
Do not deploy your robot until you have validated the PDN under worst-case conditions. Connect an oscilloscope to the 3.3V output pin of your ESP32. Trigger the scope on a falling edge.
Physically grab the output shaft of your largest drive motor and command the robot to drive forward at 100% PWM duty cycle. This simulates a stall condition, forcing the motor controller to pull maximum continuous current. Watch the oscilloscope trace. If your star grounding and decoupling are correct, the 3.3V rail should remain perfectly flat, exhibiting no more than 20mV of ripple, even as the main battery bus sags from 12.6V down to 9.5V.
Diagnostic Matrix: Power Failures
Pro-Tip: Keep this diagnostic matrix in your field kit. 90% of robotics power issues can be identified by observing the specific failure behavior.
- Symptom: ESP32 reboots only when turning left.
Diagnosis: Left motor controller ground is daisy-chained with the logic ground. The return current from the left motor is lifting the ESP32's ground reference above the brownout detection threshold. - Symptom: I2C LiDAR throws CRC errors randomly.
Diagnosis: 180kHz switching noise from a cheap buck converter is coupling into the unshielded I2C SDA/SCL lines. Move to a shielded 1.2MHz buck converter or add a 100nF ceramic capacitor across the I2C pull-up resistors. - Symptom: XT60 connector is melted or pitted.
Diagnosis: Missing inrush current protection. The system capacitance is drawing hundreds of amps upon connection. Install an anti-spark connector immediately.
By treating your power delivery network as a distinct, engineered subsystem rather than an afterthought, you eliminate the most frustrating class of bugs in robotics. A properly isolated, multi-rail power supply ensures that your code, sensors, and actuators operate in perfect harmony, regardless of the physical demands placed on the machine.