
The Hidden Cost of Inefficient ESP8266 Development
Since its explosive debut in the maker community, the ESP8266 has remained a cornerstone of DIY IoT prototyping. Whether you are building a simple MQTT temperature sensor or a complex web-served relay controller, the sheer volume of ESP-12F and ESP-01S modules on workbenches worldwide is staggering. However, as projects scale from a single breadboard prototype to a deployed fleet of sensors, developers frequently hit a hidden wall: workflow friction. Waiting 45 seconds for a serial flash, wrestling with missing library dependencies, or blindly debugging WiFi handshake failures via a single serial print statement drains momentum and kills productivity.
Optimizing your ESP8266 workflow is not just about writing cleaner C++; it is about restructuring your toolchain, hardware choices, and debugging paradigms. By shifting away from beginner-oriented setups and embracing professional-grade microcontroller management, you can reduce compile-flash-test cycles by over 70%. This guide dissects the exact hardware configurations, IDE environments, and over-the-air (OTA) strategies required to build IoT projects at the speed of thought.
Ditching the Arduino IDE Bottleneck: Why PlatformIO Wins
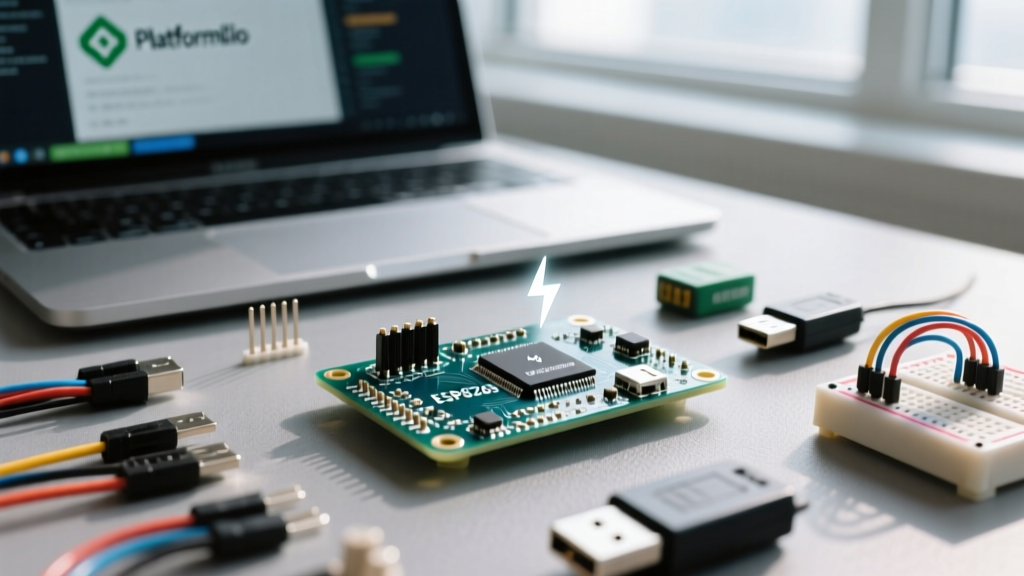
The Arduino IDE is a fantastic on-ramp for beginners, but it becomes a severe liability for serious ESP8266 development. Its flat library structure leads to dependency conflicts, and its lack of native build-flag management makes it nearly impossible to toggle between debug and production builds without manually editing core files. Transitioning to PlatformIO via VS Code is the single most impactful workflow optimization you can make.
| Feature | Arduino IDE (Legacy) | PlatformIO (Optimized) |
|---|---|---|
| Dependency Management | Global, prone to version conflicts | Project-isolated via platformio.ini |
| Build Flags & Macros | Requires editing hidden boards.txt |
Native build_flags configuration |
| Filesystem Uploading | Requires clunky Java plugins | Native CLI command (pio run -t uploadfs) |
| Compile Caching | Inconsistent, often full rebuilds | Aggressive caching, incremental builds |
By defining your board, framework, and libraries in a simple INI file, you ensure that your project is reproducible on any machine. Furthermore, PlatformIO allows you to inject specific C-preprocessor macros directly from the configuration file. For instance, adding build_flags = -DDEBUG_ESP_PORT=Serial -DDEBUG_ESP_WIFI enables deep core-level WiFi debugging without altering a single line of your application code.
Hardware Workflow: Standardizing Your Dev Board Arsenal
Not all ESP8266 development boards are created equal, and the physical hardware you choose dictates your flashing speed and serial reliability. The primary bottleneck in the physical workflow is the USB-to-UART bridge chip.
The UART Bridge Divide: CH340G vs. CP2102
Most generic NodeMCU V3 boards utilize the CH340G chip. While inexpensive, the CH340G often struggles with higher baud rates and requires manual driver installations on older macOS and Windows systems. Conversely, boards equipped with the CP2102 (often found on NodeMCU V2 / Amica variants or premium Wemos D1 Mini clones) offer rock-solid driver support and superior tolerance for high-speed serial communication.
Workflow Tip: Standardize your lab on CP2102-based boards. This eliminates the 'driver lottery' when onboarding new hardware and ensures consistent behavior across your development fleet.
Pushing the Baud Rate Envelope
The default Arduino IDE flash speed is usually capped at 115200 baud. At this rate, flashing a 1MB firmware image takes roughly 45 seconds. If you are iterating on UI code or WiFi parameters, this delay compounds rapidly. By utilizing a CP2102 board and configuring your build environment to use upload_speed = 921600, you can slash the flashing time down to approximately 8 seconds. While some low-quality clone boards with poor trace routing may drop packets at 921600, a quality PCB handles it effortlessly.
The 'Flash-Once' Paradigm: Implementing Robust OTA Updates
Once your hardware is enclosed in a 3D-printed case or soldered into a custom PCB, plugging in a micro-USB cable becomes a physical hindrance. Over-The-Air (OTA) updates are mandatory for a mature IoT workflow. The ESP8266 Arduino Core includes the ArduinoOTA library, which leverages mDNS to discover devices on your local network.
Expert Insight: Never hardcode your OTA password in plain text within your main sketch. Use a centralized
secrets.hfile that is excluded from your version control system via.gitignore. This prevents credential leakage when sharing your IoT codebase on GitHub.
To optimize the OTA workflow, structure your initialization sequence to handle both serial and network updates gracefully. Always include ArduinoOTA.handle() inside your main loop(), but be mindful of blocking code. If your loop contains delay() functions exceeding 100ms, OTA handshakes will time out, leading to failed uploads. Replace blocking delays with non-blocking millis() timers to ensure the ESP8266's TCP stack remains responsive to OTA ping requests.
Advanced Debugging Without Breaking the Serial Loop
A common workflow trap occurs when a developer needs the hardware serial port (UART0) for a peripheral, such as a PZEM-004T energy monitor or a GPS module, but still needs to debug the application. Redirecting debug logs to a secondary software serial port often leads to timing jitter and dropped characters, especially at the ESP8266's default 80MHz clock speed.
Network-Based Telnet Logging
Instead of fighting with physical serial ports, elevate your debugging to the network layer. By implementing a lightweight Telnet server on your ESP8266, you can stream printf debug statements directly to a terminal on your PC over WiFi. This completely frees up UART0 for your sensors while providing a real-time, high-speed debug stream that doesn't suffer from software serial limitations.
Libraries like RemoteDebug or custom Telnet implementations allow you to filter log levels (Verbose, Debug, Info, Error) remotely. This means you can deploy a sensor to the field, log into its Telnet port via SSH tunneling or local network, and dynamically increase the verbosity to diagnose a WiFi reconnection loop without needing to recompile and flash a new firmware.
Filesystem Management: The SPIFFS to LittleFS Migration
For years, developers relied on SPIFFS to store configuration JSON files, SSL certificates, and web assets on the ESP8266's external flash memory. However, SPIFFS is fundamentally flawed for power-loss scenarios; an unexpected reset during a write operation can corrupt the entire filesystem, bricking the device's configuration.
The modern ESP8266 workflow mandates the use of LittleFS. As detailed in the official ESP8266 Filesystem Documentation, LittleFS offers wear-leveling and power-fail safety. Migrating your workflow requires minimal code changes—simply swapping #include and SPIFFS.begin() for #include and LittleFS.begin().
In PlatformIO, you must also update your platformio.ini to instruct the build system to format the filesystem image correctly:
[env:d1_mini]
platform = espressif8266
board = d1_mini
framework = arduino
board_build.filesystem = littlefs
This small configuration shift prevents hours of debugging corrupted config files in deployed field units, drastically improving the long-term reliability of your IoT fleet.
Conclusion: Compounding Time Savings
Workflow optimization is rarely about a single silver bullet; it is the accumulation of marginal gains. By migrating to PlatformIO, you eliminate dependency headaches and enable build-flag toggling. By standardizing on CP2102 hardware and 921600 baud rates, you reclaim minutes of your day previously lost to serial flashing. By embracing OTA and Telnet logging, you decouple your debugging process from physical USB cables. Implementing these strategies transforms the ESP8266 from a frustrating, slow-to-iterate hobbyist chip into a rapid-prototyping powerhouse capable of professional-grade IoT deployment.