
The Architecture of LittleFS on ESP32
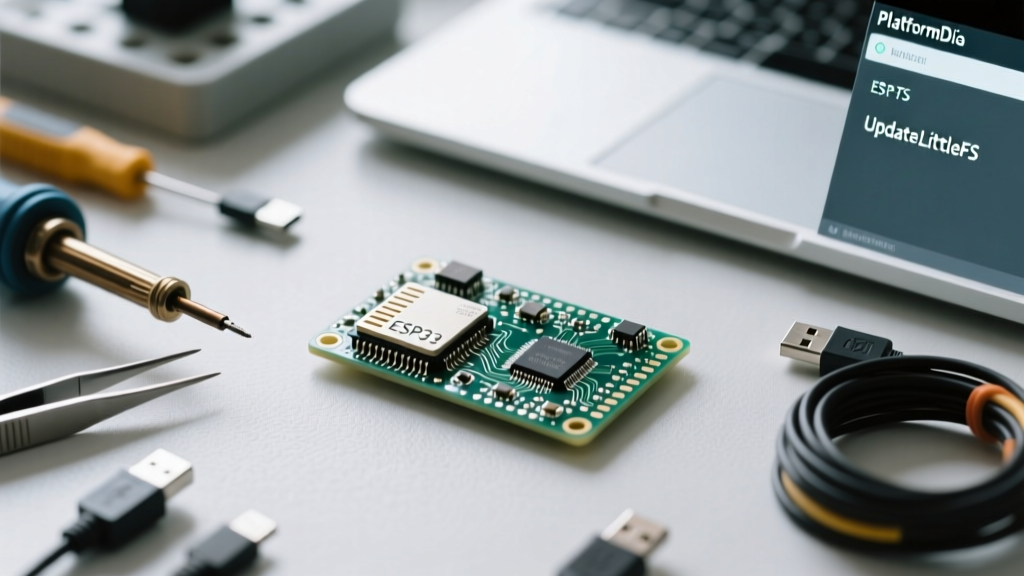
When developing IoT applications, managing local storage for web assets, configuration files, and audio clips is critical. The ESP32 ecosystem has largely moved away from the deprecated SPIFFS in favor of LittleFS. Unlike its predecessor, LittleFS offers robust power-loss resilience, wear leveling, and superior metadata management. However, while the Espressif LittleFS Library handles the C++ runtime beautifully, the actual process of generating and flashing the filesystem image—often searched as the 'esp32 updatelittlefs' workflow—remains a major bottleneck for makers and professional firmware engineers alike.
Optimizing this workflow means eliminating manual binary compilation steps, reducing serial timeout errors, and ensuring your partition tables perfectly align with your OTA (Over-The-Air) update requirements. In this guide, we will restructure your filesystem upload pipeline for maximum efficiency.
Why Legacy Upload Methods Fail
In the Arduino IDE 1.8.x era, developers relied on the 'ESP32 Sketch Data Upload' Java plugin. This tool was hardcoded to generate SPIFFS images using mkspiffs. When the community shifted to LittleFS, attempting to use legacy tools resulted in the dreaded Wrong magic word error upon boot, as the ESP32 bootloader expected LittleFS formatting but received SPIFFS headers.
With the release of Arduino IDE 2.x, the plugin architecture was completely overhauled. The old Java-based upload buttons disappeared entirely, leaving many developers manually compiling LittleFS binaries via command-line mklittlefs utilities and flashing them with esptool.py. This manual intervention destroys workflow momentum and introduces human error in offset calculations.
Workflow 1: PlatformIO Automation (The Professional Standard)
If you are serious about IoT firmware development, migrating to PlatformIO is the single most effective way to optimize your ESP32 UpdateLittleFS workflow. PlatformIO natively supports LittleFS image generation and handles the partition offset calculations automatically based on your board definitions.
Configuring platformio.ini
To enable LittleFS in PlatformIO, you must explicitly declare the filesystem type in your environment configuration. By default, PlatformIO might still attempt to build SPIFFS images for backward compatibility.
[env:esp32dev]
platform = espressif32
board = esp32dev
framework = arduino
board_build.filesystem = littlefs
board_build.partitions = custom_partitions.csv
By setting board_build.filesystem = littlefs, the PlatformIO build chain automatically invokes the correct mklittlefs binary during the Upload Filesystem Image task. You simply place your web server files (HTML, CSS, JS) into the data/ directory at the root of your project, click the upload button, and the IDE handles the image creation, baud-rate negotiation, and flashing sequence.
Workflow 2: Arduino IDE 2.x CLI Integration
For educators, hobbyists, or teams locked into the Arduino IDE 2.x ecosystem, you can restore a streamlined upload workflow using Earle F. Philhower’s arduino-littlefs-upload extension. This VS Code-based extension integrates directly into the Arduino IDE 2.x command palette.
Installation and Execution Steps
- Step 1: Download the latest
.vsixrelease from the GitHub repository. - Step 2: In Arduino IDE 2.x, open the Command Palette (Ctrl+Shift+P or Cmd+Shift+P) and select Install from VSIX.
- Step 3: Create a
datafolder in your sketch directory and populate it with your assets. - Step 4: Open the Command Palette and execute Upload LittleFS to Pico/ESP8266/ESP32.
This extension reads your active board selection and partition scheme, dynamically generating the LittleFS image and pushing it to the correct hex offset without requiring you to touch the terminal.
Custom Partition Tables: Maximizing LittleFS Yield
A common failure mode during the update process is running out of allocated flash space, leading to silent truncation of files or LittleFS mount failed errors. The default 'Default 4MB with spiffs' partition scheme allocates a meager 1.4MB to the filesystem, which is quickly exhausted by modern web interfaces or audio prompts.
Creating a custom CSV partition table allows you to shrink the OTA partition (if you only use USB updates) or balance the App and Data partitions perfectly.
| # Name | Type | SubType | Offset | Size | Workflow Use Case |
|---|---|---|---|---|---|
| nvs | data | nvs | 0x9000 | 0x5000 | Wi-Fi credentials & NVS storage |
| otadata | data | ota | 0xe000 | 0x2000 | OTA state tracking (Required for OTA) |
| app0 | app | ota_0 | 0x10000 | 0x1E0000 | Main firmware binary (1.87MB) |
| spiffs | data | spiffs | 0x1F0000 | 0x200000 | LittleFS Data Partition (2MB) |
Note: Even though the SubType is labeled 'spiffs' in the ESP-IDF partition schema, the Arduino core will format and mount it as LittleFS if your C++ code initializes the LittleFS library.
Troubleshooting Matrix: Resolving Update Failures
When your optimized workflow hits a snag, the ESP32 serial monitor provides specific clues. Here is a diagnostic matrix for the most common LittleFS update failures.
1. The 'Mount Failed' Loop
Symptom: The serial monitor outputs E (142) esp_littlefs: Failed to format LittleFS or LittleFS mount failed immediately after a fresh upload.
Root Cause: The partition was erased but not formatted, or the flash memory contains corrupted wear-leveling metadata from a previous SPIFFS installation.
Solution: Implement a fallback format in your setup() function. Always use the two-argument initialization to force a format on failure:
if(!LittleFS.begin(false)){
  Serial.println('Mount Failed. Attempting Format...');
  LittleFS.begin(true); // True forces format
}
2. Serial Timeout During Upload
Symptom: The upload process stalls at 100% or throws a Timed out waiting for packet header error.
Root Cause: LittleFS images are often 1MB to 3MB in size. At the default 115200 baud rate, transferring a 2MB image takes over two minutes, increasing the chance of USB UART buffer overflows.
Solution: Force the upload baud rate to 921600. In PlatformIO, add upload_speed = 921600 to your platformio.ini. In Arduino IDE 2.x, verify your board profile supports high-speed UART or use a high-quality data-rated USB-C cable (many cheap cables cause signal degradation at high baud rates).
3. OTA Conflicts and App Rollbacks
Symptom: After updating the LittleFS partition via USB, the ESP32 boots into an older version of your firmware.
Root Cause: Flashing the filesystem via USB does not automatically update the otadata partition. The bootloader reads the OTA data, sees that app1 was the last active OTA slot, and boots from there, ignoring the freshly flashed app0.
Solution: When doing a full USB bench-flash that includes both firmware and LittleFS, always use the 'Erase All Flash Before Sketch Upload' option in your IDE settings, or explicitly flash the otadata partition to reset the boot index to app0.
Verifying File Integrity Post-Upload
Do not assume a successful serial upload means your files are intact. Flash memory degradation or bad sectors can corrupt files silently. Integrate a verification routine into your development workflow. By calculating the MD5 hash of your critical configuration files on your host machine and comparing it against the ESP32's runtime hash, you guarantee data integrity.
Pro-Tip: Use the
LittleFS.open('/config.json', 'r')method combined with a streaming MD5 library to verify your assets on the first boot after an update. If the hash mismatches, trigger an automated fallback to factory defaults stored in the NVS partition.
By shifting from manual, error-prone flashing methods to automated PlatformIO pipelines or integrated CLI tools, you reclaim hours of development time. Mastering the ESP32 UpdateLittleFS workflow ensures that your web servers, audio players, and data loggers deploy reliably, every single time.