
When tackling a home renovation, basement finish, or garage workshop build, choosing the right wiring method is critical for both safety and code compliance. While Non-Metallic (NM-B) sheathed cable, commonly known as Romex, dominates concealed residential walls, Metal Clad (MC) cable is the undisputed champion for exposed runs. If you are wiring an unfinished basement ceiling, running power to a detached garage, or wiring a workshop where the cables might be subject to physical damage, MC cable provides a robust, crush-resistant armor that NM-B simply cannot match.
Decoding the Armor: MC vs. AC vs. BX
Before cutting into any metal-jacketed wire, it is vital to understand what you are holding. Many DIYers and even seasoned tradespeople mistakenly use the terms interchangeably, but the differences dictate how they must be terminated.
- BX (Legacy Armor Clad): An obsolete term for early armored cable that lacked a dedicated grounding wire. It relied on the metal armor itself as the ground path, which proved unreliable and dangerous. You should not be installing this today, and if you find it in an older home, it should be replaced.
- AC (Armor Clad) Cable: Still manufactured today, AC cable contains a bare aluminum bonding strip running along the inside of the armor. Per NEC guidelines, the combination of this strip and the metal armor serves as the equipment grounding conductor. However, it does not contain a dedicated green insulated ground wire.
- MC (Metal Clad) Cable: The modern standard. MC cable features a flexible metal armor (usually interlocked aluminum or steel) encasing individually insulated THHN/THWN-2 conductors, plus a dedicated green insulated equipment grounding conductor. This makes it vastly superior for residential DIY projects because it grounds exactly like standard Romex, removing the guesswork from metal box terminations.
Selecting the Right MC Cable for Residential Projects
For most home projects, you will be purchasing standard interlocked aluminum armor MC cable with solid copper THHN conductors. Here is a breakdown of what to buy based on your circuit requirements:
| Cable Designation | Conductor Size | Ampacity | Best Residential Application | Approx. Cost (250ft Roll) |
|---|---|---|---|---|
| 14/2 MC | 14 AWG Solid | 15 Amps | Exposed lighting circuits, smoke detectors | $130 - $150 |
| 12/2 MC | 12 AWG Solid | 20 Amps | Garage receptacles, basement workshop outlets | $170 - $210 |
| 10/3 MC | 10 AWG Solid | 30 Amps | Heavy-duty equipment, welders, large compressors | $280 - $330 |
Pro Tip: Always buy from reputable manufacturers like AFC Cable Systems or Southwire. Cheap, imported MC cable often features brittle armor that flakes or insulation that fails the UL listing flame tests.
The Toolkit: What You Actually Need
You cannot strip MC cable with a standard pocket knife or Romex ripper. The armor will destroy standard wire strippers, and improper cutting will score the inner THHN insulation, leading to catastrophic short circuits. Invest in these specific tools:
- Rotary MC Cable Cutter: A tool like the Klein Tools MC Cable Cutter wraps around the cable and scores the armor in a perfect circle without touching the inner wires.
- MC Cable Stripping Tool: Used to strip the individual THHN conductors and the green ground wire without nicking the copper.
- Anti-Short Bushings (Redheads): These small, red plastic sleeves are mandatory. They slide over the wires inside the cut armor to protect the insulation from the razor-sharp metal edges.
- MC Compression Fittings: Avoid set-screw fittings for corrugated MC; they can crush the jacket. Use UL-listed compression fittings that securely clamp the armor to the metal junction box.
Step-by-Step Termination Guide
Step 1: Measure and Cut the Armor
Measure your run, adding an extra 12 inches for box terminations. Wrap the rotary cutter around the MC cable at your mark. Rotate it 3 to 4 times until the armor snaps cleanly. Never use a hacksaw or reciprocating saw; the teeth will inevitably grab the inner conductors and slice the insulation.
Step 2: Strip the Inner Conductors
Once the armor is removed, you will see the THHN wires and the Kraft paper or PVC jacket. Strip back the paper jacket about 2 inches to expose the wires. Use your wire strippers to remove 3/4 inch of insulation from each THHN conductor.
Step 3: Install the Anti-Short Bushing
This is the most skipped step by amateurs, and it is a direct violation of the NFPA 70 (National Electrical Code). Slide the red plastic bushing into the end of the metal armor so it sits between the sharp metal edge and the wire insulation.
Step 4: Terminate at the Metal Box
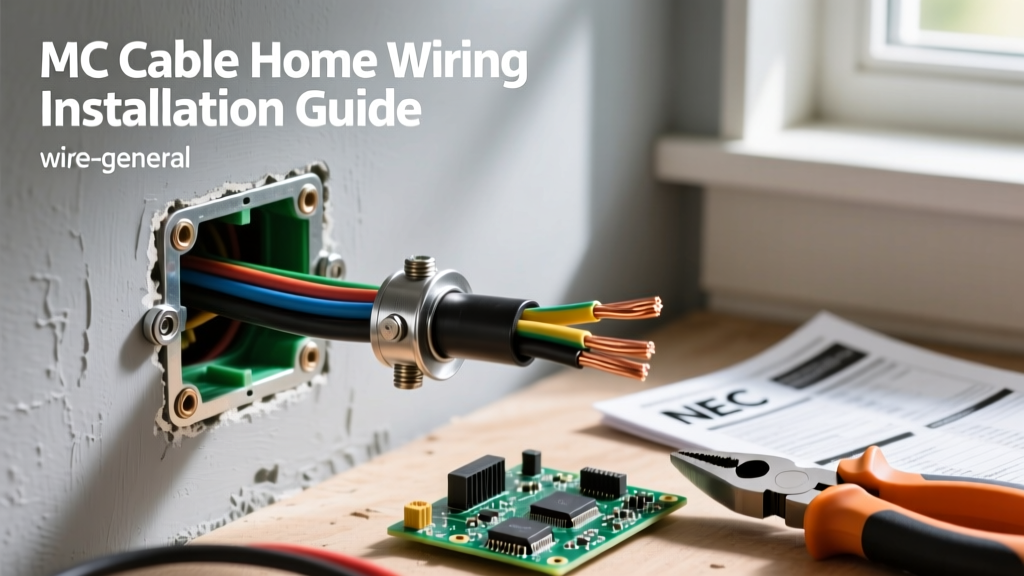
Slide the compression fitting nut onto the cable, followed by the fitting body. Push the fitting into the knockout hole of the metal junction box and tighten the locknut. Finally, tighten the compression nut. This creates a rock-solid mechanical bond and ensures the metal armor is properly grounded to the box.
Navigating NEC Code for Exposed Home Wiring
When running MC cable in your home, you must adhere to NEC Article 330. The most critical rules for DIYers involve support and protection:
- Support Intervals: MC cable must be secured and supported at intervals not exceeding 6 feet. Use metal or heavy-duty plastic MC cable straps. Do not use standard NM-B staples; they are not rated to hold the weight and profile of armored cable.
- Box Proximity: The cable must be secured within 12 inches of every single-gang metal box, and within 18 inches for larger multi-gang boxes.
- Protection from Physical Damage: While MC is tough, if you are running it down a wall where a car could hit it in a garage, or where heavy storage items are stacked, you must protect it with rigid metal conduit or install it behind a physical barrier like a 2x4 running strip.
Expert Insight: Pulling MC cable through bored holes in wooden joists or studs is significantly harder than pulling Romex due to the friction of the metal armor. To prevent the cable from binding and tearing the insulation, always use plastic pull-through bushings in the bored holes, and apply a UL-listed wire pulling lubricant if the run exceeds 20 feet.
Common Failure Modes and How to Avoid Them
Even with the right materials, poor execution can lead to dangerous electrical faults. Here are the most common failure modes seen in home DIY MC installations:
1. The 'Score and Snap' Insulation Puncture
The Mistake: Using a utility knife to score the metal armor and snapping it by hand.
The Result: The knife blade slips and slices into the THHN insulation. The wire passes the initial visual inspection, but over time, thermal expansion and contraction cause the bare copper to touch the grounded metal armor, resulting in a ground fault that trips the breaker continuously.
The Fix: Always use a dedicated rotary cutter.
2. Grounding the Armor Instead of the Wire
The Mistake: Assuming the metal armor is the ground path (confusing MC with AC cable) and failing to connect the green pigtail to the metal box's grounding screw.
The Result: If a hot wire comes loose and touches the box, the breaker may not trip fast enough because the armor's interlocked joints do not provide a low-impedance fault path.
The Fix: Treat MC cable exactly like Romex. The green wire is your sole equipment grounding conductor. Pigtail it to the device and the metal box.
3. Over-tightening Corrugated Armor Fittings
The Mistake: Using set-screw fittings on smooth or corrugated aluminum MC and cranking down the screw.
The Result: The screw pierces the armor and crushes the internal THHN insulation, creating an immediate dead short or a high-resistance arc fault hazard.
The Fix: Stick to compression-style fittings for standard residential interlocked MC cable.
Final Thoughts on Your Home Wiring Project
Upgrading your garage, finishing a basement ceiling, or wiring a home workshop with MC cable is a highly rewarding project that yields a professional, industrial-grade aesthetic and unmatched physical protection. By respecting the differences between MC and legacy armored cables, investing in the proper rotary cutting tools, and strictly adhering to NEC support and anti-short bushing requirements, you will build an electrical system that is as safe as it is durable. Always remember to pull local permits and have your rough-in and final terminations inspected by your local Authority Having Jurisdiction (AHJ) before energizing the circuit.