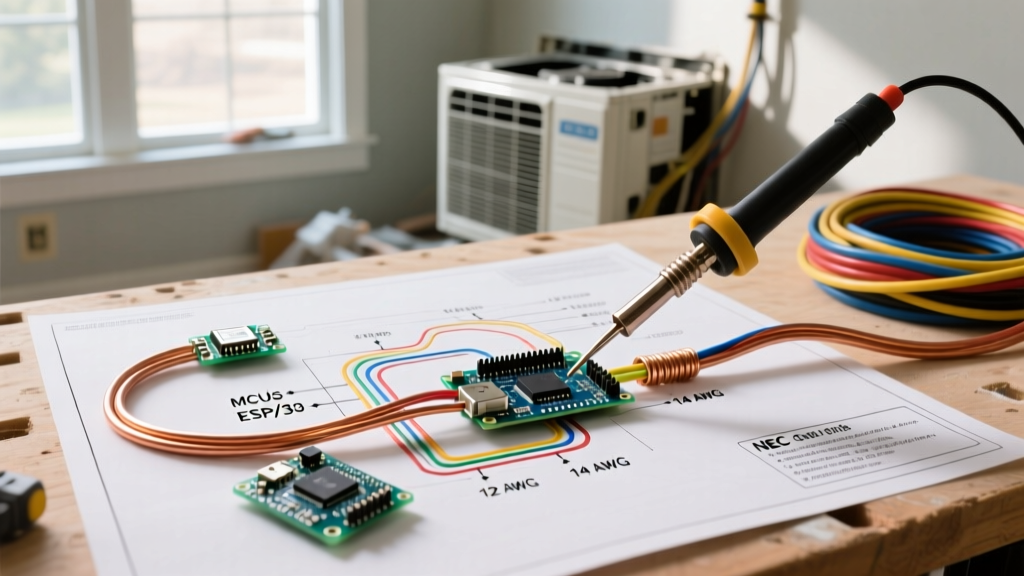

The Critical Role of Early HVAC Electrical Planning
When gutting a home or building an addition, framing and plumbing often steal the spotlight. However, planning your ac unit electrical wiring during the rough-in phase is arguably the most critical step to prevent costly change orders later. Modern high-efficiency HVAC systems demand precise electrical infrastructure. A 2026 SEER2-compliant variable-speed system doesn't just cool your home; it relies on complex communicating control boards that require dedicated, clean power. Failing to map out your circuits before the drywall goes up can result in undersized panels, voltage drop issues, and code violations that stall your final inspection.
Renovation Pro-Tip: Never rely on the HVAC contractor to figure out the electrical rough-in on the fly. Electrical and HVAC trades must coordinate during the blueprint phase. The electrician needs the exact equipment model numbers to calculate the Minimum Circuit Ampacity (MCA) before pulling a single foot of wire.Decoding the Nameplate: MCA vs. MOCP
The most common mistake renovation planners make is sizing the breaker and wire based on the unit's tonnage rather than the manufacturer's nameplate data. The National Electrical Code (NEC) Article 440 dictates that HVAC circuits must be sized according to two specific metrics found on the condenser's data plate:
- Minimum Circuit Ampacity (MCA): This dictates the exact wire gauge you must use. It accounts for 125% of the compressor's Rated Load Amps (RLA) plus the full load amps of the fan motor.
- Maximum Overcurrent Protection (MOCP): This dictates the absolute maximum breaker size allowed to protect the unit's internal overload protectors.
For example, a 3-ton unit might have an MCA of 24A and an MOCP of 40A. This means you must use wire rated for at least 24A (10 AWG copper) but you are permitted—and often required—to use a 40A breaker to prevent nuisance tripping during compressor startup surges (Locked Rotor Amps).
Wire Gauge and Breaker Sizing Matrix
| Unit Tonnage (Approx.) | Typical MCA Range | Required Copper Wire (NM-B / THWN-2) | Standard MOCP (Breaker) |
|---|---|---|---|
| 1.5 - 2.0 Ton | 12A - 18A | 12 AWG or 10 AWG | 20A or 25A |
| 2.5 - 3.0 Ton | 19A - 28A | 10 AWG | 30A or 35A |
| 3.5 - 4.0 Ton | 29A - 38A | 8 AWG | 40A or 45A |
| 5.0 Ton | 39A - 52A | 6 AWG | 50A or 60A |
Source: Sizing aligns with NFPA NEC Article 440 and standard manufacturer nameplate data.
Rough-In Strategies for Modern SEER2 Systems
As of the Department of Energy's updated testing standards, SEER2 systems utilize advanced variable-speed compressors and ECM blower motors. According to Energy.gov, these systems drastically reduce energy consumption but introduce new electrical complexities during a remodel.
The Attic Air Handler Circuit
Older single-stage air handlers often leached 120V power directly from the condenser's contactor via a transformer. Modern communicating air handlers (like the Carrier Infinity or Trane ComfortLink series) require a dedicated 120V, 20-amp circuit to power the main control board and ECM blower motor. During your rough-in, ensure your electrician runs a dedicated 12/2 NM-B circuit from the panel directly to the attic air handler location, terminating in a standard 20A duplex receptacle or a hardwired junction box with a local disconnect switch as required by local amendments.
Exterior Condenser Routing and Wet Locations
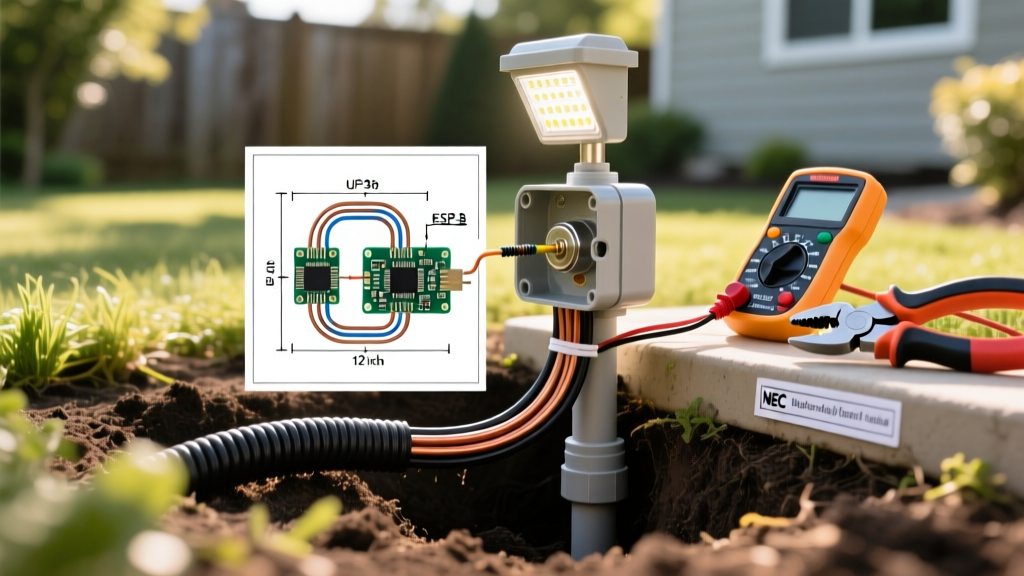
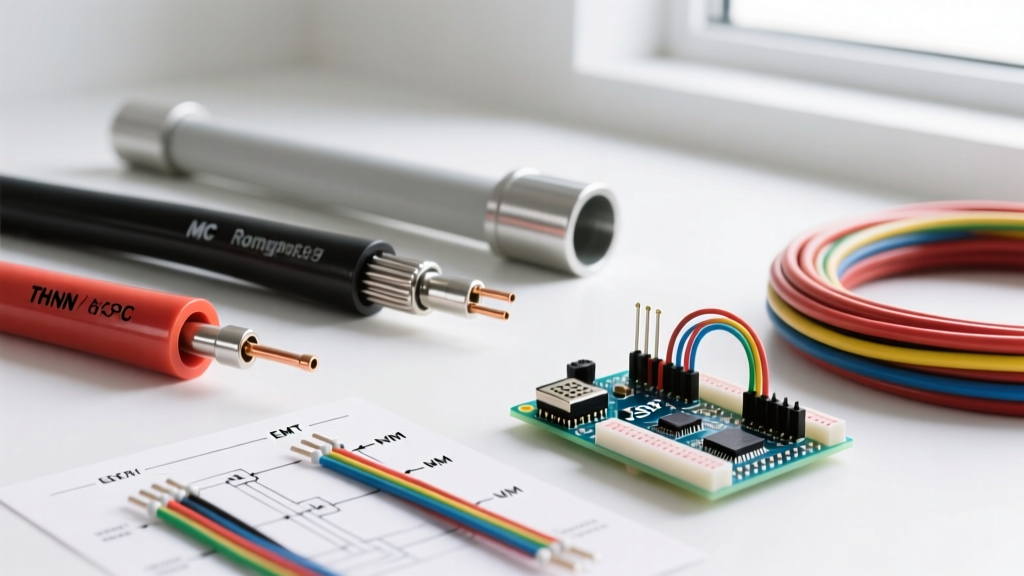
A frequent renovation failure mode is running indoor-rated NM-B (Romex) through exterior conduit to the condenser. The NEC classifies the interior of outdoor conduit as a 'wet location.' NM-B is strictly prohibited in wet locations. The correct method: Run 10/2 or 8/2 NM-B from the interior panel to an exterior junction box or the back of the disconnect switch. From that point outward, you must transition to individual THWN-2 conductors (which are wet-location rated) pulled through 3/4-inch Liquid-Tight Flexible Metal Conduit (LFMC) or Schedule 80 PVC down to the condenser pad.
The Outdoor Disconnect and Clearances
Every outdoor condenser requires a local disconnect switch within sight (NEC Article 440.14). For residential renovations, a 60-Amp, 240-Volt Non-Fused Pull-Out Disconnect (such as the Square D D221NRB or Eaton DT221NRK) is the industry standard. When planning the pad and disconnect placement, you must account for NEC 110.26 working space clearances. The disconnect requires a minimum of 30 inches of horizontal working space and 36 inches of clear depth in front of it. Landscapers often violate this by planting shrubs too close to the pad; mark this zone on your renovation site plan to avoid inspection failures.
Common Renovation Failure Modes (and How to Avoid Them)
Even experienced renovation teams make electrical blunders when rushing to close walls. Watch out for these specific edge cases:
- Voltage Drop on Long Runs: If your electrical panel is on the opposite side of a sprawling single-story ranch, the wire run to the condenser might exceed 100 feet. A standard 10 AWG wire will suffer a voltage drop exceeding the recommended 3% threshold on a 240V circuit over 120 feet. Solution: Upsize to 8 AWG THWN-2 conductors for long exterior runs to protect the compressor's lifespan.
- Improper Torque Specifications: Since the 2017 NEC update, Article 110.14(D) mandates that all electrical connections must be torqued to the manufacturer's specifications using a calibrated torque screwdriver. Most 30A-50A HVAC breakers require between 35 and 45 inch-pounds of torque. Hand-tightening lugs leads to thermal expansion, arcing, and melted breaker buses.
- Thermostat Wire Interference: High-efficiency systems use digital communication between the thermostat, air handler, and condenser. Running standard 18/5 unshielded thermostat wire parallel to 240V lines causes signal dropout. Solution: Specify 18/8 or 18/10 shielded communicating wire (like Thermostat Shielded Cable) and ensure the drain wire is grounded only at the air handler control board.
Warning on Smart Thermostats: If your renovation includes smart home integration (e.g., Ecobee SmartThermostat or Nest Learning Thermostat), you must ensure an 18/8 wire run includes a dedicated 'C-Wire' (Common) connected to the 24VAC transformer. Relying on 'power stealing' from modern variable-speed HVAC control boards will cause the board to fault out and void the equipment warranty.
2026 Cost Estimates for AC Wiring Upgrades
Budgeting accurately is vital for renovation planning. The costs below reflect national averages for Q1 2026, factoring in recent copper market fluctuations and updated labor rates. For a comprehensive look at energy-efficient HVAC upgrades and their infrastructure needs, refer to the EPA Energy Star Heating and Cooling guide.
| Renovation Wiring Task | Material Cost (Avg) | Labor Cost (Avg) | Total Estimated Range |
|---|---|---|---|
| New 240V/40A Circuit (up to 60ft) | $110 - $160 | $250 - $400 | $360 - $560 |
| 60A Outdoor Disconnect & LFMC | $85 - $130 | $150 - $250 | $235 - $380 |
| Dedicated 120V/20A Attic Circuit | $60 - $90 | $200 - $350 | $260 - $440 |
| Panel Upgrade (100A to 200A) | $400 - $700 | $1,200 - $2,200 | $1,600 - $2,900 |
Final Pre-Drywall Checklist
Before you authorize the insulation and drywall crews to close up the walls, walk the site with your lead electrician and verify the following:
- Verify the 240V circuit breaker size matches the exact MOCP on the condenser's spec sheet, not just a generic '3-ton' assumption.
- Confirm THWN-2 individual conductors are used in all exterior conduit runs, not NM-B.
- Check that the dedicated 120V attic air handler circuit is clearly labeled and includes a local disconnect switch within sight of the unit.
- Ensure 18/8 shielded thermostat wire is routed to all planned smart thermostat locations, keeping a minimum 12-inch separation from parallel 120V/240V line voltage wires.
- Verify the exterior disconnect location maintains the 30-inch by 36-inch NEC working space clearance, free of planned landscaping or structural obstructions.
By treating your ac unit electrical wiring as a foundational pillar of your renovation rather than an afterthought, you ensure system longevity, pass inspections on the first attempt, and guarantee that your new high-efficiency HVAC system operates exactly as engineered.