
Beyond the Multimeter: Why You Need an Oscilloscope
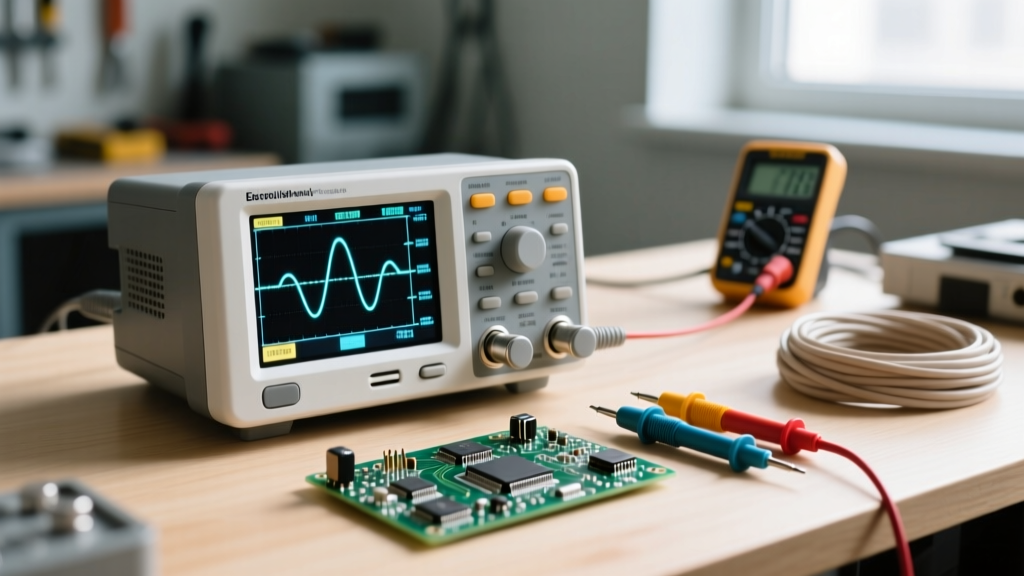
A digital multimeter (DMM) is essential, but it only provides a time-averaged snapshot of a circuit. When you need to see how a voltage changes over time—like debugging a noisy I2C bus or measuring PWM duty cycles—you must learn how to use an oscilloscope. This guide breaks down the fundamental systems of modern digital storage oscilloscopes (DSOs), using popular entry-level models like the Rigol DS1054Z and Siglent SDS1104X-E as our baseline references.
The Graticule: Reading the Oscilloscope Grid
Before touching any knobs, understand the display. The screen is divided into a grid called a graticule, typically 10 horizontal divisions and 8 vertical divisions.
- Vertical Axis (Y): Represents voltage. Controlled by the Volts/Div knob.
- Horizontal Axis (X): Represents time. Controlled by the Time/Div (or Sec/Div) knob.
Step 1: Probe Setup and Compensation (Critical First Step)
Beginners often plug in a probe and immediately start measuring, leading to distorted waveforms. Oscilloscope probes (typically 10x passive probes) contain an internal RC (resistor-capacitor) network that must match the input capacitance of the scope.
How to Compensate a 10x Probe
- Connect the probe's BNC connector to Channel 1.
- Attach the probe tip to the scope's Probe Comp terminal (usually a 1kHz, 3.3V square wave output) and the ground clip to the adjacent ground lug.
- Set the probe attenuation switch on the probe head to 10x, and ensure the scope's channel menu is also set to 10x.
- Press the Auto Set button.
- Using the small plastic adjustment tool provided with your probes, turn the trimmer capacitor screw on the probe's compensation box until the square wave has perfectly flat tops and bottoms.
Warning: An overcompensated probe shows rounded corners, while an undercompensated probe shows overshoot (ringing) on the edges. This will ruin high-speed digital measurements.
Step 2: The Vertical System (Voltage and Coupling)
The vertical system amplifies or attenuates the incoming signal to fit the screen.
Understanding Input Coupling
In the channel menu, you will find three coupling options. Choosing the right one is vital for accurate signal analysis:
- DC Coupling: Passes both AC and DC components. Use this for digital logic signals (e.g., a 3.3V microcontroller GPIO pin) or general circuit debugging.
- AC Coupling: Inserts a series capacitor to block the DC offset, centering the AC signal around 0V. Pro Tip: Use AC coupling to measure power supply ripple. If you have a 12V DC rail and want to see the 20mV AC switching noise, DC coupling will push the noise off-screen or force you into a low-resolution Volts/Div setting. AC coupling blocks the 12V, allowing you to zoom in to 10mV/Div.
- GND Coupling: Disconnects the input and grounds the amplifier. Use this to find the true 0V baseline on your screen before taking a measurement.
Step 3: The Horizontal System (Timebase)
The horizontal system dictates the sampling window. If you are measuring a 1kHz audio signal, a timebase of 1ms/Div will show exactly one full cycle across 10 divisions. For a 10MHz clock signal, you will need a timebase of 50ns/Div. Always adjust the Time/Div knob until you see at least two to three complete, stable cycles of your waveform.
Step 4: Taming the Trigger System
The trigger is the most misunderstood part of learning how to use an oscilloscope. Without a trigger, the scope continuously samples data and overlays it randomly, resulting in a blurry mess. The trigger tells the scope when to start drawing the waveform based on a specific condition.
Edge Triggering Basics
The standard trigger mode is Edge Trigger. You define a voltage level and a slope (Rising or Falling).
- Trigger Level: Set this to a voltage that the signal actually crosses. For a 0V to 5V square wave, set the trigger level to 2.5V.
- Trigger Mode:
- Auto: The scope will trigger if the condition is met, but will free-run and draw a rolling trace if no trigger event occurs. Good for initial setup.
- Normal: The scope will only update the display when the exact trigger condition is met. Essential for capturing intermittent faults or rare glitches.
- Single: Arms the scope to capture one single trigger event, then stops. Perfect for capturing a one-time power-up sequence or a component failure.
Safety Warning: The Ground Clip Danger
Standard passive oscilloscope probes share a common ground with the oscilloscope's chassis, which is tied to earth ground via the AC mains plug. Never connect the ground clip of a standard probe to a live AC mains voltage or a non-isolated high-voltage DC node. This will create a dead short through the scope's internal grounding, potentially destroying the scope, the circuit, and causing severe injury. For mains-level measurements, always use high-voltage differential probes or an isolation transformer.
Troubleshooting Common Oscilloscope Display Issues
When learning how to use an oscilloscope, you will inevitably encounter a blank or chaotic screen. Use this diagnostic table to recover your signal.
| Symptom | Probable Cause | Solution |
|---|---|---|
| Trace is a blurry, solid band of light | Trigger level is outside the signal's voltage amplitude, or trigger mode is set to Auto with no signal present. | Adjust Trigger Level knob so the trigger marker arrow sits inside the waveform's vertical boundaries. |
| Trace is completely off-screen | Vertical position is misaligned, or Volts/Div is too sensitive. | Set Coupling to GND, center the vertical position, then switch back to DC/AC. |
| Waveform shows severe ringing/overshoot on edges | Probe is undercompensated, or using a long ground-lead alligator clip. | Adjust probe compensation capacitor. For high-speed signals, use the probe's short ground spring instead of the long wire. |
| Signal amplitude reads exactly 1/10th of expected value | Probe is set to 10x physically, but the scope channel menu is set to 1x. | Match the scope's channel attenuation setting to the physical switch on the probe head. |
Further Reading and Authoritative Resources
To deepen your understanding of oscilloscope fundamentals and advanced triggering techniques, consult these industry-standard resources:
- SparkFun: How to Use an Oscilloscope - An excellent visual breakdown of DSO interfaces and basic measurements.
- Electronics Notes: Oscilloscope Basics - Deep dives into the mathematics of sampling rates, bandwidth limits, and probe impedance.
Mastering the oscilloscope transforms you from a parts-swapper into a true electronics diagnostician. Take the time to understand your trigger system and probe compensation, and the secrets of any circuit board will be laid bare on your screen.