
When transitioning from blinking LEDs to building autonomous robots, every electronics hobbyist hits the same wall: microcontrollers simply cannot power motors directly. An Arduino GPIO pin maxes out at roughly 20mA to 40mA, while a standard 12V DC gear motor can easily draw 1A to 5A under load. Attempting to wire a motor directly to a logic pin will instantly fry your microcontroller. This is exactly why a dc motor driver is the most critical bridge between your low-power logic and high-power mechanical actuation.
In this comprehensive buying guide, we will dissect the internal topologies of the most popular motor driver ICs on the market, evaluate their real-world thermal limits, and provide a definitive framework for selecting the right board for your specific voltage and current requirements.
The Anatomy of a DC Motor Driver: H-Bridge Topology
At the core of almost every bidirectional dc motor driver is the H-Bridge circuit. Named for its resemblance to the letter 'H', this topology utilizes four electronic switches (either Bipolar Junction Transistors or MOSFETs) to control the polarity of the voltage applied to the motor.
- Forward Motion: Switches S1 and S4 close, allowing current to flow from left to right through the motor.
- Reverse Motion: Switches S2 and S3 close, reversing the current flow.
- Braking: Closing S1 and S2 (or S3 and S4) simultaneously shorts the motor terminals, creating dynamic braking via back-EMF.
Understanding whether your driver uses BJT (Bipolar Junction Transistor) or MOSFET (Metal-Oxide-Semiconductor Field-Effect Transistor) switches is the single most important factor in determining efficiency and heat generation.
Core Selection Criteria: Matching the Driver to the Load
Before adding a module to your cart, you must evaluate three critical specifications against your motor's stall current and operating voltage.
1. Continuous vs. Peak Current Ratings
Marketing materials often highlight 'Peak Current' in massive fonts. A driver labeled as '30A' might only sustain that current for 10 milliseconds before thermal shutdown triggers. Always look for the Continuous Current Rating, which dictates what the board can handle indefinitely with adequate heatsinking. As a rule of thumb, your driver's continuous rating should exceed your motor's expected operating load by at least 30%.
2. Voltage Drop and RDS(on)
Older BJT-based drivers suffer from high internal voltage drops. If you supply 5V to the motor terminal of an L298N, the motor might only receive 3V due to a 2V drop across the internal Darlington pairs. Modern MOSFET drivers specify their resistance as RDS(on). A lower RDS(on) means less voltage wasted as heat and more torque delivered to your wheels.
3. Logic Level vs. Motor Power Isolation
High-power setups often use separate power supplies for logic (5V/3.3V) and motors (12V/24V). Drivers with built-in optocouplers physically isolate the microcontroller from the high-current motor ground, preventing destructive ground loops and voltage spikes from crossing over.
Head-to-Head Comparison: The Most Popular ICs
Below is a breakdown of the four most ubiquitous dc motor driver ICs found on breakout boards, evaluated on real-world performance metrics.
| IC Model | Topology | Max Continuous Current | Voltage Drop / RDS(on) | Max PWM Freq | Best Use Case |
|---|---|---|---|---|---|
| L298N | BJT Darlington | 2A per channel | ~1.5V to 2.5V | ~25 kHz | Basic 12V educational kits |
| TB6612FNG | MOSFET | 1.2A per channel | ~0.5V (0.5Ω) | 100 kHz | 5V/6V battery-powered rovers |
| DRV8871 | MOSFET | 3.6A (Single Ch) | Low (0.6Ω HS/LS) | 50 kHz | Single high-torque 12V motors |
| BTS7960 | Half-Bridge MOSFET | ~15A (w/ cooling) | Very Low (mΩ range) | 25 kHz | Battlebots, heavy RC, 24V systems |
Deep Dive: Evaluating the Market Leaders
The Legacy Workhorse: L298N Dual H-Bridge
The L298N is the most recognized motor driver in the hobbyist space, largely due to its inclusion in almost every beginner Arduino kit. It features an onboard 5V linear regulator, which is convenient for powering an Arduino directly from a 12V battery. However, its BJT architecture is incredibly inefficient. According to SparkFun's Motor Driver Basics tutorial, the internal Darlington transistor pairs drop significant voltage. If you are running a 6V motor system, the L298N is a poor choice, as the voltage drop will starve your motor. It is only recommended for 12V or higher systems where a 2V loss is acceptable.
The Modern Standard: TB6612FNG MOSFET Driver
If you are building a small robot powered by 2S LiPo (7.4V) or 4x AA batteries (6V), the TB6612FNG is the undisputed champion. Because it uses MOSFETs, it boasts a low RDS(on) of roughly 0.5Ω. Pololu's TB6612FNG carrier board specifications highlight its ability to handle 1.2A continuously per channel (with peaks up to 3.2A). Furthermore, it supports PWM frequencies up to 100kHz, making it ideal for applications requiring silent motor operation. It lacks an onboard 5V regulator, meaning you must supply logic voltage separately, but the efficiency gains are well worth the extra wiring.
High-Power Applications: BTS7960 (43A Peak)
For combat robotics, motorized winches, or heavy-duty conveyors, standard H-bridges will melt. The BTS7960 module combines two half-bridge ICs to create a massive single-channel driver. While the datasheet claims a 43A peak, real-world testing on standard red PCB modules shows that continuous draws above 15A will rapidly overheat the copper traces unless you add an active cooling fan and reinforce the traces with solder. Many premium BTS7960 boards include optocouplers for logic isolation, which is a mandatory feature when switching 24V+ inductive loads.
Precision and Protection: Texas Instruments DRV8871
For industrial prototyping or applications requiring robust protection, the DRV8871 is a premium choice. As detailed in the Texas Instruments DRV8871 datasheet and overview, this IC includes advanced fault protection, including overcurrent protection (OCP) with automatic retry, and undervoltage lockout (UVLO). It is a single-channel driver capable of 3.6A continuous, making it perfect for driving linear actuators or single high-torque wheelchair motors where safety and stall-protection are paramount.
The Hidden Variable: PWM Frequency and Acoustic Noise
A frequently overlooked aspect of buying a dc motor driver is its Pulse Width Modulation (PWM) frequency response. By default, an Arduino's analogWrite() function operates at roughly 490Hz or 980Hz. When you apply a 1kHz PWM signal to a motor, the rapid expansion and contraction of the magnetic fields cause the motor's internal laminations to vibrate, resulting in a loud, high-pitched whine.
Pro-Tip: To achieve silent motor operation, you must push the PWM frequency above the human hearing range (20kHz). Ensure your chosen driver supports at least 25kHz, and use hardware timer libraries on your microcontroller to increase the PWM base frequency. The TB6612FNG and DRV8871 excel in this high-frequency regime, whereas older L298N boards may suffer from switching losses and excess heat at 20kHz+.
Failure Modes and Protection Features
Motors are highly inductive loads. When you abruptly cut power to a spinning motor, the collapsing magnetic field generates a massive reverse voltage spike known as inductive kickback or back-EMF. Without protection, this spike will arc across your switches and destroy the driver IC.
- Flyback Diodes: Ensure your driver board includes built-in freewheeling (flyback) diodes. The L298N and TB6612FNG have these integrated. If you are building a custom high-power driver using discrete MOSFETs, you must add external Schottky diodes across the motor terminals.
- Thermal Shutdown Hysteresis: Quality drivers will shut off when the silicon reaches ~150°C. However, look for drivers with thermal hysteresis, meaning the chip won't turn back on until it cools down to ~130°C, preventing rapid, destructive on-off cycling.
- Shoot-Through Protection: If both the high-side and low-side MOSFETs in an H-bridge leg turn on simultaneously, it creates a dead short from power to ground (shoot-through). Good driver ICs implement 'dead-time' logic to ensure one switch fully opens before the other closes.
Wiring Best Practices to Prevent Microcontroller Fry-Ups
Even the best dc motor driver will fail if the supporting circuitry is flawed. Follow these non-negotiable wiring rules:
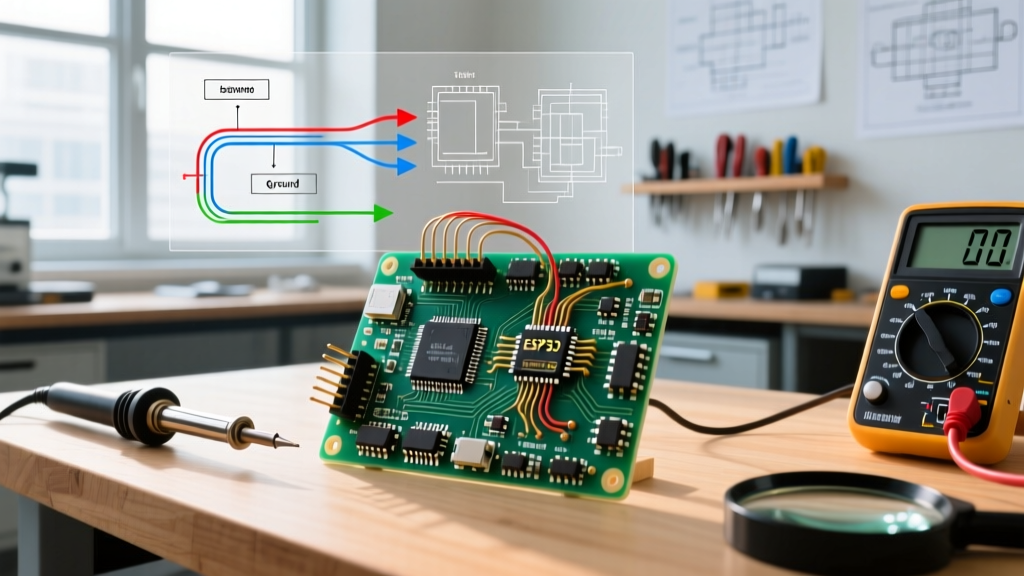
- The Common Ground Rule: If you are using separate power supplies for your logic (e.g., a USB power bank for the Arduino) and your motors (e.g., a LiPo battery), you must connect the ground of the motor driver to the ground of the microcontroller. Without a common ground reference, the logic signals will float, causing erratic motor behavior and potential logic gate damage.
- Bulk Decoupling Capacitors: When a motor starts under load, it draws a massive inrush current (stall current). This can cause the local voltage to sag, resetting your microcontroller. Solder a large electrolytic capacitor (1000μF to 4700μF, rated at least 20% higher than your max voltage) directly across the VMOT and GND screw terminals on the driver board. This acts as a local energy reservoir to absorb inrush spikes.
- Twisted Pair Wiring: For high-current runs between the driver and the motor, use twisted pair cables. This minimizes the loop area of the wires, significantly reducing electromagnetic interference (EMI) that could otherwise induce noise in your microcontroller's sensor lines.
Final Verdict: Which Driver Should You Buy?
There is no universal 'best' dc motor driver; there is only the right tool for your specific power envelope. If you are teaching a classroom of beginners using 12V gear motors and need the convenience of an onboard 5V regulator, the L298N remains a viable, albeit inefficient, choice. For battery-conscious, agile robotics running on 6V to 12V where efficiency and silent PWM are required, the TB6612FNG is the undisputed king of the hobbyist workbench. Finally, if you are designing a 24V robotic actuator or a combat robot requiring massive torque and opto-isolated safety, invest in a high-quality BTS7960 module with reinforced copper traces and active cooling.