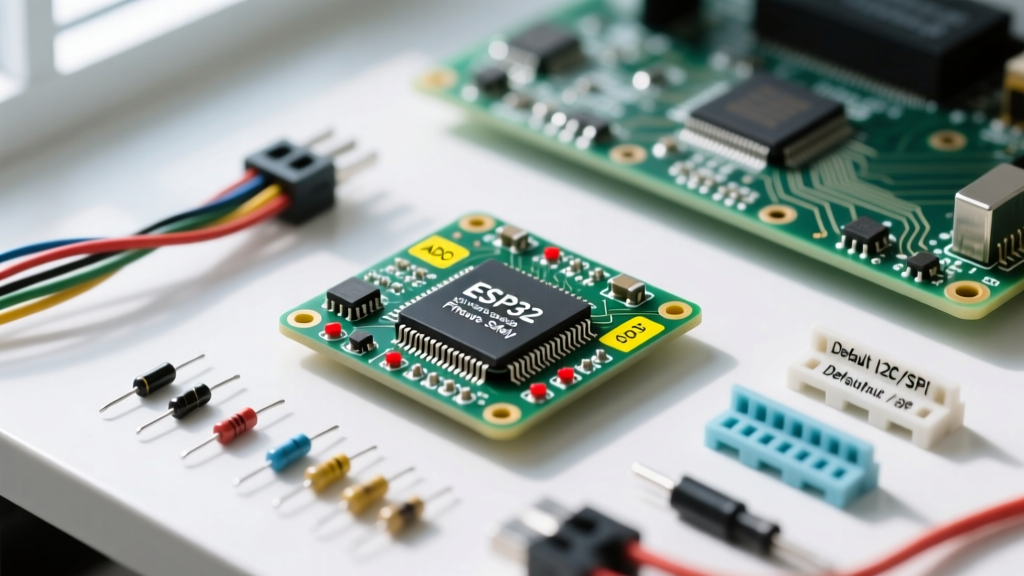

Introduction to the ESP32-WROOM-32 Pin Matrix
Transitioning from an Arduino Uno to an ESP32 is a rite of passage for modern DIY electronics enthusiasts. While the Uno offers a straightforward division of digital and analog pins, the ESP32-WROOM-32 (typically found on the 30-pin or 38-pin DevKit V1 boards) utilizes a highly multiplexed pin matrix. This means almost any GPIO (General Purpose Input/Output) can be mapped to almost any internal peripheral via the GPIO matrix. However, this flexibility comes with hidden hardware traps. Understanding ESP32 pinouts is not just about knowing which pin does what; it is about knowing which pins will cause your microcontroller to crash, boot-loop, or fail silently when WiFi is enabled.
In this comprehensive how-to tutorial, we will break down the exact hardware constraints of the ESP32, map out safe wiring practices, and provide a practical framework for designing your next IoT project without falling victim to common silicon-level quirks.
The 'Danger Zone': Strapping Pins and Boot Modes
The most frequent cause of ESP32 boot failures in DIY projects is the misuse of strapping pins. During power-on or reset, the ESP32 samples the logic level of specific GPIOs to determine its boot mode and internal voltage configurations. If you wire a sensor or relay to these pins and pull them to the wrong state, your MCU will fail to execute your sketch.
How to Avoid Boot Failures on GPIO 0, 2, 12, and 15
- GPIO 0: Determines the boot mode. It must be HIGH (or floating) for normal SPI flash boot. If pulled LOW during startup, the ESP32 enters serial bootloader mode. Never wire a push-button that pulls this pin to ground without a pull-up resistor, or your device will freeze on reset.
- GPIO 2: Must be LOW or floating to boot from the internal SPI flash. Wiring an LED or a HIGH-output sensor here will prevent the chip from booting.
- GPIO 12 (MTDI): This is the most dangerous strapping pin for beginners. It dictates the internal flash voltage. If GPIO 12 is pulled HIGH during boot, the ESP32 assumes the external SPI flash operates at 1.8V. Since 99% of DevKits use 3.3V flash chips (like the Winbond W25Q32), pulling this pin HIGH will cause a continuous boot-loop or a 'flash read error' in the serial monitor.
- GPIO 15 (MTDO): Controls the boot log output. Pulling it LOW silences the boot logs. While not fatal, it makes debugging incredibly difficult.
According to the Espressif Hardware Design Guidelines, these pins should be left unconnected or strictly managed with 10kΩ pull-up/pull-down resistors if they must be used for secondary functions after the boot sequence completes.
Analog Inputs: Navigating the ADC1 vs. ADC2 WiFi Conflict
The ESP32 features two Analog-to-Digital Converters: ADC1 and ADC2. When reading ESP32 pinouts for analog sensors like potentiometers, LDRs, or MQ gas sensors, you must choose your GPIO wisely.
Expert Warning: ADC2 is shared with the WiFi radio module. If your sketch calls
WiFi.begin(), the WiFi driver takes exclusive control of ADC2. Any subsequentanalogRead()calls on ADC2 pins will fail or return garbage data.
ADC1 Pins (Safe for WiFi): GPIO 32, 33, 34, 35, 36 (VP), and 39 (VN). Note that GPIO 34, 35, 36, and 39 are input-only pins and do not have internal pull-up/pull-down resistors.
ADC2 Pins (Blocked by WiFi): GPIO 0, 2, 4, 12, 13, 14, 15, 25, 26, and 27. If you are building a battery-powered IoT node that relies on deep sleep and WiFi transmission, exclusively use ADC1 pins for your analog sensors to avoid rewriting your code later. The Espressif ADC API Documentation details the exact hardware arbitration that causes this lockout.
Default Peripheral Mappings: I2C, SPI, and UART
While the ESP32 allows you to map I2C, SPI, and UART to almost any pin via software, doing so requires bit-banging or complex matrix routing, which consumes CPU cycles and can cause timing issues with high-speed sensors. For reliable wiring, stick to the hardware-default ESP32 pinouts mapped by the Arduino core.
| Peripheral | Function | Default GPIO (DevKit V1) | Notes & Constraints |
|---|---|---|---|
| I2C | SDA | GPIO 21 | Requires 4.7kΩ pull-ups for 5V sensors |
| I2C | SCL | GPIO 22 | Max bus capacitance ~400pF |
| VSPI | MOSI | GPIO 23 | Standard hardware SPI bus |
| VSPI | MISO | GPIO 19 | Standard hardware SPI bus |
| VSPI | SCK | GPIO 18 | Standard hardware SPI bus |
| VSPI | CS (SS) | GPIO 5 | Can be changed in software easily |
| UART0 | TX | GPIO 1 | Shared with USB-to-UART bridge |
| UART0 | RX | GPIO 3 | Shared with USB-to-UART bridge |
Step-by-Step: Wiring a Capacitive Touch Sensor Safely
The ESP32 includes 10 capacitive touch sensing pins, eliminating the need for external touch ICs like the TTP223. These pins measure the change in capacitance when a human finger approaches the PCB pad or a connected wire.
Selecting the Right Touch GPIO
The touch pins are mapped to GPIOs 4, 0, 2, 15, 13, 12, 14, 27, 33, and 32. However, as established, GPIO 0, 2, 12, and 15 are strapping pins. If you wire a large copper pad to GPIO 12, the added capacitance might alter the boot voltage detection, leading to intermittent boot failures.
The Solution: For reliable touch interfaces, exclusively use GPIO 4 (T0), GPIO 27 (T7), GPIO 33 (T8), and GPIO 32 (T9). Use the touchRead() function in the Arduino IDE to establish a baseline threshold, and trigger your logic when the read value drops below that threshold (touching lowers the capacitance reading on the ESP32).
Power Delivery: 3.3V vs. 5V and Current Limits
A critical mistake when analyzing ESP32 pinouts is misinterpreting the power rails. The ESP32-WROOM-32 chip operates strictly at 3.3V logic. Feeding 5V into any GPIO (except the designated 5V/VIN pin) will permanently destroy the silicon.
Furthermore, the typical AMS1117-3.3 voltage regulator found on cheap DevKit V1 clones can only supply roughly 800mA. The ESP32 itself can draw spikes of up to 500mA during WiFi transmission bursts. If you wire a 200mA OLED display, a 150mA NeoPixel strip, and a 100mA relay module to the 3.3V rail, the voltage will brownout during a WiFi TX spike, causing the ESP32 to reset randomly.
Best Practice: Use the 5V (VIN) pin to power high-current peripherals via external buck converters or dedicated LDOs (like the AP2112K-3.3 for 3.3V sensors), and use logic level shifters (like the BSS138 MOSFET circuit) if you must interface with 5V I2C or SPI components. For deeper insights on safe power routing, the Random Nerd Tutorials ESP32 Pinout Reference provides excellent visual diagrams on current limiting.
Summary Checklist for Your Next ESP32 Build
- Check Strapping Pins: Verify GPIO 0, 2, 12, and 15 are free of external pull-ups/downs that conflict with boot modes.
- Use ADC1 for WiFi Projects: Route all analog sensors to GPIO 32-39 to avoid ADC2 WiFi lockouts.
- Respect Default Buses: Use GPIO 21/22 for I2C and 18/19/23/5 for SPI to leverage hardware acceleration.
- Isolate Power: Never power motors or high-draw LEDs directly from the 3.3V pin; use external regulation.
- Protect Inputs: Add 10kΩ series resistors to any GPIO connected to external cables to protect against ESD and accidental 5V shorts.
By treating the ESP32 pin matrix with the respect it demands, you will eliminate 90% of the hardware-level bugs that plague IoT projects. Wire smart, respect the silicon limits, and your sketches will run flawlessly.