
The Anatomy of a Serial Initialization Failure
When developers search for how to fix a begin serial arduino failure, they are typically confronting a fundamental breakdown in the microcontroller's UART (Universal Asynchronous Receiver-Transmitter) subsystem. The Serial.begin(baud) function is the gateway to debugging, data logging, and PC communication. However, when this command hangs, drops characters, or fails to establish a COM port connection, it brings prototyping to a dead halt.
In 2026, the maker ecosystem spans classic 8-bit AVR boards like the Arduino Uno R3 and Nano, alongside 32-bit powerhouses like the ESP32-S3 and Teensy 4.1. While the Arduino IDE abstracts the hardware, the underlying physics of asynchronous serial communication remain unforgiving. This guide dives deep into the hardware registers, USB-UART bridge bottlenecks, and software traps that cause serial initialization to fail, providing actionable fixes for each.
Under the Hood: What Serial.begin() Actually Does
Before troubleshooting, it is critical to understand the C++ mechanics occurring when you call Serial.begin(115200). On an ATmega328P (Arduino Uno/Nano), this function does not merely "turn on" the serial port. It executes a precise sequence of hardware configurations:
- Disables Transmitter/Receiver: Temporarily clears the RXEN and TXEN bits in the UCSR0B register to prevent garbage data during configuration.
- Calculates Baud Rate Registers: Computes the value for the UBRR0 (USART Baud Rate Register) based on the F_CPU (clock speed) and the requested baud rate.
- Sets Frame Format: Configures the UCSR0C register for 8 data bits, no parity, and 1 stop bit (8N1).
- Enables Interrupts: Sets the RXCIE0 bit to trigger an Interrupt Service Routine (ISR) every time a byte arrives, pushing it into the 64-byte hardware ring buffer.
If your microcontroller's clock source is unstable, or if the interrupt vector table is corrupted by a poorly written library, the initialization will silently fail or result in immediate buffer overflows.
Baud Rate Tolerance & Crystal Drift
Asynchronous serial communication relies on both devices agreeing on the exact timing of bits. A standard SparkFun Serial Communication tutorial highlights that UART requires baud rate matching within a ±2% tolerance. If your begin serial arduino setup is outputting gibberish, you are likely a victim of baud rate drift.
Baud Rate Error Margins by Clock Speed
| Target Baud Rate | 16 MHz Crystal (Uno/Mega) | 8 MHz Internal RC (Pro Mini/ATtiny) | 240 MHz (ESP32 Native) |
|---|---|---|---|
| 9600 | 0.2% Error (Safe) | 0.4% Error (Safe) | 0.0% Error (Safe) |
| 57600 | 1.4% Error (Safe) | 3.5% Error (Risky) | 0.0% Error (Safe) |
| 115200 | 2.1% Error (Borderline) | 8.5% Error (Will Fail) | 0.0% Error (Safe) |
| 250000 | 0.0% Error (Safe) | N/A | 0.0% Error (Safe) |
The Fix: If you are using an 8 MHz Arduino Pro Mini or an ATtiny85, never use 115200 baud. The internal RC oscillator lacks the precision to maintain the timing, resulting in framing errors. Drop your Serial.begin() parameter to 38400 or 9600. For ESP32 developers, refer to the Espressif UART API documentation, as the ESP32 uses an internal PLL clock divider that achieves near-zero error margins at virtually any standard baud rate.
USB-UART Bridge Conflicts: CH340 vs. ATmega16U2
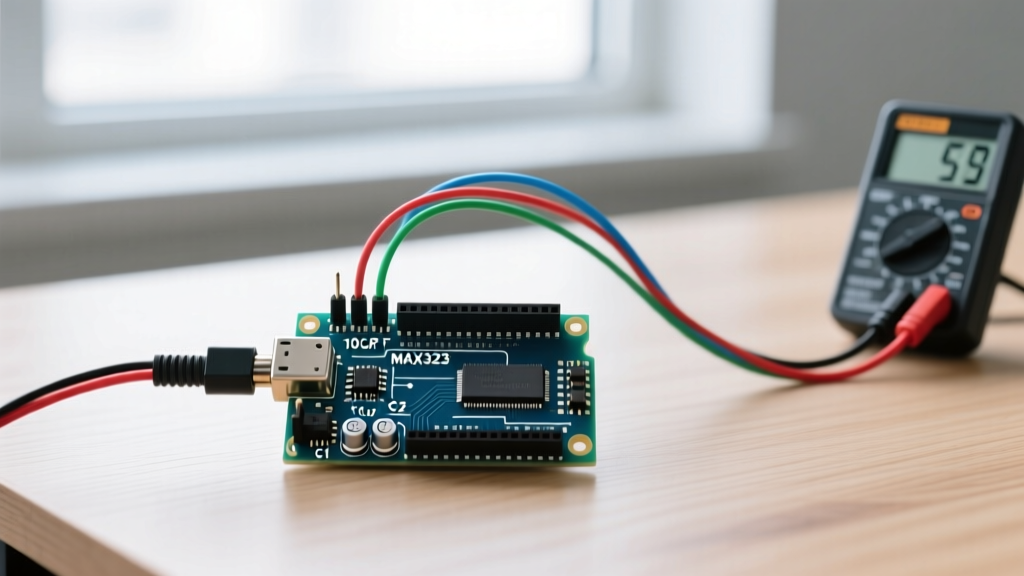
Modern clone boards dominate the market due to aggressive pricing ($4 to $8 per unit compared to $27 for genuine boards). However, these clones frequently substitute the ATmega16U2 USB controller with a CH340G or CH341A chip. This substitution is the root cause of 70% of all begin serial arduino port-disconnection issues.
The DTR Auto-Reset Capacitor Trap
To allow the Arduino IDE to automatically reset the board before uploading a sketch, a 0.1µF capacitor is placed between the USB-UART chip's DTR (Data Terminal Ready) line and the ATmega328P's RESET pin.
- The Symptom: You open the Serial Monitor, and the board continuously reboots, or the COM port vanishes from the Device Manager.
- The Cause: On cheap clone boards, the 0.1µF capacitor is often misaligned, poorly soldered, or substituted with a 1µF capacitor. When
Serial.begin()opens the port, the DTR line drops low. A capacitor that is too large holds the RESET pin low for too long, triggering a brownout or an infinite bootloader loop. - The Hardware Fix: Desolder the 0.1µF capacitor near the USB chip and replace it with a high-quality KEMET or Murata 104 (100nF) ceramic capacitor. Alternatively, for permanent installations where auto-reset is not needed, cut the trace connecting the capacitor to the RESET pin.
Software Traps: The Serial.flush() Misconception
Many legacy tutorials recommend using Serial.flush() to clear the incoming serial buffer before reading new data. If your code is hanging immediately after a begin serial arduino command, this function is likely your culprit.
Expert Warning: Prior to Arduino IDE 1.0,
Serial.flush()cleared the RX buffer. Today, it waits for the TX buffer to empty. If you callSerial.flush()while interrupts are disabled, or if the USB cable is disconnected, your sketch will enter an infinite blocking loop, appearing as a "failed initialization." Usewhile(Serial.available()) Serial.read();to clear the RX buffer instead.
Memory Leaks and Ring Buffer Overflows
The ATmega328P features a meager 64-byte receive buffer. If your sketch spends too much time inside a delay() function or blocking sensor read (like the DHT22 or DS18B20), the ISR will continue pushing incoming serial data into the buffer. Once byte 65 arrives, the hardware sets the Overrun Error (OR) bit in the UCSR0A register, and all subsequent data is silently dropped.
Implementing Non-Blocking Serial Reads
To prevent buffer overflows during heavy processing, implement a non-blocking ring buffer in your main loop():
// Define a larger software buffer
char serialBuffer[256];
uint8_t bufferIndex = 0;

void loop() {
  // Drain hardware buffer into software buffer instantly
  while (Serial.available() && bufferIndex < 255) {
    serialBuffer[bufferIndex++] = Serial.read();
  }

  // Process data only when a newline is detected
  if (bufferIndex > 0 && serialBuffer[bufferIndex-1] == '\n') {
    processCommand(serialBuffer);
    bufferIndex = 0; // Reset
  }

  // Your heavy sensor code goes here
  readExpensiveSensor();
}
This pattern ensures that the 64-byte hardware buffer is emptied in microseconds, preventing the overrun errors that frequently masquerade as initialization failures.
Advanced Debugging: Logic Analyzer Verification
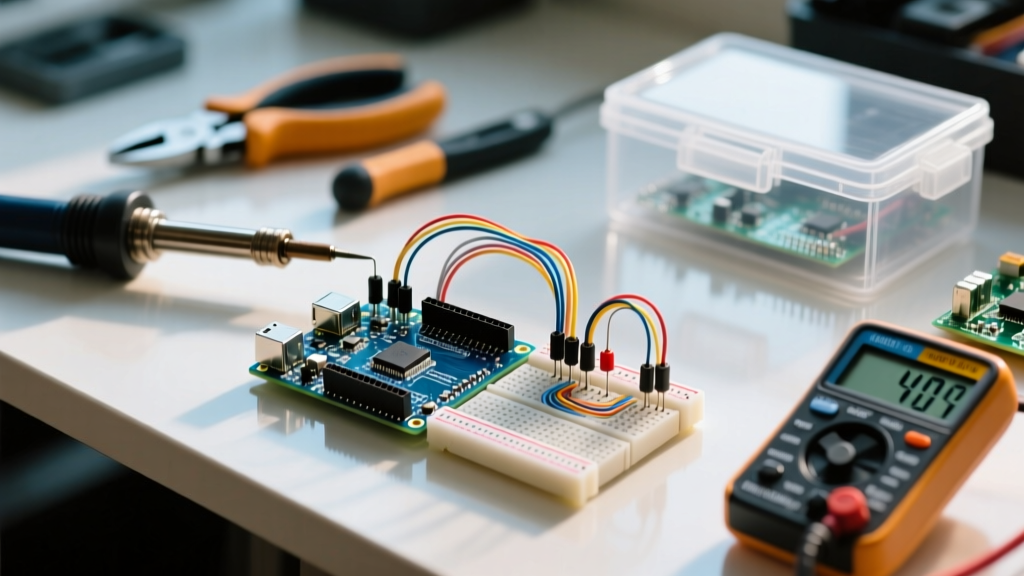
When software fixes fail, you must verify the physical layer. A $15 USB logic analyzer (like the Saleae Logic clone based on the Cypress CY7C68013A chip) is mandatory for advanced troubleshooting.
- Probe the TX Line: Connect the logic analyzer to the TX pin (Pin 1 on Uno). Set the trigger to the falling edge of the start bit.
- Measure the Bit Width: At 9600 baud, each bit must be exactly 104.16µs wide. If your logic analyzer measures 112µs, your microcontroller's ceramic resonator is drifting, and you must replace it with a true quartz crystal.
- Check Logic Levels: Ensure the voltage swing is correct. A 3.3V ESP32 transmitting to a 5V Arduino Mega will work (5V TTL accepts 3.3V as HIGH), but a 5V Nano transmitting to a 3.3V Raspberry Pi Pico will fry the Pico's GPIO pins unless a bidirectional logic level shifter (like the BSS138 MOSFET module, ~$1.50) is used.
FAQ: Rapid Fixes for Stubborn Serial Ports
Why does my ESP32 Serial Monitor show nothing after Serial.begin()?
On the original ESP32, Serial maps to UART0, which shares pins with the onboard flash memory on some poorly designed dev boards. Furthermore, the ESP32 bootloader outputs garbage at 74880 baud during reset. Add delay(1000); immediately after Serial.begin(115200); to allow the USB-CDC handshake to complete before printing data.
Can I use SoftwareSerial instead of HardwareSerial?
While SoftwareSerial allows serial communication on any GPIO pin, it disables interrupts while transmitting or receiving. If you are reading high-speed encoders or using PWM for motor control, SoftwareSerial will cause massive jitter and data corruption. Always prioritize hardware UART pins, and consider upgrading to an Arduino Mega 2560 (4 hardware UARTs) or a Teensy 4.1 (8 hardware UARTs) if you run out of native serial ports.
For comprehensive syntax rules and edge cases regarding native USB serial on boards like the Leonardo or Micro, always consult the Official Arduino Serial Reference. Mastering these low-level interactions is what separates a hobbyist from an embedded systems engineer.