
Whether you are troubleshooting a dead wall outlet, checking a battery bank, or verifying that a circuit is truly de-energized before working on it, knowing how to test for power with a multimeter is the most fundamental skill in electrical diagnostics. While non-contact voltage testers (NCVTs) are great for a quick "yes or no" indication, a digital multimeter (DMM) provides the exact voltage, revealing underlying issues like voltage drop, phantom voltage, or failing power supplies.
In this beginner tutorial, we will cover the exact steps to safely measure both AC (Alternating Current) and DC (Direct Current) voltage, the critical safety protocols you must follow, and the common mistakes that blow multimeter fuses—or worse.
The Anatomy of a Power Test: Setting Up Your DMM
Before touching any live wires, you must understand your tool. For beginners, an auto-ranging digital multimeter like the Klein Tools MM400 (approx. $45) or the industry-standard Fluke 117 (approx. $180) is highly recommended. Auto-ranging meters automatically detect the voltage scale, eliminating the guesswork of manual dial selection.
Probe Placement
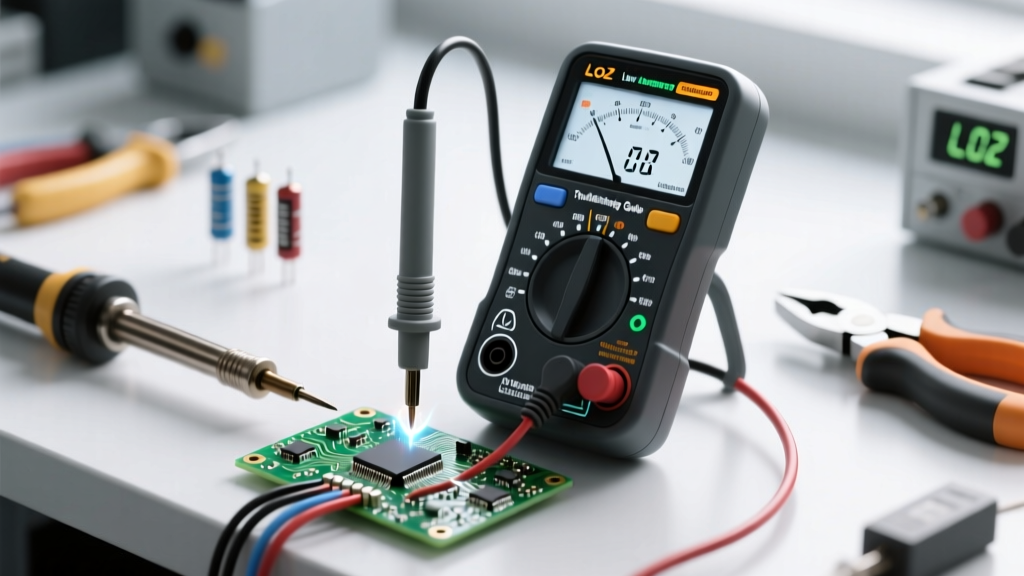
Your multimeter has several input jacks, but for testing voltage (power), you only need two:
- COM (Common): Always insert the black probe here. This is your ground or reference point.
- VΩmA (Voltage/Ohms): Always insert the red probe here when testing for power.
CRITICAL WARNING: Never leave the red probe in the "A" or "10A" (Amps) port when testing for voltage. The amperage port contains a low-resistance shunt. Plugging it into a live voltage source creates a dead short, which will instantly blow the internal fuse and can cause a dangerous arc flash.
Safety First: CAT Ratings and the One-Hand Rule
Testing mains electricity carries inherent risks. According to OSHA Electrical Safety Guidelines, improper use of testing equipment is a leading cause of electrical injuries. To protect yourself, you must understand Measurement Categories (CAT ratings).
If you are testing residential wall outlets or hardwired appliances, your multimeter must be rated at least CAT III 600V. As detailed in Fluke's Guide to CAT Ratings, a CAT III rating ensures the meter can withstand high-energy transient spikes (like a nearby lightning strike or grid switching) without exploding in your hands.
The One-Hand Rule
When probing live AC mains, keep one hand in your pocket or behind your back. If you accidentally touch a live conductor, this prevents the electrical current from traveling across your chest and through your heart, drastically reducing the risk of fatal ventricular fibrillation.
Step-by-Step: How to Test for Power with a Multimeter (AC Mains)
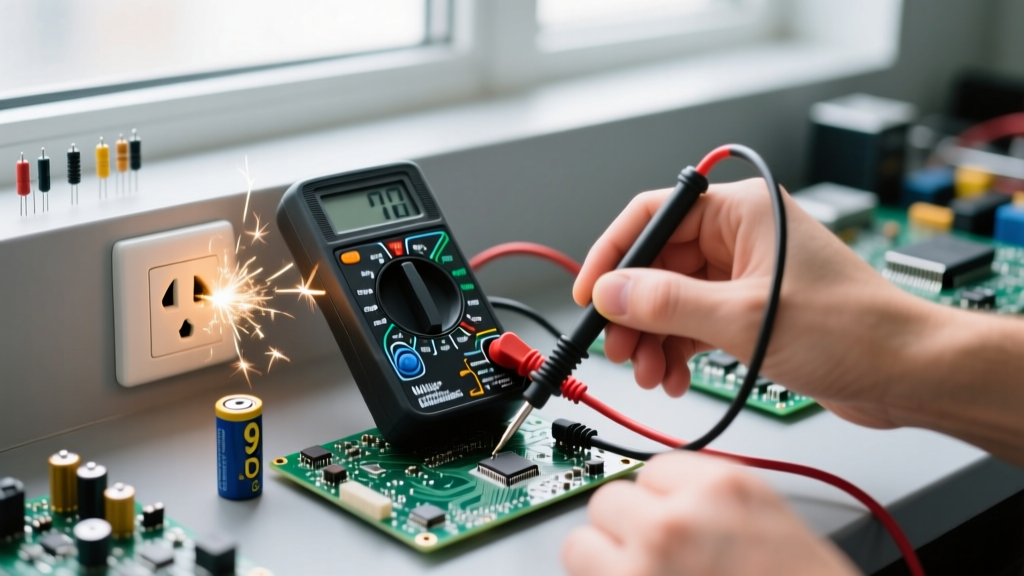
Testing a standard North American 120V AC wall outlet is the most common diagnostic task. Here is the exact sequence to follow:
- Inspect Your Probes: Check for cracked insulation or exposed wire. Discard damaged probes immediately.
- Set the Dial: Turn the dial to V~ (AC Voltage). If your meter is manual-ranging, set it to the 200V or 600V scale (always choose a scale higher than the expected voltage).
- Insert the Probes: Push the black probe into the neutral slot (the longer vertical slot) or the ground hole (the D-shaped bottom hole).
- Test the Hot Slot: Insert the red probe into the hot slot (the shorter vertical slot).
- Read the Display: A healthy US residential outlet should read between 114V and 126V. In Europe and the UK, a standard 230V outlet should read between 216V and 253V.
If the meter reads "0.0", the circuit is dead (or you are testing neutral-to-ground). If it reads "OL" (Overload), your manual-ranging scale is set too low.
Testing 240V Split-Phase Circuits
For heavy appliances like dryers or ovens, you will encounter 240V receptacles. To test these, place your red and black probes into the two opposing "hot" slots. You should read approximately 240V. Testing either hot slot to the neutral or ground slot should yield 120V. If you read 120V on one hot leg but 0V on the other, you have a tripped double-pole breaker or a severed hot wire.
Testing DC Power Sources: Batteries and Adapters
Direct Current (DC) powers everything from AA batteries to solar panels and LED strips. Testing DC requires a different dial setting but the same fundamental logic.
According to the comprehensive SparkFun Multimeter Tutorial, testing DC voltage requires you to pay attention to polarity. Turn your dial to V⎓ (DC Voltage). Touch the red probe to the positive (+) terminal and the black probe to the negative (-) terminal.
If you reverse the probes on a digital meter, it will simply display a negative sign (e.g., -9.2V), which won't damage the meter but indicates reversed polarity. A standard alkaline 9V battery in good condition will actually read around 9.4V to 9.6V open-circuit. If it reads below 8.0V under no load, it is effectively dead.
Automotive 12V Systems
When testing a car battery, a healthy resting engine should show 12.4V to 12.7V. Once the vehicle is running, the alternator takes over; testing the battery terminals again should yield between 13.7V and 14.7V. Readings above 15V indicate a failing voltage regulator that will boil your battery acid.
Common Beginner Mistakes and Phantom Voltage
Beginners often encounter confusing readings that lead to misdiagnosed circuits. Understanding these failure modes is crucial for accurate troubleshooting.
Phantom (Ghost) Voltage
When testing long runs of Romex wire, you might measure 40V to 80V on a disconnected wire. This is "phantom voltage" caused by capacitive coupling from adjacent live wires. Standard high-impedance multimeters will pick this up. To verify if the power is real, plug a simple incandescent test light or a solenoid voltage tester (wiggy) into the circuit; phantom voltage will instantly collapse to zero under a real load.
Blown Internal Fuses
If your meter turns on and functions for resistance (Ohms) but reads "0.0" when testing known live AC outlets, you have likely blown the internal voltage fuse. While many cheap meters lack internal protection fuses, quality brands like Fluke use high-rupture-capacity (HRC) sand-filled fuses. Replacing these requires opening the meter and sourcing the exact OEM fuse specification to maintain the CAT safety rating.
Quick Reference: Multimeter Symbols and Settings
Memorize these symbols to ensure you are testing for power correctly and safely.
| Symbol | Meaning | Primary Use Case |
|---|---|---|
| V~ | AC Voltage | Wall outlets, mains panels, appliances |
| V⎓ | DC Voltage | Batteries, solar panels, automotive, PCBs |
| Ω | Resistance (Ohms) | Testing continuity, fuses, heating elements (POWER MUST BE OFF) |
| A~ | AC Current | Measuring amp draw (Requires series connection or clamp meter) |
| ⎓| | Continuity | Checking for broken wires or closed switches (POWER MUST BE OFF) |
Mastering how to test for power with a multimeter bridges the gap between guessing and knowing. By respecting CAT ratings, verifying your probe placement, and understanding the nuances of AC and DC voltage, you will diagnose electrical faults safely and accurately every time.