
The Anatomy of Transformer Terminals (ANSI Standards)
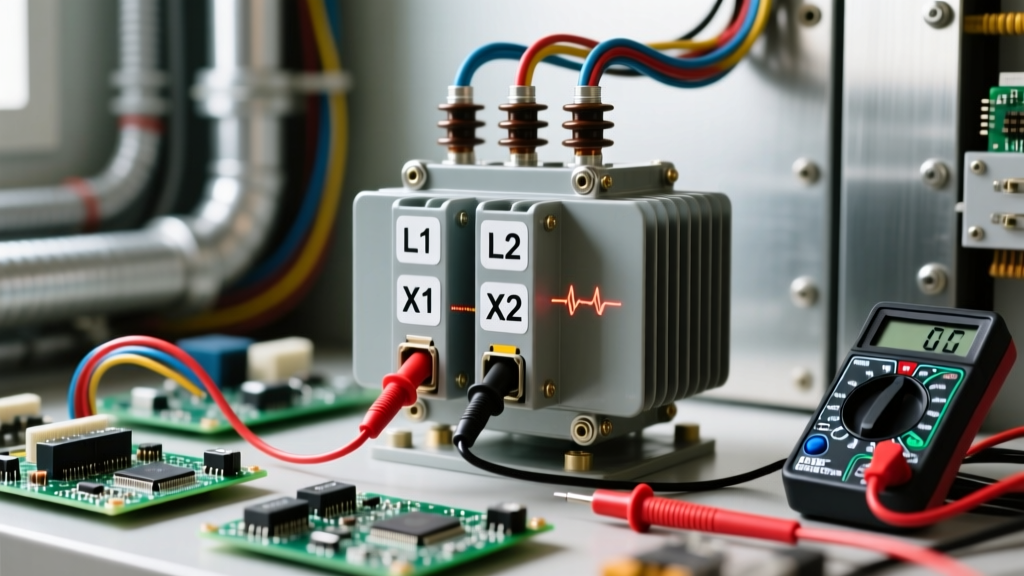
Before you strip a single wire, you must understand the standardized nomenclature used by manufacturers. According to the Eaton's transformer documentation and the ANSI/IEEE C57.12.70 standard, single-phase transformer terminals are universally labeled to indicate voltage levels and polarity. Misidentifying these is the leading cause of catastrophic equipment failure and electrical fires.
- H-Terminals (H1, H2, H3, H4): These designate the High-Voltage winding. In a step-down transformer, this is your primary (input) side. H1 is always the designated polarity mark.
- X-Terminals (X1, X2, X3, X4): These designate the Low-Voltage winding. In a step-down transformer, this is your secondary (output) side. X1 shares the same instantaneous polarity as H1.
- Odd vs. Even Numbers: Odd numbers (H1, X1) represent the start of the coil or the polarity marker. Even numbers (H2, X2) represent the finish. When dealing with dual-voltage windings, H1 and H4 are the outer ends, while H2 and H3 are the inner taps used for series/parallel configurations.
Quick-Reference Wiring Matrix: Single-Phase Configurations
Use this matrix to determine your wiring topology based on your application requirements. Always verify the nameplate voltage before proceeding.
| Configuration | Primary Connection (Input) | Secondary Connection (Output) | Common Use Case |
|---|---|---|---|
| Standard Step-Down | H1 to Line 1, H2 to Neutral/Ground | X1 to Load Hot, X2 to Load Neutral | Control circuits (e.g., 480V to 120V) |
| Isolation (1:1) | H1-H2 across Source | X1-X2 across Load | Medical equipment, noise filtering |
| Center-Tapped Step-Down | H1-H2 across 240V Source | X1, X2 (Hots), X3 (Center Neutral) | Split-phase 120/240V residential panels |
| Dual-Voltage Primary | Series: H1-H4, tie H2-H3 / Parallel: tie H1-H3, H2-H4 | X1-X2 | Export machinery, multi-region HVAC |
Step-by-Step: How to Hook Up a Transformer Safely
Wiring a control transformer (like a standard 50VA to 250VA Siemens or Square D unit) requires strict adherence to torque specifications and termination practices. Follow this protocol to ensure a reliable, code-compliant installation.
- Verify Nameplate & Load VA: Calculate your total secondary load in Volt-Amps (VA). The transformer VA rating must exceed the continuous load by at least 25%. For example, if your contactor coils and indicator lights draw 40VA, use a minimum 50VA transformer.
- Execute LOTO: Perform Lockout/Tagout on the upstream breaker. Verify zero energy using a CAT III or CAT IV multimeter at the point of work.
- Prepare Terminations: Strip wire insulation exactly to the manufacturer's gauge mark. For stranded wire, always use crimped ferrules or pin terminals. Tinning stranded wire with solder is prohibited in modern screw-terminal applications due to cold flow and subsequent loosening.
- Apply Correct Torque: Under-torqued connections cause arcing and fires; over-torqued connections strip threads and damage the terminal block. Use a calibrated inch-pound torque screwdriver.
Torque Specification Cheat Sheet
| Wire Gauge (AWG) | Stripping Length | Target Torque (in-lbs) |
|---|---|---|
| 14 AWG | 3/8 inch | 12 in-lbs |
| 12 AWG | 3/8 inch | 15 in-lbs |
| 10 AWG | 1/2 inch | 20 in-lbs |
| 8 AWG | 5/8 inch | 30 in-lbs |
Polarity Testing: Additive vs. Subtractive
When paralleling transformers or wiring three-phase banks, understanding polarity is non-negotiable. As detailed in Fluke's transformer testing guides, you can verify polarity in the field using a standard multimeter and a reduced voltage source.
Field Polarity Test: Apply a low AC voltage (e.g., 120V) across H1 and H2. Place a jumper wire between H2 and X2. Measure the voltage between H1 and X1.
- Subtractive Polarity: If the measured voltage between H1 and X1 is less than the applied voltage (V_H - V_X), the transformer has subtractive polarity. This is standard for most modern single-phase distribution transformers.
- Additive Polarity: If the measured voltage is greater than the applied voltage (V_H + V_X), the transformer has additive polarity. This is common in older units and specific control transformers.
Warning: Never perform this test at full rated voltage on additive transformers, as the resulting voltage across the multimeter can exceed its CAT rating and destroy the meter.
Common Wiring Mistakes & Failure Modes
Even experienced technicians fall victim to specific transformer wiring pitfalls. Recognizing these failure modes will save you hours of troubleshooting.
1. Nuisance Tripping from Inrush Current
The Symptom: The primary breaker trips instantly every time you energize the transformer, even with no secondary load connected. The Cause: Transformers experience a massive inrush current (often 10 to 20 times the rated full-load current) for the first few AC cycles as the magnetic core saturates. The Fix: Do not use standard fast-acting thermal-magnetic breakers or fast-blow fuses on the primary side. You must use time-delay (slow-blow) fuses or breakers with high magnetic trip thresholds (like Type D curves in IEC standards) to ride through the inrush.
2. Core Saturation via Frequency Mismatch
The Symptom: The transformer hums violently, overheats rapidly, and secondary voltage drops. The Cause: Connecting a 60Hz-rated transformer to a 50Hz power supply. The magnetic flux in the core is inversely proportional to frequency. Dropping the frequency by 16% increases the flux density by 20%, driving the core into deep saturation. The Fix: Never use a 60Hz transformer on a 50Hz grid without derating the voltage by 20%. Always use a transformer explicitly rated for 50/60Hz dual-frequency operation.
3. Floating Secondary Grounding Errors
The Symptom: Erratic PLC behavior, phantom voltages, or shocked operators. The Cause: Failing to bond the X2 terminal (or center tap) to the equipment grounding conductor (EGC). A floating secondary can capacitively couple to the primary, elevating the secondary voltage to dangerous, unpredictable levels relative to ground. The Fix: Per the NFPA 70 National Electrical Code (Article 250.20), you must ground one conductor of the secondary winding if it is a separately derived system, ensuring a stable reference to earth and a clear path for fault currents.
Overcurrent Protection Sizing (NEC Article 450)
Sizing the fuses or breakers protecting your transformer requires strict adherence to NEC Article 450.3. Use this quick-reference formula for standard control transformers under 600V:
- Primary Protection: Size at 125% of the primary full-load current. If the primary current is less than 9 amps, you may round up to the next standard fuse size (e.g., a 1.8A calculation allows a 2.25A or 3A slow-blow fuse).
- Secondary Protection: If primary protection is sized at exactly 125%, secondary protection is not strictly required by the NEC, but it is highly recommended for load-side fault isolation. Size secondary fuses at 125% of the secondary full-load current.
Pro-Tip: Always calculate the primary current using the formula: I_primary = VA_Rating / Primary_Voltage. For a 250VA transformer on a 480V primary, the current is 0.52A. Multiply by 1.25 to get 0.65A. Select the nearest standard fractional fuse (e.g., 8/10A or 1A time-delay).