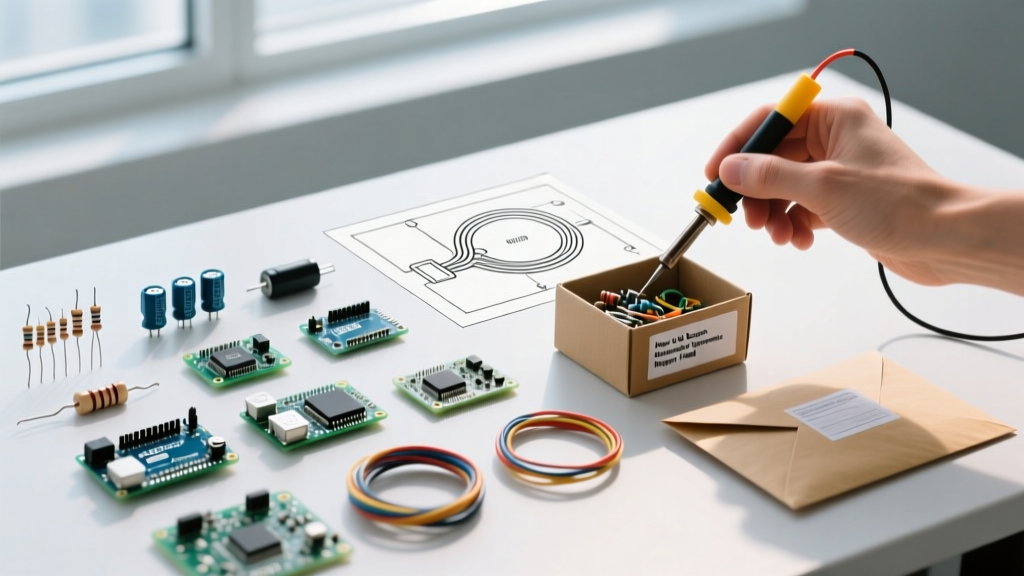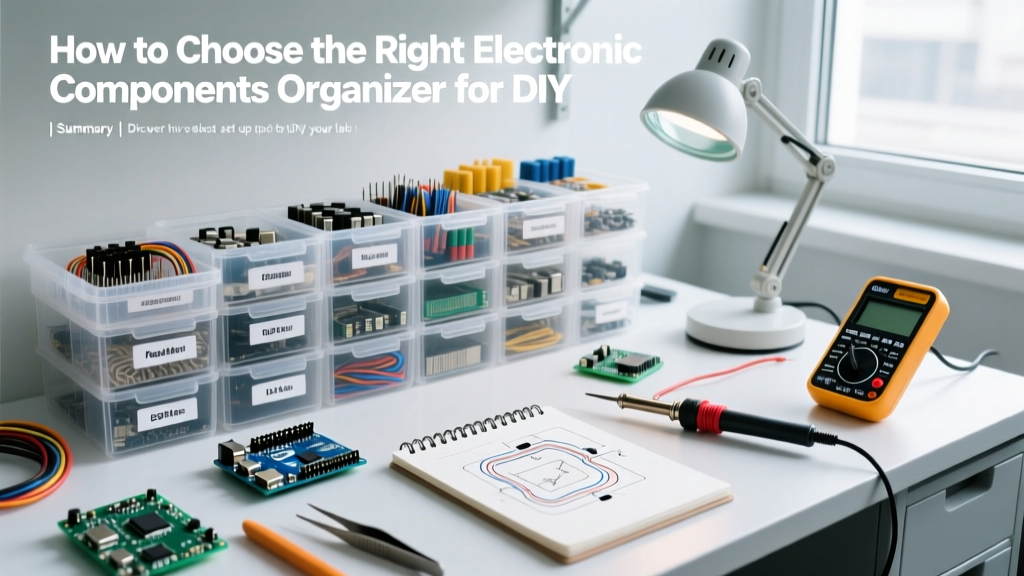

Every electrical engineer and DIY hobbyist eventually hits the same wall: the workbench bottleneck. You can have the best Hakko FX-888D soldering station and a Rigol MSO5000 oscilloscope, but if you spend ten minutes digging through a tangled box of mixed resistors to find a single 4.7kΩ 0805 SMD part, your productivity is compromised. A proper electronic components organizer is not merely a housekeeping luxury; it is a fundamental piece of test equipment that protects your investment in silicon and preserves your most valuable resource—time.
In this guide, we break down the physics of component storage, the topology of lab organization, and the specific hardware you need to build a system in 2026 that scales from beginner tinkering to prosumer R&D.
The Physics of Storage: Why Material Choice Dictates Longevity
Before buying a wall of plastic drawers, you must understand the electrical properties of the storage materials. The ESD Association outlines strict standards (such as ANSI/ESD S541) for materials that come into contact with sensitive electronics. Storing a bare MOSFET or a high-impedance op-amp in standard polystyrene or untreated polypropylene is a recipe for latent gate oxide damage.
The Hidden Cost of Latent ESD Damage: A component zapped by static discharge doesn't always fail immediately. It can suffer a 'latent defect,' passing initial testing but failing in the field after 100 hours of thermal cycling. Proper storage prevents this invisible killer.
According to SparkFun's comprehensive guide on ESD-safe materials, storage plastics fall into three distinct categories based on surface resistivity:
- Anti-Static (Typically Pink Poly): Surface resistivity of 10^9 to 10^12 ohms/sq. These materials suppress triboelectric charging (the generation of static when materials rub together) but do not shield against external electrostatic fields. Good for shipping bags, poor for long-term IC storage.
- Static Dissipative (Carbon-Loaded PP): Surface resistivity of 10^5 to 10^11 ohms/sq. This is the gold standard for an electronic components organizer. It safely bleeds off charges to ground without causing a rapid discharge event that could fry a die.
- Conductive (Heavy Carbon or Metal): Surface resistivity below 10^5 ohms/sq. Used for high-sensitivity RF components or bare wafers, but generally overkill and potentially risky for standard DIY lab storage if not properly grounded.
Topology of an Electronic Components Organizer System
A one-size-fits-all approach fails because through-hole (TH) passives, surface mount devices (SMD), and integrated circuits (ICs) have vastly different physical and environmental requirements.
1. Discrete Passives (Resistors, Capacitors, Inductors)
For TH passives, a multi-drawer cabinet is mandatory. However, do not sort by random values. Organize by the E12 or E24 series (e.g., 1.0, 1.2, 1.5, 1.8, 2.2, 2.7, 3.3, 3.9, 4.7, 5.6, 6.8, 8.2). For capacitors, group them first by dielectric type (C0G/NP0 for precision, X7R for general decoupling) before sorting by value. Mixing an X7R and a C0G 100nF capacitor in the same drawer will inevitably lead to a noisy analog circuit when you grab the wrong one.
2. Surface Mount Devices (SMD) and Tape Reels
SMD components in cut-tape form are notoriously difficult to store. The best solution in 2026 remains the PVC SMD Component Book. These binders feature anti-static, self-sealing plastic strips. You slide the cut tape under the strip, and a thermal-printed label on the tape's leader remains visible. Never store loose 0402 or 0603 parts in bulk bins; the retrieval time with tweezers will destroy your workflow.
3. Active ICs and Moisture Sensitivity (MSL)
ICs are sensitive to both ESD and moisture. Under the IPC/JEDEC J-STD-033 standard, components like FPGAs, specialized ADCs, and power MOSFETs are assigned a Moisture Sensitivity Level (MSL). If you open a vacuum-sealed MSL-3 bag and leave the chips in a standard plastic organizer drawer for a week, they will absorb ambient humidity. When you reflow them, the trapped water turns to steam, causing the 'popcorn effect' and cracking the IC package from the inside. Store MSL 3+ components in resealable Mylar bags with indicating silica gel, placed inside a dedicated dry box or an ESD-safe drawer.
2026 Market Comparison: Top Organizer Form Factors
The market for lab storage has stabilized, but pricing and availability vary wildly based on ESD compliance. Below is a comparison of the most effective hardware configurations available today.
| Organizer Type | Specific Model / Brand | Approx. Price (2026) | Best Use Case | ESD Rating |
|---|---|---|---|---|
| 64-Drawer Cabinet | Akro-Mils 10164 | $65 - $75 | Through-hole resistors, LEDs, connectors | None (Standard PP) |
| SMD Binder Book | Generic 40-Page PVC | $20 - $30 | 0402 to 1206 SMD cut-tapes | Anti-Static Strips |
| ESD-Safe Drawer Cabinet | Multi-Comp Pro MC001945 | $130 - $160 | Bare ICs, MOSFETs, sensitive sensors | Static Dissipative |
| Compartment Box | Plano 1374 StowAway | $12 - $18 | Wires, heat shrink, modules (Arduino/ESP) | None |
The Labeling Protocol: Eradicating Identification Errors
An electronic components organizer is only as good as its labels. Handwriting labels with a Sharpie or using masking tape guarantees failure within six months as adhesives dry out and ink fades.
Invest in a thermal transfer label printer. The Brother PT-P710BT (approx. $130) paired with TZe-111 (clear tape with black ink, 6mm width) is the industry standard for lab benches. Thermal transfer labels are resistant to isopropyl alcohol (IPA) and flux cleaners, ensuring that when you inevitably spill flux on your drawer fronts, the labels won't dissolve.
Labeling Syntax Standard
Adopt a strict syntax for your labels to enable rapid visual scanning. For passives, use the format: [Value] [Tolerance] [Voltage/Power].
- Resistor Example: 10kΩ 1% 1/4W
- Capacitor Example: 100nF X7R 50V
- IC Example: LM358P (DIP-8) Dual Op-Amp
Step-by-Step Implementation Guide
Ready to overhaul your bench? Follow this sequential workflow to migrate your chaotic piles into a streamlined electronic components organizer system.
- The Great Purge: Before buying new cabinets, sort your existing inventory. Use an LCR meter (like the DE-5000) to test unlabeled capacitors and inductors. Discard any components with oxidized leads or unknown provenance.
- Zone Allocation: Map your physical bench. Place SMD books and ESD-safe IC drawers within your primary 'reach zone' (the semi-circle your arms sweep while seated). Place bulky TH passives and wire spools on secondary shelving above or below the desk.
- Batch Labeling: Do not label drawers one by one as you fill them. Export your inventory list to a CSV, import it into your label printer's software, and print all labels in a single batch. Apply them to empty drawers first.
- Implement the 'One-Way' Flow: When working on a project, use a small ceramic sorting tray on your desk. Never put a component back into the main organizer until you are ready to store it properly. This prevents 'drawer stuffing' where parts get jammed in the wrong slots.
Final Thoughts on Lab Efficiency
Building a robust electronic components organizer system requires an upfront investment of both capital (typically $150 to $300 for a complete prosumer setup) and time. However, the return on investment is realized every time you sit down to prototype. By respecting the physics of ESD, managing moisture sensitivity, and enforcing a strict labeling topology, you transform your workbench from a source of frustration into a precision instrument of creation.