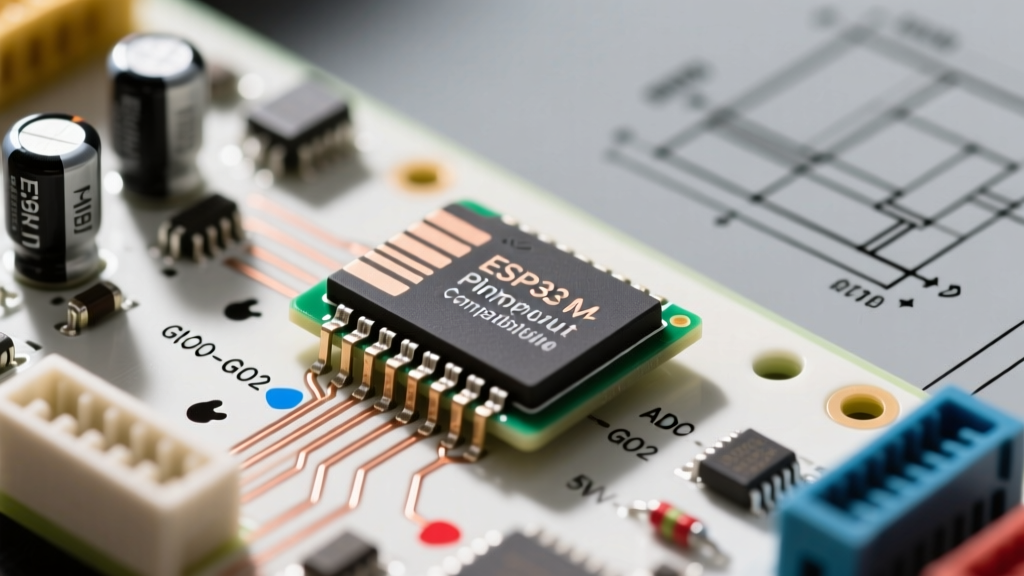

Decoding the ESP32 WROOM Pinout for Hardware Compatibility
When transitioning from the forgiving ecosystem of the Arduino Uno to the high-performance ESP32-WROOM-32, many makers encounter immediate hardware conflicts. The ESP32 is a 240MHz dual-core powerhouse with integrated Wi-Fi and Bluetooth, but its esp32 wroom pinout is a complex matrix of multiplexed functions, strapping requirements, and voltage sensitivities. Treating this module like a standard 5V microcontroller is the fastest route to fried silicon and boot loops.
This compatibility guide bypasses the basic blinking LEDs and dives deep into the hardware realities of the ESP32-WROOM module. We will cover the hidden SPI flash traps, ADC non-linearities, 5V logic intolerance, and the exact GPIO matrix you need to design reliable, production-ready circuits.
The Internal SPI Flash Trap: GPIO 6 through 11
One of the most common and destructive mistakes when analyzing the esp32 wroom pinout is attempting to use GPIO 6, 7, 8, 9, 10, and 11 for external sensors or I/O. On the bare ESP32 silicon, these pins are available. However, on the ESP32-WROOM-32 and WROOM-32E modules, these pins are internally hardwired to the integrated SPI flash memory chip.
If you attempt to toggle these pins, pull them high/low via external resistors, or attach SPI peripherals to them, you will interfere with the module's ability to read its own firmware. This results in immediate boot failures, continuous reset loops, or permanent corruption of the flash memory. Rule of thumb: Completely cross out GPIO 6-11 on your schematic when using any WROOM variant.
Critical Strapping Pins: Boot Mode & Compatibility Traps
Strapping pins are sampled by the ESP32 bootloader during the rising edge of the EN (Enable) pin. If your external circuit forces a specific logic level on these pins during boot, the microcontroller may enter unintended modes or fail to start.
GPIO 12 (MTDI): The Voltage Regulator Killer
GPIO 12 dictates the internal voltage regulator's output to the flash memory. If GPIO 12 is pulled HIGH during boot, the ESP32 assumes the flash memory operates at 1.8V. Since the WROOM module uses a 3.3V flash chip, pulling this pin high will cause the flash to brownout, leading to a boot loop. Never use GPIO 12 for external pull-up resistors or devices that default to HIGH on startup.
GPIO 0 and GPIO 2: Flash Boot Modes
- GPIO 0: Must be HIGH (or floating) for normal firmware execution. If held LOW during boot, the ESP32 enters the serial bootloader (flash mode). This is why buttons on GPIO 0 must be wired to ground, not VCC.
- GPIO 2: Must be LOW or floating to boot from the internal SPI flash. Do not attach external pull-up resistors to GPIO 2.
GPIO 15 (MTDO): Boot Log Noise
GPIO 15 controls the printing of boot logs to the UART. If pulled LOW, the boot logs are silenced. While not fatal, it makes debugging hardware initialization issues significantly harder.
Analog-to-Digital Converter (ADC) Realities and Wi-Fi Conflicts
The ESP32 features two 12-bit SAR ADCs, but they are not created equal regarding compatibility with wireless operations.
Expert Warning: ADC2 (GPIO 0, 2, 4, 12, 13, 14, 15, 25, 26, 27) shares internal hardware resources with the Wi-Fi radio. If your sketch calls
WiFi.begin(), ADC2 reads will silently fail or return garbage data. Always design analog sensor circuits around ADC1 (GPIO 32, 33, 34, 35, 36, 39) if Wi-Fi or Bluetooth is active.
Furthermore, the ESP32 ADC suffers from well-documented non-linearity at the extremes of its 0-3.3V range. Readings below 100mV often collapse to 0, and readings above 3.1V saturate at 4095. For precision analog compatibility, use an external I2C ADC like the ADS1115 rather than relying on the internal WROOM ADC for critical measurements.
5V Logic Tolerance and Shield Compatibility
The most critical hardware compatibility rule for the esp32 wroom pinout is that it is strictly a 3.3V device. Unlike the ATmega328P on the Arduino Uno, the ESP32's GPIO pins are not 5V tolerant. Feeding a 5V signal into an ESP32 pin (such as the Echo pin from an HC-SR04 ultrasonic sensor) will degrade the gate oxide layer. This might work for a few days, but it will eventually lead to phantom triggers, increased leakage current, and permanent silicon death.
Level Shifting Requirements
When integrating 5V sensors or standard Arduino shields, you must use level shifters. The BSS138 MOSFET-based bidirectional level shifter is the most reliable and cost-effective solution for I2C and general GPIO. For high-speed SPI (like TFT displays), use dedicated ICs like the CD4050 or 74LVC245 to prevent signal degradation and timing skew.
Safe vs. Unsafe GPIO Compatibility Matrix
Use the following reference table to quickly validate your wiring against the esp32 wroom pinout constraints.
| GPIO Pin | Compatibility Status | Hardware Notes & Constraints |
|---|---|---|
| GPIO 0, 2, 12, 15 | Use with Extreme Caution | Strapping pins. Boot state dependent. GPIO 12 can cause brownouts. |
| GPIO 6 - 11 | DO NOT USE | Internally wired to SPI Flash on WROOM modules. |
| GPIO 34, 35, 36, 39 | Input Only | No internal pull-up/pull-down resistors. Require external biasing. |
| GPIO 32, 33 | Safe (ADC1 / Touch) | Excellent for analog sensors and capacitive touch. RTC capable. |
| GPIO 16, 17 | Safe (UART2 Default) | Standard hardware UART pins, ideal for GPS or secondary serial. |
| GPIO 21, 22 | Safe (I2C Default) | Standard hardware I2C pins. Add 4.7kΩ pull-ups for 5V I2C devices. |
| GPIO 25, 26, 27 | Safe (ADC1 / DAC) | Features true 8-bit DAC outputs. Great for audio or waveform generation. |
Touch Sensor Pins and Parasitic Capacitance
The WROOM module includes 10 capacitive touch pins (T0-T9 mapped to GPIO 4, 0, 2, 15, 13, 12, 14, 27, 33, 32). While highly useful for buttonless interfaces, they are extremely sensitive to parasitic capacitance. If you route long traces on a custom PCB or use thick wires on a breadboard, the baseline capacitance will shift drastically. Always implement a software calibration routine that reads the ambient touchRead() value on boot and dynamically sets the interrupt threshold, rather than hardcoding threshold values.
Deep Sleep Wakeup Sources
For battery-powered IoT nodes, deep sleep compatibility is paramount. The ESP32 can wake from deep sleep using the RTC (Real-Time Clock) controller. However, not all pins are connected to the RTC domain. Only RTC GPIOs (GPIO 0, 2, 4, 12-15, 25-27, 32-39) can trigger a wakeup via the EXT0 or EXT1 sources. If you design a wake-up button circuit on GPIO 16 or 17, the microcontroller will remain in deep sleep indefinitely, requiring a manual press of the EN button to reset.
References and Authoritative Datasheets
To ensure your hardware designs remain compatible across different ESP32 silicon revisions (such as the V3 revision found in the WROOM-32E), always consult primary documentation:
- Espressif ESP32-WROOM-32E Official Datasheet - For exact mechanical dimensions, internal flash routing, and RF certification details.
- ESP-IDF GPIO & RTC API Reference - For deep sleep wakeup routing and interrupt allocation limits.
- Random Nerd Tutorials ESP32 Pinout Reference - For practical, community-tested wiring diagrams and Arduino IDE compatibility notes.