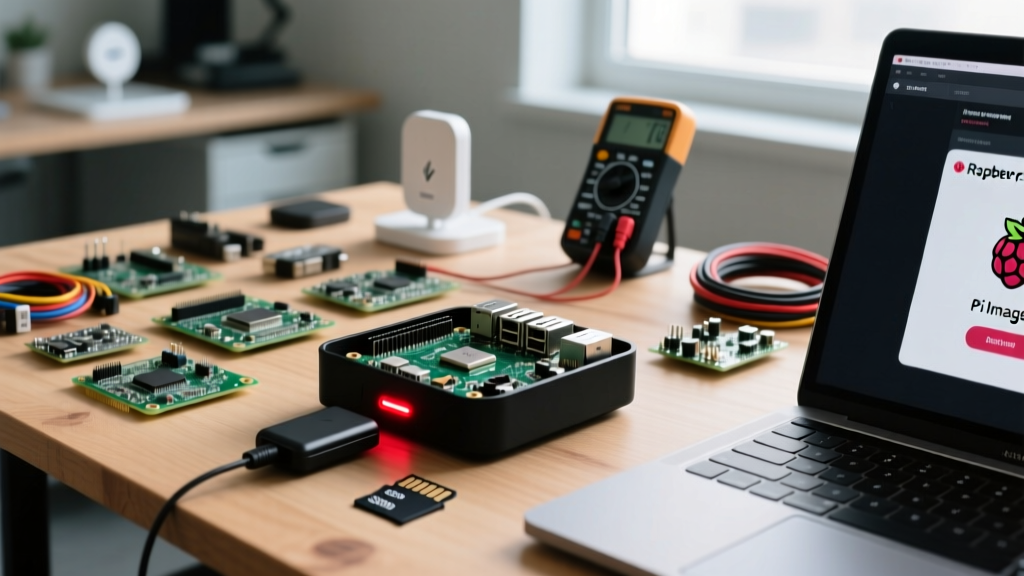

Deploying a Raspberry Pi in a headless configuration—without a dedicated monitor, keyboard, or mouse—is the standard for modern DIY electronics and IoT projects. Whether you are building a Home Assistant server, an OctoPrint instance for your 3D printer, or a distributed MQTT broker network, remote access is mandatory. Secure Shell (SSH) provides the encrypted command-line pipeline required to manage these Single Board Computers (SBCs) efficiently.
However, the landscape of Raspberry Pi remote access has changed drastically with the release of Raspberry Pi OS Bookworm (based on Debian 12). Outdated tutorials circulating on forums will lead to locked-out systems and boot failures. This comprehensive guide details exactly how to enable SSH in Raspberry Pi environments using modern, secure methodologies, while avoiding the common pitfalls of legacy configurations.
The Bookworm Paradigm Shift: Why Old Tutorials Fail
Before diving into the methods, it is critical to understand a major security shift introduced in recent Raspberry Pi OS releases. Historically, the OS shipped with a default user named pi and a default password raspberry. Users could simply drop an empty file named ssh onto the boot partition, plug in the Pi, and log in remotely using those default credentials.
This is no longer possible. To mitigate botnet attacks targeting default credentials, the Raspberry Pi Foundation completely removed the default pi user. If you flash the OS and place an ssh file on the boot partition without explicitly defining a user, the SSH daemon will start, but you will have no valid username to authenticate with. You must either pre-configure a user via the Imager or inject a userconf file alongside the ssh file.
Method 1: Pre-Configuration via Raspberry Pi Imager (Recommended)
The most reliable way to enable SSH in Raspberry Pi deployments is by utilizing the OS Customisation menu within the official Raspberry Pi Imager (version 1.8 or newer). This method injects your credentials, SSH keys, and network settings directly into the image before it is flashed to the microSD card or NVMe drive.
- Open the Raspberry Pi Imager and select your target hardware (e.g., Raspberry Pi 4 or 5).
- Select your preferred OS (Raspberry Pi OS Lite 64-bit is recommended for headless servers to save RAM and CPU cycles).
- Choose your storage media.
- Click Next. A prompt will appear asking if you want to apply OS Customisation settings. Click Edit Settings.
- Navigate to the Services tab.
- Check the box for Enable SSH.
- Select Use password authentication (for initial setup) or Allow public-key authentication only (if you have already generated an Ed25519 key pair and paste it into the provided text box).
- Save the settings and proceed with the flash.
Upon first boot, the Pi will automatically resize the filesystem, connect to your Wi-Fi (if configured), and start the SSH daemon with your predefined user and authentication method.
Method 2: The Boot Partition Injection (Manual Flash)
If you are using a third-party flashing tool like BalenaEtcher, or cloning an existing drive via dd, you can manually enable SSH by interacting directly with the FAT32-formatted bootfs partition. This partition is readable by Windows, macOS, and Linux immediately after flashing.
Step 1: Create the SSH Trigger File
Create a completely empty file named exactly ssh (no file extension) in the root directory of the boot partition. On Windows, ensure that 'Hide extensions for known file types' is disabled in File Explorer, otherwise you may accidentally create a file named ssh.txt, which the OS will ignore.
Step 2: Inject the User Configuration
Because the default user is gone, you must provide a userconf.txt file in the exact same boot partition root. This file requires a specific format: username:encrypted-password.
To generate the encrypted password string, open a terminal on your host machine (Linux/macOS) or use a tool like OpenSSL and run:
openssl passwd -6 'YourComplexPassword'Copy the resulting hash. Create the userconf.txt file with a single line of text formatted as follows:
myuser:$6$xyz...hashedstring...$When the Pi boots, a systemd service reads this file, creates the user, applies the password, and deletes the userconf.txt file for security.
Method 3: Tethered Setup via raspi-config
If you are initially setting up the Pi with a monitor and keyboard, or if you are using a serial console cable connected to the GPIO UART pins (pins 8 and 10), you can enable SSH through the interactive configuration tool.
- Log in to the terminal.
- Type
sudo raspi-configand press Enter. - Navigate to Interface Options > SSH.
- Select Yes to enable the SSH server.
- Exit the tool and reboot the system using
sudo reboot.
Hardening Your Pi: SSH Key Authentication & Security
Enabling SSH is only half the battle; securing it is paramount. Headless Pis connected to the internet are scanned by automated botnets within minutes. Password authentication, even with complex strings, is vulnerable to brute-force attacks. You must transition to cryptographic key authentication.
Generating Ed25519 Keys
RSA keys are largely deprecated in modern OpenSSH implementations due to performance and legacy SHA-1 vulnerabilities. Generate an Ed25519 key pair on your host machine:
ssh-keygen -t ed25519 -C "pi-headless-node-01"Copy the public key to your Raspberry Pi (assuming you initially enabled password auth):
ssh-copy-id -i ~/.ssh/id_ed25519.pub myuser@raspberrypi.localDisabling Password Authentication via Drop-in Configs
In Debian 12 (Bookworm), editing the main /etc/ssh/sshd_config file directly is discouraged. Instead, use the drop-in directory /etc/ssh/sshd_config.d/. Create a new file named 99-disable-password.conf:
sudo nano /etc/ssh/sshd_config.d/99-disable-password.confAdd the following directives to lock down the server:
PasswordAuthentication no
ChallengeResponseAuthentication no
PermitRootLogin no
MaxAuthTries 3
Restart the daemon to apply changes: sudo systemctl restart ssh. For further protection against brute-force attempts, installing Fail2Ban is highly recommended to automatically ban IPs that exhibit malicious authentication patterns.
Troubleshooting Matrix: Connection Refused & Timeouts
Even with perfect configuration, network anomalies can block SSH access. Use the following diagnostic matrix to resolve common headless deployment failures.
| Symptom / Error Message | Underlying Cause | Technical Resolution |
|---|---|---|
Could not resolve hostname raspberrypi.local |
mDNS (Multicast DNS) failure. The Avahi daemon hasn't broadcasted, or your router blocks mDNS packets. | Log into your router's DHCP reservation table to find the assigned IPv4 address. Connect using ssh user@192.168.x.x instead of the .local alias. |
Connection refused (Port 22) |
The SSH daemon failed to start, or the ssh trigger file was ignored due to a hidden .txt extension. |
Re-flash the SD card. Verify the boot partition contains a file named strictly ssh with zero bytes. Check for adequate power supply (undervoltage can halt boot services). |
WARNING: REMOTE HOST IDENTIFICATION HAS CHANGED! |
You re-flashed the SD card with a new OS, but your host machine remembers the old cryptographic host fingerprint. | Clear the old fingerprint from your host's known_hosts file by running: ssh-keygen -R raspberrypi.local |
Permission denied (publickey) |
File permissions on the Pi's ~/.ssh directory are too permissive, causing OpenSSH to reject the keys for security. |
Access via tethered console and run: chmod 700 ~/.ssh and chmod 600 ~/.ssh/authorized_keys. |
Conclusion
Mastering how to enable SSH in Raspberry Pi environments is the foundational step for any serious SBC project. By leveraging the Raspberry Pi Imager for seamless headless provisioning, understanding the strict user-creation requirements of Raspberry Pi OS Bookworm, and enforcing Ed25519 cryptographic authentication, you ensure your DIY electronics and smart home nodes remain both accessible and impenetrable. For deeper dives into network configurations and daemon management, always refer to the official Raspberry Pi Remote Access Documentation.