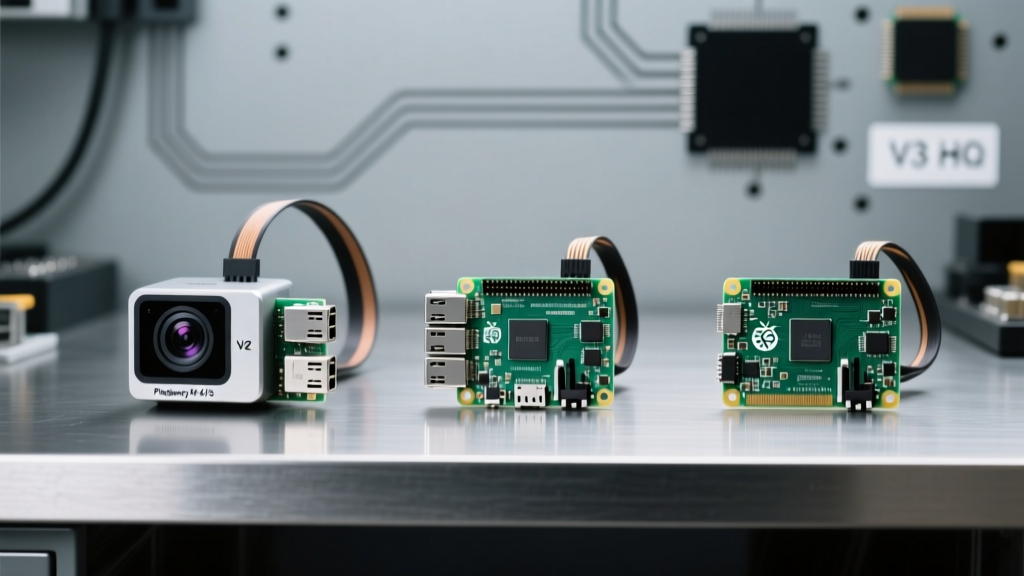

The Case for a Dedicated Edge Surveillance Display
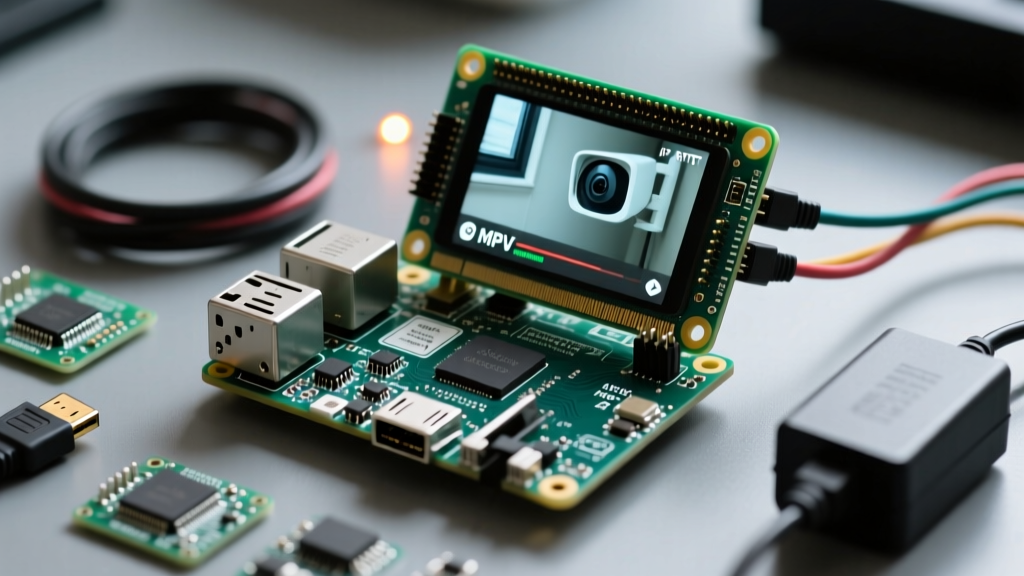
When deploying IP cameras for security, manufacturing line monitoring, or baby monitoring, relying on a central NVR or a power-hungry desktop PC to view the feed is often impractical. Building a dedicated Raspberry Pi RTSP viewer provides a low-power, edge-computing solution that pulls the Real Time Streaming Protocol (RTSP) feed directly from the camera and outputs it to a local HDMI monitor. When configured correctly, this setup consumes under 5 watts of power and can achieve sub-500ms latency, effectively creating a zero-lag virtual mirror of your camera's sensor.
However, out-of-the-box media players on Raspberry Pi OS often struggle with RTSP streams, resulting in macroblocking, audio drift, or multi-second delays. This tutorial bypasses those pitfalls by leveraging hardware-accelerated decoding and aggressive buffer tuning on Raspberry Pi OS Bookworm.
Hardware Selection: Pi 4 vs. Pi 5 for Video Decoding
Not all Single Board Computers (SBCs) handle high-bitrate H.265 (HEVC) or H.264 streams equally. The choice between the Raspberry Pi 4 Model B and the Raspberry Pi 5 dictates your maximum resolution and decoder pipeline.
| Feature | Raspberry Pi 4 Model B | Raspberry Pi 5 |
|---|---|---|
| H.265 (HEVC) Decoding | Hardware (4Kp60 via dedicated HEVC block) | Hardware (4Kp60 via RP1 / VPU pipeline) |
| H.264 Decoding | Hardware (1080p60) | Hardware (1080p60) |
| Display Output | 2x Micro-HDMI (Dual 4Kp30 or 1x 4Kp60) | 2x Micro-HDMI (Dual 4Kp60) |
| PoE HAT Support | Official PoE HAT / Waveshare | Official Pi 5 PoE HAT (Requires specific case) |
| Recommended RAM | 4GB or 8GB | 4GB or 8GB |
Expert Tip: If your IP camera outputs a 4K H.265 stream, both boards can handle it, but the Pi 5's updated display pipeline handles dual 4K monitors much more gracefully if you plan to view a 2x2 camera grid. For single-camera 1080p/4K kiosks, the Pi 4 remains a highly cost-effective choice.
Network Architecture: Forcing RTSP over TCP
By default, many IP cameras and media players attempt to stream RTSP over UDP to minimize latency. On a local Wi-Fi network, UDP packet loss manifests as macroblocking (large gray or green squares tearing across the screen) because the missing keyframes are simply dropped.
For a local LAN Raspberry Pi RTSP viewer, you should force RTSP over TCP. TCP guarantees packet delivery. While it introduces a microscopic overhead, modern local gigabit networks handle this effortlessly, and the elimination of visual tearing is worth the trade-off. We will enforce this at the software level in our media player configuration.
Step 1: Preparing Raspberry Pi OS Bookworm
Flash Raspberry Pi OS Bookworm (64-bit) to your microSD card or NVMe drive. Bookworm defaults to the Wayland display server (via Wayfire), which changes how we handle screen blanking and autostart compared to older X11-based releases.
- Boot your Pi and open the terminal.
- Disable screen blanking via the GUI:
Menu > Preferences > Screen Blanking(Turn it OFF). - Alternatively, edit the Wayfire configuration directly:
nano ~/.config/wayfire.ini - Find the
[idle]section and setdpms_timeout = -1to prevent the HDMI output from sleeping.
Step 2: Installing MPV and Dependencies
We will use mpv, a highly efficient, command-line-based media player that excels at hardware-accelerated video rendering. According to the MPV Official Manual, its DRM (Direct Rendering Manager) backend allows for zero-copy video rendering directly to the framebuffer, bypassing heavy desktop compositing overhead.
sudo apt update
sudo apt install mpv ffmpeg -y
Step 3: Constructing the Low-Latency MPV Command
This is the core of your Raspberry Pi RTSP viewer setup. We need to construct a command that enables hardware decoding, forces TCP, and strips away all caching buffers that introduce latency.
mpv --hwdec=drm --vo=gpu --profile=low-latency --untimed --no-cache --demuxer-lavf-o=rtsp_transport=tcp 'rtsp://admin:password123@192.168.1.50:554/stream1'Command Breakdown & E-E-A-T Insights:
--hwdec=drm: Instructs MPV to use the Pi's kernel-level DRM subsystem for hardware decoding. This keeps CPU usage under 15% even on 4K streams.--vo=gpu: Uses the OpenGL/Vulkan hardware renderer for scaling and color space conversion.--profile=low-latency: A built-in MPV profile that disables internal buffering and frame reordering.--untimed: Critical for RTSP. Live IP camera streams do not have a predefined duration or master clock. This flag prevents MPV from trying to sync to a non-existent timeline, which causes the 'stutter and speed-up' artifact.--no-cache: Prevents the Pi's RAM from buffering the stream. If the network drops for a second, the stream will freeze rather than playing 'catch up' on a 5-second delay.--demuxer-lavf-o=rtsp_transport=tcp: Forces the underlying FFmpeg lavf demuxer to use TCP instead of UDP.
URL Encoding Warning: If your camera password contains special characters like
@,#, or:, the URL parser will break. You must URL-encode the password. For example,P@ssword!becomesP%40ssword%21.
Step 4: Automating the Kiosk on Boot (Wayland)
To turn your Pi into a dedicated appliance, the viewer must launch automatically on boot. Because Bookworm uses Wayfire, traditional .xinitrc or autostart.desktop methods can be unreliable for fullscreen kiosk modes.
Edit your Wayfire configuration file:
nano ~/.config/wayfire.iniLocate the [autostart] block and append your MPV command. To ensure it takes up the entire screen and hides the cursor, we add --fullscreen and --no-cursor-autohide (or use a utility like unclutter).
[autostart]
camera1 = mpv --fullscreen --hwdec=drm --vo=gpu --profile=low-latency --untimed --no-cache --demuxer-lavf-o=rtsp_transport=tcp 'rtsp://admin:password123@192.168.1.50:554/stream1'
Reboot your Pi. The Wayland desktop will load, and the RTSP stream will immediately snap to fullscreen with hardware acceleration.
Troubleshooting Common RTSP Artifacts & Latency Spikes
Even with optimized software, environmental and network factors can degrade your stream. Use this diagnostic matrix to resolve common issues encountered in edge deployments. For deeper hardware constraints, refer to the Raspberry Pi Hardware Documentation.
| Symptom | Probable Cause | Solution |
|---|---|---|
| Green/Gray Macroblocking | UDP Packet Loss on Wi-Fi | Verify rtsp_transport=tcp is active. Move Pi closer to AP or use Ethernet. |
| Stream Speeds Up / Stutters | Clock Sync Drift | Ensure --untimed is present in the MPV command. |
| High CPU Usage (>80%) | Software Decoding Fallback | Check if camera is outputting an unsupported codec (e.g., H.264 High Profile Level 5.2 on Pi 4). Lower camera bitrate or switch to HEVC. |
| Latency Creeps to 5+ Seconds | Buffer Bloat / B-Frames | Log into the Camera's Web UI. Disable 'B-Frames' and set I-Frame interval to 1 second (or match FPS). |
| Audio Echo / Drift | Sample Rate Mismatch | Add --audio-channels=stereo or disable audio entirely with --no-audio if monitoring video only. |
Final Thoughts on Edge Surveillance
Building a dedicated Raspberry Pi RTSP viewer is an exercise in stripping away operating system bloat to achieve raw, efficient media pipelines. By leveraging the Pi's DRM subsystem, enforcing TCP transport, and eliminating buffer caches, you transform a $60 microcomputer into a commercial-grade, low-latency surveillance monitor. Whether you are monitoring a 3D printer enclosure, a front gate, or a retail floor, this edge-computing approach ensures your display is always on, always local, and always in sync.