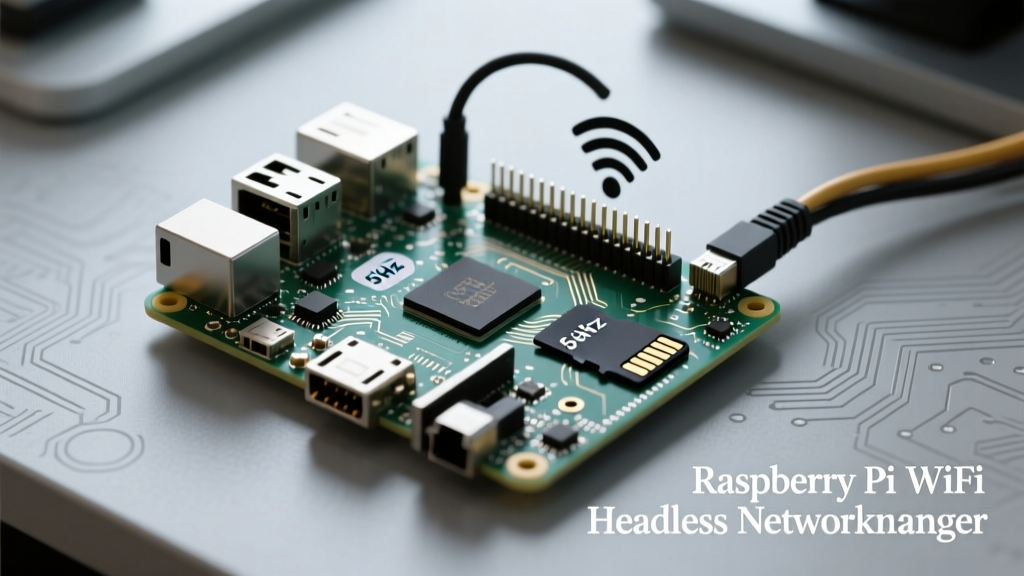

Configuring WiFi on a Raspberry Pi is often the first major hurdle for makers deploying headless smart home nodes, IoT sensors, or Home Assistant servers. A missed configuration step or an outdated tutorial can leave your single-board computer completely invisible on the network, forcing you to dig out a monitor and keyboard. Furthermore, the transition to Raspberry Pi OS Bookworm fundamentally changed how networking is handled under the hood, rendering years of community guides obsolete.
This comprehensive guide cuts through the noise. We will cover the modern NetworkManager approach required for current Raspberry Pi OS versions, legacy configurations for older deployments, and deep-dive hardware optimizations for the Pi 4, Pi 5, and Pi Zero 2 W chipsets.
The Bookworm Paradigm Shift: Why Old WiFi Guides Fail
If you have followed a Raspberry Pi WiFi tutorial written before late 2023, you likely attempted to drop a wpa_supplicant.conf file into the /boot partition. This method no longer works on Raspberry Pi OS Bookworm.
Raspberry Pi OS has transitioned from dhcpcd and wpa_supplicant to NetworkManager as the default network configuration engine. NetworkManager offers superior handling of complex network topologies, seamless roaming, and better integration with modern desktop environments. However, it completely ignores the legacy wpa_supplicant.conf boot file. Understanding this shift is critical for successful headless deployments in 2024 and beyond.
Method 1: Headless Setup via Raspberry Pi Imager (Recommended)
For 90% of new projects, the most reliable way to configure Raspberry Pi WiFi is before you even flash the SD card. The official Raspberry Pi Imager includes a hidden advanced settings menu that injects the correct NetworkManager configuration files into the OS image during the flashing process.
- Open Raspberry Pi Imager and select your device (e.g., Raspberry Pi 5) and OS (Raspberry Pi OS Lite 64-bit).
- Select your target SD card or USB drive.
- Press
Ctrl + Shift + X(or click the gear icon) to open the Advanced Options. - Check Configure Wireless LAN.
- Enter your exact SSID and Password. Crucial: Ensure the SSID is case-sensitive and matches your router exactly.
- Set the Wireless LAN Country code (e.g., US, GB, DE). This is legally required to unlock 5GHz channels and prevent radar interference.
- Enable SSH (Use password authentication or allow-list your public key).
- Click Save and proceed to write the image.
Upon first boot, the Pi will automatically read these injected NetworkManager profiles, connect to your WiFi, and enable SSH, allowing immediate remote access.
Method 2: Command Line Configuration Using nmcli
If your Pi is already running and you have terminal access (either via a connected monitor, UART serial console, or Ethernet), you will use nmcli (NetworkManager Command Line Interface) to manage WiFi connections.
Scanning and Connecting
First, ensure the wireless interface is powered on and scan for available networks:
sudo nmcli device wifi rescan
sudo nmcli device wifi list
To connect to a hidden or visible network, use the following syntax:
sudo nmcli device wifi connect "YOUR_SSID" password "YOUR_PASSWORD"NetworkManager will automatically generate a connection profile stored in /etc/NetworkManager/system-connections/. To verify your connection and retrieve your assigned IP address, run:
nmcli connection show
ip addr show wlan0
Hardware Deep Dive: Pi WiFi Chipsets & Antenna Realities
Not all Raspberry Pi WiFi implementations are created equal. The physical PCB layout and the specific silicon used dictate your maximum throughput and range. Below is a comparison of the internal wireless hardware across popular models.
| Model | WiFi Chipset | Supported Bands | Max Theoretical Speed | Antenna Notes |
|---|---|---|---|---|
| Raspberry Pi 4 Model B | Cypress CYW43455 | 2.4GHz & 5GHz (802.11ac) | ~433 Mbps | Onboard PCB trace antenna. Highly susceptible to metal case interference. |
| Raspberry Pi 5 | Infineon CYW43455 | 2.4GHz & 5GHz (802.11ac) | ~433 Mbps | Improved RF routing and shielding compared to Pi 4, yielding better real-world stability. |
| Raspberry Pi Zero 2 W | Cypress CYW43439 | 2.4GHz Only (802.11n) | ~72 Mbps | Excellent range for 2.4GHz due to board shape, but entirely lacks 5GHz support. |
| Raspberry Pi 3B+ | Cypress CYW43455 | 2.4GHz & 5GHz (802.11ac) | ~433 Mbps | First Pi to feature dual-band. USB 2.0 bus limits actual network throughput. |
For authoritative hardware specifications and chipset datasheets, refer to the official Raspberry Pi hardware documentation.
The 5GHz Country Code Trap
A frequent failure mode for Raspberry Pi WiFi is the inability to see or connect to 5GHz networks. By default, the Raspberry Pi's WiFi chip operates in a restricted "worldwide" mode that disables 5GHz channels entirely. This is a regulatory safeguard; 5GHz frequencies overlap with military and weather radar bands in various countries, and the Pi must be explicitly told which country's regulations to follow before it will transmit on those frequencies.
If you skipped the country code step in the Imager, you must set it manually via the terminal:
sudo raspi-configNavigate to Localisation Options > WLAN Country, select your two-letter country code, and reboot. Once rebooted, the 5GHz channels will be unlocked, allowing for significantly faster and less congested connections.
Advanced Optimization: Disabling WiFi Power Management
Out of the box, NetworkManager on Raspberry Pi OS aggressively enables WiFi power saving to reduce energy consumption. For battery-powered IoT nodes, this is great. For a Home Assistant server or a Pi running a continuous web scrape, power management causes intermittent SSH dropouts and increased latency.
In legacy OS versions, you would use iwconfig wlan0 power off. In the modern NetworkManager ecosystem, you must modify the connection profile directly.
How to Disable Power Save via nmcli
First, find your active connection name:
nmcli connection showNext, disable power saving for that specific profile (replace MyWiFi with your actual connection name):
sudo nmcli connection modify "MyWiFi" 802-11-wireless.powersave 2Note: In NetworkManager, a value of 2 explicitly disables power saving, while 3 enables it.
Restart the connection to apply the changes:
sudo nmcli connection up "MyWiFi"For deeper insights into NetworkManager configurations on Raspberry Pi OS, consult the Raspberry Pi OS networking guide.
Troubleshooting Matrix: Common WiFi Failure Modes
When your Pi refuses to join the network, use this diagnostic framework to isolate the issue.
- Symptom: Pi connects to 2.4GHz but refuses to join 5GHz.
- Root Cause: Missing WLAN Country code, or the router is using a DFS (Dynamic Frequency Selection) channel that the Pi's chipset struggles to handshake with.
- Fix: Set the country code via
raspi-config. If that fails, change your router's 5GHz control channel to a non-DFS channel (e.g., 36, 40, 44, or 48).
- Symptom: WiFi works on boot, but drops after 10 minutes of idle time.
- Root Cause: Aggressive router-side client isolation or Pi-side NetworkManager power saving.
- Fix: Disable
802-11-wireless.powersaveas detailed above, and ensure your router's DHCP lease time is set to at least 24 hours.
- Symptom: Extremely low throughput and high packet loss on Pi 4.
- Root Cause: Metal enclosure acting as a Faraday cage, or USB 3.0 interference.
- Fix: USB 3.0 data transfer generates broadband noise that directly overlaps the 2.4GHz WiFi spectrum. If using 2.4GHz, plug peripherals into the USB 2.0 ports, or switch the Pi to a 5GHz network to bypass the interference entirely. Alternatively, use an external USB WiFi dongle with a high-gain antenna.
Legacy Fallback: The wpa_supplicant.conf Method
If you are deploying an older Raspberry Pi Zero W on Raspberry Pi OS Bullseye (or an industrial image that relies on dhcpcd), the legacy boot-partition method is still required.
Create a file named wpa_supplicant.conf in the root of the /boot (or /boot/firmware) partition with the following contents:
ctrl_interface=DIR=/var/run/wpa_supplicant GROUP=netdev
update_config=1
country=US

network={
    ssid="YOUR_LEGACY_SSID"
    psk="YOUR_LEGACY_PASSWORD"
    key_mgmt=WPA-PSK
}
Upon booting, the OS will move this file into /etc/wpa_supplicant/ and apply the credentials. Warning: Do not use this method on Bookworm or newer releases, as the file will simply be ignored.
Expert Tip: For headless Pi deployments in remote locations (like a garden greenhouse or attic), always configure a secondary fallback network profile via
nmclipointing to a mobile hotspot. If your primary home router reboots or changes credentials, the Pi will automatically failover to the hotspot, saving you a physical trip to retrieve the SD card.
Mastering Raspberry Pi WiFi configuration requires moving past outdated tutorials and embracing the NetworkManager ecosystem. By correctly setting your country codes, disabling destructive power-saving features, and understanding the physical limitations of the onboard PCB antennas, you can build resilient, wireless SBC deployments that stay online for years.