
The Hidden Economics of Solder Fume Extraction
When you start soldering, the sweet smell of vaporized rosin flux might seem like the aroma of productivity. In reality, it is a respiratory sensitizer. According to the UK Health and Safety Executive (HSE), colophony (rosin) fumes are a leading cause of occupational asthma in electronics manufacturing. For the home hobbyist or independent repair technician, protecting your lungs is non-negotiable. However, the market is flooded with deceptive, low-cost 'fume absorbers' that do little more than blow unfiltered VOCs back into your face.
This has driven a massive wave of makers toward building a diy solder fume extractor. But is building your own actually more economical than buying a commercial unit? To answer this, we must look past the initial build cost and analyze the Total Cost of Ownership (TCO), including replacement media, power draw, and the hidden 'time tax' of maintenance and troubleshooting. In this 2026 cost analysis, we break down the exact Bill of Materials (BOM) for a high-performance DIY build and compare it against both entry-level and professional commercial extractors.
Bill of Materials: Pricing a High-Performance DIY Build
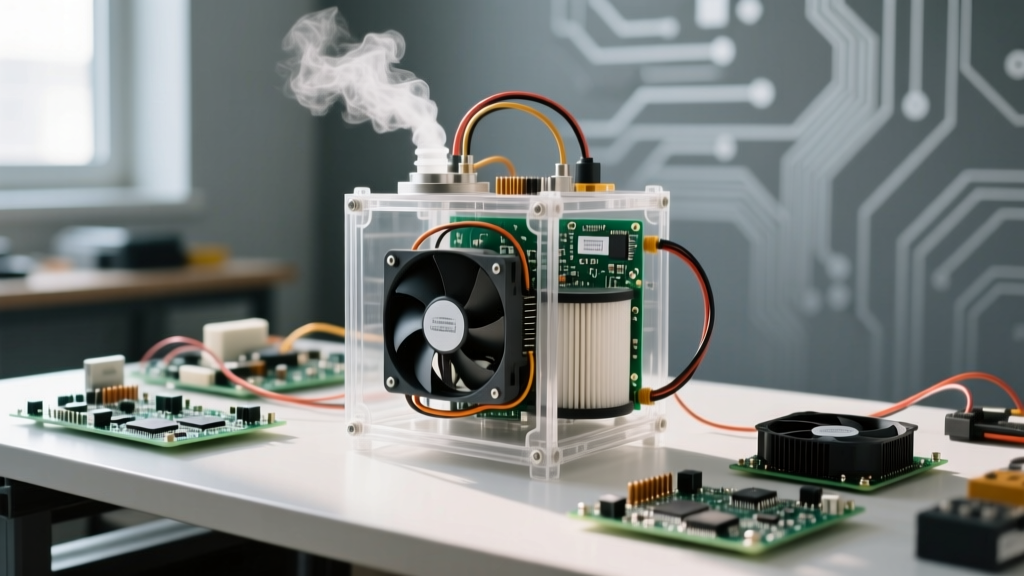
A common mistake in the DIY community is slapping a cheap PC case fan onto a sheet of carbon-impregnated foam. This yields high airflow but near-zero static pressure, meaning the air simply bypasses the dense filter media. Furthermore, carbon foam cannot adsorb the complex volatile organic compounds (VOCs) released by lead-free and rosin fluxes. A proper DIY build requires a high-static-pressure fan, a true HEPA particulate filter, and a deep bed of bulk activated carbon.
Fan Selection: Static Pressure vs. Airflow
You need a fan rated for high static pressure (measured in mmH2O) to pull air through dense filtration. The Noctua NF-A14 industrialPPC-3000 PWM (approximately $28) is the gold standard for DIY extractor builds. It delivers 158.5 CFM and an impressive 6.76 mmH2O of static pressure. Standard PC case fans typically produce less than 1.5 mmH2O, making them entirely unsuitable for pushing air through a carbon pellet bed.
Filtration Media: Where DIY Builders Cut Corners (And Fail)
Particulate matter (the visible white smoke) must be captured before it reaches the carbon bed, otherwise, the carbon pores will clog with rosin residue in a matter of weeks.
- Pre-Filter & HEPA: A generic H13 HEPA filter cut to size ($15) captures 99.95% of sub-micron rosin particulates.
- Gas-Phase Filtration: You must use bulk activated carbon pellets, specifically coconut-shell based in a 4x8 or 6x12 mesh size ($25 for a 5lb bag). This provides the necessary surface area and dwell time to adsorb VOCs and aldehydes. NIOSH guidelines on soldering ventilation emphasize the necessity of targeted local exhaust for these specific chemical byproducts.
- Housing & Ducting: A 3D-printed PETG/ABS housing or a PVC reducer coupling ($12) paired with a flexible Loc-Line coolant hose ($22) allows for precise nozzle positioning.
Total Initial DIY BOM Cost: ~$102.00
DIY vs. Commercial: A 3-Year Total Cost of Ownership (TCO) Model
To understand the true financial impact, we must project costs over a 3-year period, assuming moderate hobbyist use (approx. 5 hours per week) and regular filter maintenance. Below is a comparative analysis of our optimized DIY build, the ubiquitous entry-level Hakko FA-400, and a mid-tier commercial HEPA/Carbon unit (e.g., generic Amazon-brand 4-stage desktop extractors).
| Cost Factor | Optimized DIY Build | Hakko FA-400 (Entry) | Mid-Tier Commercial HEPA |
|---|---|---|---|
| Initial Hardware Cost | $102.00 | $55.00 | $165.00 |
| Filter Replacement (Year 1) | $15 (HEPA + Carbon) | $18 (3x Carbon Foam) | $45 (Proprietary Combo) |
| Filter Replacement (Year 2) | $15 | $18 | $45 |
| Filter Replacement (Year 3) | $15 | $18 | $45 |
| Power Cost (3 Years) | $8 (12V DC efficient) | $12 (AC Adapter loss) | $14 |
| 3-Year TCO | $155.00 | $121.00 | $314.00 |
| Actual Lung Protection | Excellent (H13 + Pellet) | Poor (Foam bypass) | Good (Sealed HEPA) |
Analysis: While the entry-level Hakko FA-400 wins on pure upfront cost and 3-year TCO, it fails fundamentally at its primary job. The carbon-impregnated foam filters used in the FA-400 do not have the mass or dwell time to adsorb VOCs; they merely mask the odor while blowing fine particulates back into the room. The mid-tier commercial units offer excellent protection but rely on proprietary, heavily marked-up replacement filters, driving the TCO to over $300. The DIY build sits in the sweet spot: it offers commercial-grade protection at a fraction of the long-term cost, provided you are willing to source your own media.
Failure Modes and the 'Time Tax' of DIY Builds
The financial spreadsheet above does not account for the 'time tax'—the hours spent troubleshooting the inherent failure modes of DIY engineering. When building your own extractor, you must mitigate the following common points of failure:
1. Air Leaks and Bypass
Air follows the path of least resistance. If your 3D-printed housing or PVC joints are not perfectly sealed, the high-static-pressure fan will pull air through the microscopic gaps between the filter and the housing wall rather than through the carbon bed. Solution: Use closed-cell foam weatherstripping tape around the filter seating edge and secure it with mechanical clamps rather than relying solely on hot glue, which degrades under the mild heat of the exhaust stream.
2. Carbon Dust Shedding
Bulk activated carbon pellets generate fine black dust during shipping and handling. If you place the carbon bed directly in front of the exhaust fan, this dust will be blown directly onto your workbench and into your lungs. Solution: The filtration stack must always follow this exact order: Intake -> HEPA Particulate Filter -> Carbon Pellet Bed -> Retention Mesh -> Exhaust Fan. Never place a fan before the carbon bed.
3. The Ozone Trap
Some DIYers attempt to integrate electrostatic precipitators or negative ion generators to 'clean' the air. In a small, unventilated room, these devices generate ozone (O3), which is a severe respiratory irritant that is arguably more dangerous than the rosin flux itself. Stick strictly to mechanical and chemical adsorption filtration.
4. Acoustic Resonance
The Noctua industrialPPC fan moves a massive amount of air, but at 3000 RPM, it generates significant noise. Mounting a rigid fan directly to a rigid PVC or PETG enclosure creates a resonance chamber, amplifying the acoustic profile. Applying automotive sound-deadening mat (butyl rubber) to the interior flat surfaces of the housing reduces vibrational transfer and drops the perceived noise by up to 40%.
Verdict: When to Build and When to Buy
Building a diy solder fume extractor is highly recommended for makers, 3D printing enthusiasts, and repair technicians who already possess the tools to fabricate a sealed housing and who want to avoid the recurring subscription-like costs of proprietary commercial filters. The ability to buy a 5lb bag of activated carbon pellets for $25—which will last for years of filter refills—makes the DIY route vastly superior in long-term operational expenditure.
However, if you operate a professional repair shop where OSHA or local labor compliance requires certified, warrantied safety equipment, or if you simply lack the time to design, print, and seal a custom enclosure, investing in a $300+ commercial unit (like those from BOFA or Metcal) is a justifiable business expense. For the rest of the DIY electronics community, a $100 custom build utilizing a high-static-pressure fan, H13 HEPA, and a deep carbon pellet bed remains the undisputed champion of cost-effective respiratory protection.