
Decoding the Black Cylinders: Your Kit's Diode Inventory
When you unbox a standard beginner component kit—like the popular RexQualis or Elegoo 300-in-1 electronics starter packs—you are immediately confronted with dozens of small, black cylinders featuring a single gray or silver stripe. To the untrained eye, they all look identical. However, treating them as interchangeable is the fastest way to fry a microcontroller or short-circuit a power supply.
This guide serves as your definitive diodes cheat sheet, mapped directly to the physical compartments of your beginner kit. Rather than relying on abstract semiconductor theory, we will break down the exact part numbers you have on your workbench, their real-world failure modes, and how to deploy them in practical DIY circuits.
The Core Diodes Cheat Sheet: Specs and Use Cases
Keep this table handy on your workbench. It covers the four primary diode families found in 99% of hobbyist component kits.
| Diode Model | Type | Package | Max Current ($I_F$) | Peak Reverse Voltage ($V_{RRM}$) | Forward Voltage ($V_F$) | Primary Kit Use Case |
|---|---|---|---|---|---|---|
| 1N4007 | Standard Rectifier | DO-41 (Black) | 1.0 A | 1000 V | ~0.7 V | Power supply rectification, relay flyback protection |
| 1N4148 | Signal Switching | DO-35 (Glass) | 300 mA | 100 V | ~0.7 V | Logic gates, high-speed switching, signal clamping |
| 1N5819 | Schottky | DO-41 (Black) | 1.0 A | 40 V | ~0.2 V | Battery OR-ing, solar panel bypass, low-loss power |
| BZX55 (e.g., 5V1) | Zener | DO-35 (Glass) | 500 mA* | Zener Voltage ($V_Z$) | N/A (Reverse bias) | Voltage regulation, overvoltage protection |
*Zener current limits depend heavily on the specific wattage rating (usually 500mW or 1.3W in beginner kits) and require a series current-limiting resistor.
Compartment 1: The Rectifiers (1N400x Series)
The 1N400x series is the workhorse of the electronics world. In your kit, you likely have the 1N4007. The 'x' in 1N400x denotes the Peak Repetitive Reverse Voltage ($V_{RRM}$). A 1N4001 is rated for 50V, while the 1N4007 is rated for a massive 1000V. Because the 1N4007 is so cheap to manufacture in bulk, kit providers almost exclusively include it, making the lower-voltage variants obsolete for hobbyists.
Real-World Application: Relay Flyback Protection
If you are using an Arduino or ESP32 to trigger a relay module, the relay coil acts as an inductor. When the transistor cuts power to the coil, the collapsing magnetic field generates a massive reverse voltage spike (inductive kickback) that can easily exceed 100V, instantly destroying your microcontroller's GPIO pin or the driving transistor.
Placing a 1N4007 in reverse bias across the relay coil provides a safe path for this spike to dissipate. According to Vishay's 1N400x datasheet, the diode can handle a non-repetitive peak forward surge current of 30A for a single half-cycle (8.3ms), making it virtually indestructible in standard 5V/12V relay flyback scenarios.
Compartment 2: Signal Switching (1N4148)
Visually, the 1N4148 stands out because it is encased in an orange-tinted glass DO-35 package rather than a black epoxy cylinder. While the 1N4007 is built for brute-force power, the 1N4148 is built for speed.
The 1N4148 boasts a reverse recovery time ($t_{rr}$) of just 4 nanoseconds, compared to the 1N4007's sluggish 30 microseconds. If you attempt to use a 1N4007 in a high-frequency RF circuit or a fast-switching logic gate, the diode won't close fast enough, allowing reverse current to leak through and corrupt your signal. Always use the glass 1N4148 for digital logic isolation, preventing two output pins from back-feeding into each other when wired in an OR-gate configuration.
Compartment 3: Voltage Clamping (Zener Diodes)
Zener diodes are the oddballs of your kit. While standard diodes block current in reverse bias until they catastrophically fail (avalanche breakdown), Zener diodes are designed to break down in reverse bias at a highly specific, predictable voltage.
The 5.1V Zener: USB Protection
Your kit likely contains a 5.1V Zener diode. A classic beginner project is building a custom USB-powered device. To protect your delicate 3.3V LDO voltage regulator from a faulty USB port pushing 5.5V or higher, you can place a 5.1V Zener diode in reverse bias across the power rails, paired with a polyfuse or a small series resistor. If the voltage exceeds 5.1V, the Zener conducts the excess energy to ground, clamping the voltage and saving your downstream components.
Pro-Tip: Never place a Zener diode in forward bias expecting regulation. In forward bias, a Zener diode behaves exactly like a standard silicon rectifier, dropping ~0.7V and offering zero voltage regulation.
Compartment 4: High-Speed Power (Schottky Diodes)
If your kit includes a 1N5817, 1N5818, or 1N5819, you have Schottky diodes. These are constructed using a metal-to-semiconductor junction rather than a P-N junction. The primary advantage? A remarkably low forward voltage drop ($V_F$) of about 0.2V to 0.3V, compared to the 0.7V drop of standard silicon diodes.
Why $V_F$ Matters in Low-Voltage Projects
Imagine you are building a solar-powered weather station using a 4.5V solar panel to charge a 3.7V LiPo battery. If you use a standard 1N4007 to prevent the battery from discharging back into the panel at night, you lose 0.7V. Your 4.5V panel is now only delivering 3.8V to the charging circuit, which might not be enough to initiate charging. By swapping in a 1N5819 Schottky diode, you only lose 0.2V, leaving 4.3V for the charging circuit. Furthermore, Schottky diodes dissipate less heat ($P = V_F \times I$), which is critical in enclosed, unventilated project boxes.
Field Testing: Multimeter Diode Mode Demystified
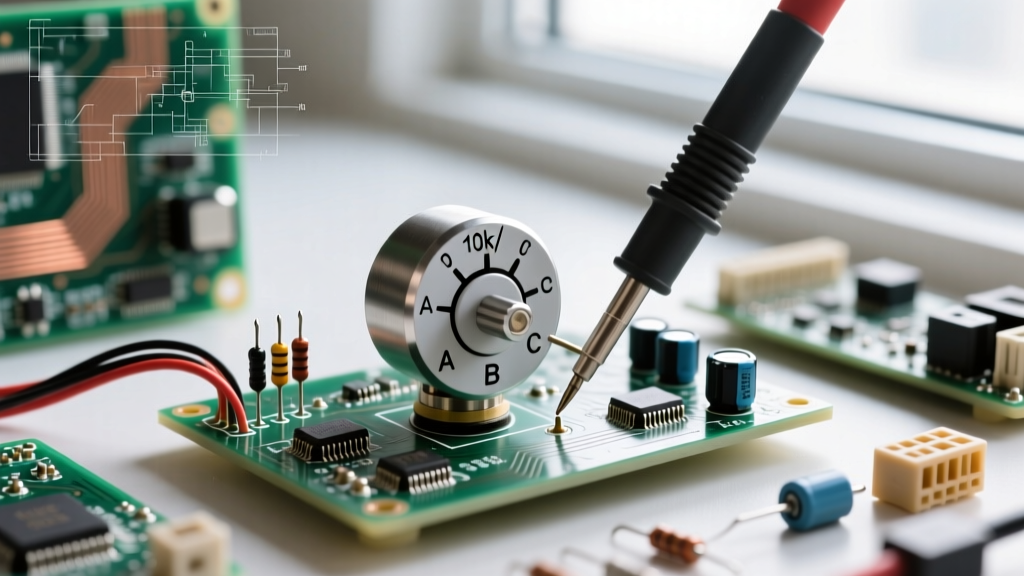
Beginners often use the resistance (Ohms) setting to test diodes, which yields confusing and inconsistent results. Instead, switch your multimeter to the Diode Test Mode (indicated by a diode symbol). As detailed in SparkFun's comprehensive diode tutorial, this mode applies a small, constant current to the probes and measures the resulting voltage drop.
- Forward Bias Test: Place the red probe on the Anode (the side without the stripe) and the black probe on the Cathode (the side with the stripe).
- Silicon (1N4007/1N4148): Expect a reading between 0.500V and 0.750V.
- Schottky (1N5819): Expect a reading between 0.150V and 0.300V.
- Reverse Bias Test: Swap the probes (red on Cathode, black on Anode). The multimeter should display 'OL' (Over Limit) or '1', indicating infinite resistance and confirming the diode is successfully blocking reverse current.
If your multimeter reads '0.00' or beeps continuously in both directions, the diode has suffered thermal runaway or a short-circuit failure and must be discarded.
Common Beginner Blunders and How to Avoid Them
- Ignoring the Stripe: The silver/grey stripe always indicates the Cathode (negative side in forward bias). Current flows from Anode to Cathode. Think of the stripe as a wall that the arrow of the diode symbol is crashing into.
- Thermal Runaway in Power Rectifiers: While the 1N4007 is rated for 1A, pushing a continuous 1A through it in a cramped enclosure without airflow will cause it to heat up. As silicon heats up, its forward voltage drop decreases, which can lead to thermal runaway in poorly designed, unregulated power supplies. Stick to under 0.5A continuous current for DO-41 packages without a heatsink.
- Forgetting Current Limiting on Zeners: A Zener diode connected directly across a 9V battery without a series resistor will instantly draw infinite current, pop like a firecracker, and destroy itself. Always calculate your series resistor using Ohm's Law: $R = (V_{source} - V_{zener}) / I_{zener}$.
By understanding the distinct roles of the 1N4007, 1N4148, 1N5819, and Zener diodes, you transform your beginner component kit from a box of random parts into a highly capable arsenal for circuit protection, signal routing, and power management.