
The Freenove ESP32-S3 Challenge in PlatformIO
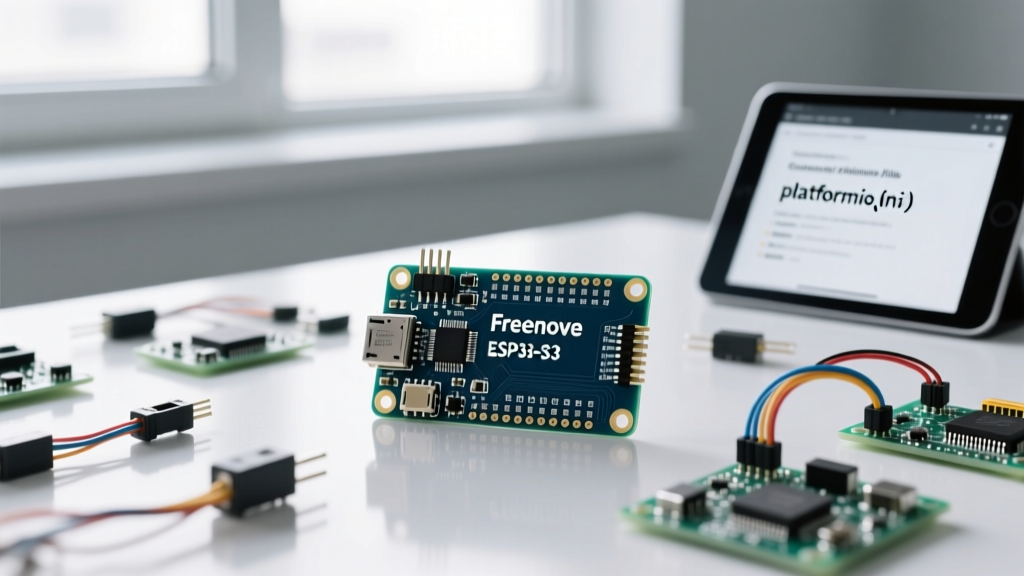
The Freenove ESP32-S3 breakout board has rapidly become a favorite among makers and IoT developers. Built around the powerful ESP32-S3-WROOM-1-N8R8 module, it boasts 8MB of Flash and 8MB of Octal PSRAM, making it an absolute powerhouse for edge AI, camera streaming, and complex multitasking. However, transitioning from the standard Arduino IDE to a professional development environment often hits a snag. If you are searching for how to configure PlatformIO for the Freenove ESP32-S3 breakout board, you have likely already discovered that PlatformIO does not include a dedicated, out-of-the-box board definition specifically branded for Freenove.
This absence leads to a cascade of frustrating errors: blank serial monitors, PSRAM allocation failures when initializing camera buffers, and "sketch too big" compilation errors. To achieve true workflow optimization, we must manually map the hardware capabilities of the Freenove board to PlatformIO’s build system. This guide will walk you through the exact platformio.ini configurations, memory mapping, and debugging workflows required to turn this generic board mapping into a highly optimized, production-ready development environment.
Step 1: Base Board Mapping and Environment Setup
Because the Freenove board utilizes a standard Espressif ESP32-S3-WROOM-1 module with a custom pinout and native USB routing, we must anchor our configuration to the closest official reference board. The esp32-s3-devkitc-1 serves as the most stable foundation for the Arduino framework within PlatformIO.
Handling the Missing Board Definition
Open your platformio.ini file and establish the base environment. By targeting the Espressif 32 platform and the Arduino framework, we gain access to the vast ecosystem of Arduino libraries while retaining PlatformIO’s superior build management.
[env:freenove_esp32s3]
platform = espressif32
board = esp32-s3-devkitc-1
framework = arduino
monitor_speed = 115200
upload_speed = 921600
While this base configuration will successfully compile a simple "Blink" sketch, it will fail miserably when you attempt to use the Freenove board’s advanced features. The default DevKitC mapping assumes standard Quad-SPI PSRAM and relies on a secondary UART-to-USB bridge chip, neither of which accurately reflects the Freenove hardware.
Step 2: Optimizing Flash, PSRAM, and USB CDC
The true power of the Freenove ESP32-S3 lies in its N8R8 configuration. The "R8" denotes 8MB of Octal SPI (OPI) PSRAM. Standard configurations default to Quad-SPI (QSPI), which will cause the ESP32-S3 to either fail to detect the PSRAM entirely or crash when the camera driver attempts to allocate frame buffers.
Crucial Build Flags for the WROOM-1 Module
To unlock the Octal PSRAM and correctly configure the 8MB Flash, we must inject specific build flags and memory type directives into our environment. Furthermore, the Freenove board routes its primary USB-C port directly to the ESP32-S3’s native USB pins (GPIO19 and GPIO20), bypassing a traditional CP2102 or CH340 UART bridge. Therefore, enabling USB CDC (Communication Device Class) on boot is mandatory for serial communication.
board_build.arduino.memory_type = qio_opi
board_build.partitions = huge_app.csv
board_upload.flash_size = 8MB
board_build.flash_mode = qio
build_flags =
    -DBOARD_HAS_PSRAM
    -DARDUINO_USB_CDC_ON_BOOT=1
    -DARDUINO_USB_MODE=1
According to the PlatformIO Espressif 32 Documentation, the qio_opi memory type is strictly required for N8R8 modules. Without it, the ESP32-S3 Technical Reference Manual notes that the memory controller will misalign the data bus, resulting in immediate kernel panics during high-throughput memory operations like OV2640 camera streaming.
Step 3: Workflow Enhancements: Fast Uploads and Debugging
A core tenet of workflow optimization is reducing the friction between writing code and testing it. The Arduino IDE is notorious for hiding critical runtime errors behind cryptic hex addresses. PlatformIO solves this with built-in exception decoding.
Automated Exception Decoding and Filters
Add the following lines to your platformio.ini to automatically translate memory addresses into exact file names and line numbers whenever your ESP32-S3 crashes or triggers a watchdog timer.
monitor_filters =
    esp32_exception_decoder
    time
    colorize
This single addition saves hours of debugging time. When a null pointer exception occurs in your camera loop, the serial monitor will instantly point you to main.cpp:142 instead of outputting a useless stack trace.
Comparison: Standard Arduino IDE vs. Optimized PlatformIO Workflow
| Feature | Arduino IDE (Default) | PlatformIO (Optimized Freenove Config) |
|---|---|---|
| PSRAM Detection | Often fails or defaults to QSPI | Forced OPI via qio_opi mapping |
| Serial Monitor | Blank (Requires manual CDC hacks) | Native USB CDC enabled automatically |
| Crash Debugging | Raw hex memory addresses | Auto-decoded line numbers and files |
| Partition Management | Hidden, often causes "Sketch Too Big" | Explicit huge_app.csv allocation |
| Library Management | Global, prone to version conflicts | Isolated, project-specific lib_deps |
Step 4: Managing Camera and Peripheral Libraries
The Freenove ESP32-S3 is frequently used with the Freenove Official GitHub Repositories for camera and servo projects. In the Arduino IDE, installing the ESP32 camera library globally can lead to version conflicts if you are simultaneously working on an older ESP32-CAM (ESP32-WROVER) project.
PlatformIO optimizes this workflow through isolated dependency management. By defining your libraries in the platformio.ini file, you ensure that your Freenove project always compiles against the exact versions required, without polluting your global workspace.
lib_deps =
    espressif/esp32-camera@^2.0.4
    madhephaestus/ESP32Servo@^0.13.0
Using the huge_app.csv partition table is equally critical here. Camera firmware, especially when combined with Wi-Fi and Bluetooth stacks, easily exceeds the 1.2MB limit of the default partition scheme. The huge_app.csv allocates a massive 3MB+ contiguous block for your application, eliminating "IRAM/DRAM" overflow errors during the linking phase.
Troubleshooting Common Freenove ESP32-S3 Upload Failures
Even with a perfect platformio.ini configuration, hardware-level quirks can interrupt your upload workflow. The most common issue makers face is the "Failed to connect to ESP32-S3: Timed out waiting for packet header" error.
Pro-Tip: The Manual Boot Sequence
Unlike boards with dedicated auto-reset circuits tied to the UART bridge, the native USB implementation on the Freenove ESP32-S3 sometimes fails to trigger the bootloader automatically during the upload handshake. If PlatformIO times out, perform this manual sequence:
1. Press and hold the BOOT button (GPIO0).
2. Press and release the RST (Reset) button.
3. Release the BOOT button.
Your board is now in download mode, and PlatformIO will immediately resume the flashing process.
Another frequent workflow bottleneck involves the USB-C cable. Because the Freenove board utilizes native USB for both power and data, using a "charge-only" USB-C cable will result in the board powering on but remaining entirely invisible to your operating system’s device manager. Always verify your cable supports data transfer before assuming a driver or configuration failure.
Conclusion
Mastering how to configure PlatformIO for the Freenove ESP32-S3 breakout board transforms a frustrating hardware experience into a streamlined, professional workflow. By explicitly defining the qio_opi memory type, enforcing USB CDC on boot, and leveraging automated exception decoding, you bypass the limitations of generic board definitions. This setup not only unlocks the full 8MB of Octal PSRAM for demanding camera applications but also drastically reduces compile-to-test iteration times, allowing you to focus on building robust IoT and edge-computing solutions.