
The Multimeter Illusion: Why Static Numbers Fail
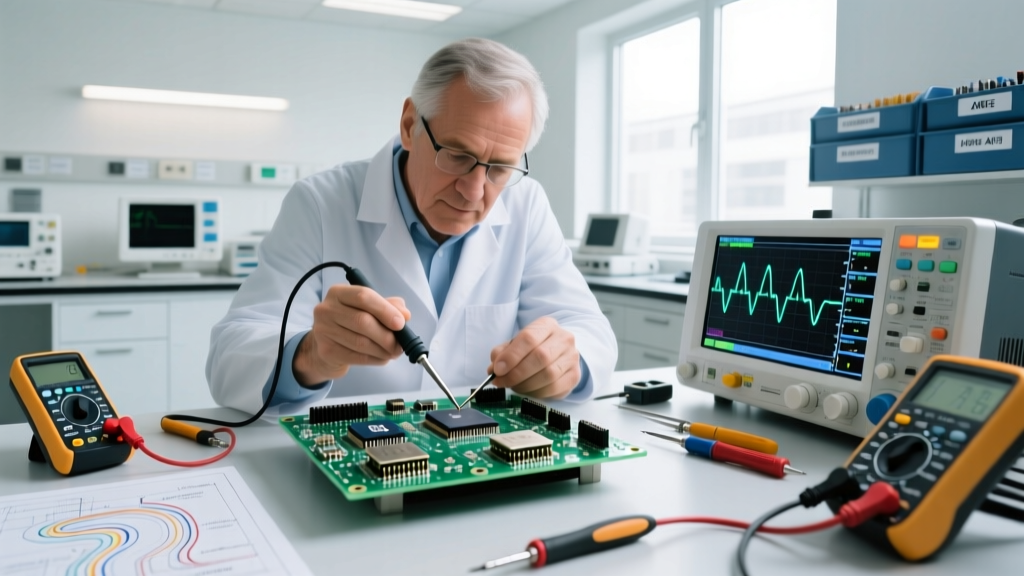
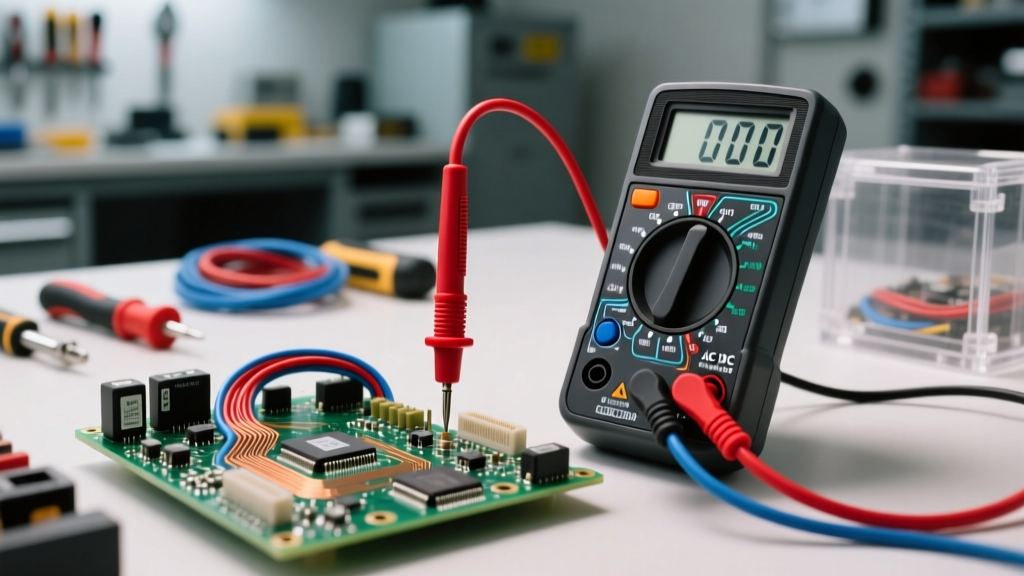
When you first start building circuits, a digital multimeter (DMM) feels like magic. It tells you the voltage at a node, the continuity of a trace, and the resistance of a component. But a DMM only gives you a time-averaged snapshot of a dynamic universe. If you are debugging a microcontroller dropping out, analyzing a switching power supply, or decoding an I2C bus, a multimeter is effectively blind. This is why finding the best oscilloscope for home electronics lab setups is the most critical upgrade a hobbyist can make.
An oscilloscope graphs voltage over time, transforming invisible electrical behaviors into visual waveforms. In 2026, the barrier to entry for high-quality digital storage oscilloscopes (DSOs) has never been lower. However, the spec sheets are littered with jargon designed to confuse beginners. Let us strip away the marketing and focus on what actually matters on your workbench.
Decoding Specs: What Beginners Actually Need
Before throwing money at the first screen you see, you must understand the holy trinity of oscilloscope specifications: Bandwidth, Sample Rate, and Memory Depth.
The "Rule of Five" for Bandwidth
Bandwidth is not the maximum frequency your scope can measure; it is the frequency at which the signal amplitude is attenuated by 3dB (roughly 30%). If you feed a 100MHz, 5V sine wave into a 100MHz scope, the screen will display a 3.5V wave. To accurately measure a digital signal (which is rich in high-frequency harmonics due to its square edges), you need a scope with a bandwidth at least five times the fundamental frequency of your signal. For most home lab Arduino, ESP32, and analog audio projects, a 100MHz bandwidth is the sweet spot, though 50MHz is acceptable for tight budgets.
Sample Rate and Memory Depth
Sample rate is how many times per second the scope reads the voltage. A 1 GSa/s (Giga-samples per second) rate is standard for entry-level scopes. But sample rate is useless without Memory Depth. Memory depth dictates how long you can capture a signal at the maximum sample rate. A scope with 24 Mpts (mega-points) of memory allows you to capture a full second of a slow boot sequence, and then digitally zoom in to inspect a single 5-microsecond SPI clock pulse without the waveform turning into pixelated aliasing.
2026 Home Lab Oscilloscope Lineup: The Big Three
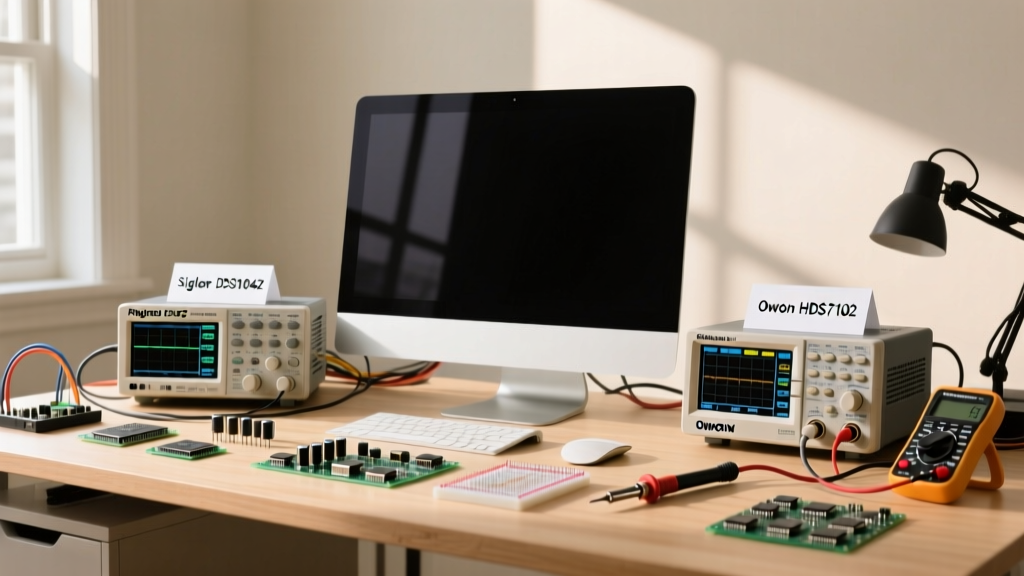
Based on real-world teardowns, bench testing, and community consensus, here are the top contenders for the home electronics enthusiast.
1. The Hackable Benchmark: Rigol DS1054Z
The Rigol DS1054Z has been the undisputed king of the budget bench for years, and it remains a powerhouse. Out of the box, it offers 4 channels at 50MHz, 1 GSa/s, and an incredible 24 Mpts memory depth. The secret weapon? A well-documented community hack allows you to unlock the hardware's true potential, upgrading it to 100MHz bandwidth and enabling advanced serial decoding triggers for I2C, SPI, and UART. At roughly $349, the value proposition is untouchable.
2. The Signal Purity Upgrade: Siglent SDS1104X-E
If you can stretch your budget to $449, the Siglent SDS1104X-E is the modern recommendation. It features 4 channels at a native 100MHz and 1 GSa/s. Where the Siglent destroys the competition is its SPO (Super Phosphor Oscilloscope) technology. It boasts a waveform capture rate of 110,000 wfms/s (compared to the Rigol's 30,000 wfms/s). Why does this matter? If your power supply has a rare voltage dropout that happens once every ten seconds, the Siglent's high capture rate and 256-level intensity grading will make the glitch visibly glow on the screen, whereas slower scopes will miss it entirely.
3. The Bench-Space Saver: Owon HDS272S Handheld
Not everyone has a dedicated 3-foot workbench. The Owon HDS272S (around $269) is a 2-channel, 70MHz handheld scope that runs on a built-in lithium battery. While its memory depth and noise floor cannot compete with the benchtop Siglent, its galvanically isolated BNC inputs mean you can safely measure floating grounds and battery-powered motor controllers without fear of shorting your earth ground. It is the ultimate tool for automotive diagnostics or cramped robotics enclosures.
Spec Showdown: Data Table
| Model | Bandwidth | Sample Rate | Memory Depth | Capture Rate | Est. Price |
|---|---|---|---|---|---|
| Rigol DS1054Z | 50MHz (100MHz hack) | 1 GSa/s | 24 Mpts | 30,000 wfms/s | $349 |
| Siglent SDS1104X-E | 100MHz | 1 GSa/s | 14 Mpts | 110,000 wfms/s | $449 |
| Owon HDS272S | 70MHz | 250 MSa/s | 10 Mpts | N/A (Portable) | $269 |
Tutorial: Capturing Your First PWM Signal
Let us put theory into practice. Grab an Arduino Nano, upload the standard 'Blink' or 'AnalogWrite' sketch to Pin 9 (a PWM-capable pin), and follow these steps to measure the output.
- Compensate Your Probe: Before touching your circuit, clip the probe to the square wave calibrator on the front of the scope. Set the probe switch to 10x. Use the included plastic trimmer tool to adjust the tiny capacitor on the probe body until the square wave corners are perfectly flat, not rounded or overshooting. As noted in SparkFun's Oscilloscope Guide, skipping this step guarantees inaccurate high-frequency readings.
- Connect the Ground: Clip the probe's alligator ground lead to the Arduino's GND pin. Never skip the ground connection; the scope needs a reference voltage.
- Set the Trigger: Press the 'Trigger' menu, select 'Edge', set the source to CH1, and choose 'Rising'. Adjust the trigger level knob to roughly 2.5V (half of the Arduino's 5V logic). This tells the scope to freeze the screen every time the voltage crosses 2.5V going upward.
- Adjust Timebase and Scale: Set your horizontal timebase to 50 µs/div and your vertical voltage scale to 1V/div. You should now see a crisp, repeating square wave.
- Measure Duty Cycle: Press the 'Cursors' button, enable manual mode, and place Cursor A on the rising edge and Cursor B on the falling edge. The screen will calculate the exact pulse width and duty cycle automatically.
Catastrophic Beginner Errors (And How to Survive Them)
Oscilloscopes are robust, but they are not invincible. Understanding common failure modes will save you from destroying your equipment or your circuit.
The Ground Clip Death Loop
This is the most common way beginners destroy their scopes (and their computers). The metal shield of the BNC connector on your oscilloscope is tied directly to the earth ground pin of your wall outlet. If you are measuring a mains-powered circuit (like a bridge rectifier or a switching power supply) and you clip the probe's ground lead to a node that is not at earth potential, you create a dead short through the scope's internal wiring to the wall ground. The result is an explosive pop, a melted trace, and a fried scope. Rule of thumb: Only clip the ground lead to the actual circuit ground, or invest in differential probes for floating measurements.
Aliasing: When Your Scope Lies to You
If you stretch the timebase too far out (e.g., 100ms/div) on a 1GSa/s scope, the scope automatically drops its sample rate to fill the memory. If a high-frequency noise glitch occurs between these slowed-down samples, the scope will either miss it entirely or reconstruct a completely false, lower-frequency wave. This is called aliasing. Always keep an eye on the sample rate indicator on the screen. If you suspect high-frequency noise, use the Siglent's high capture rate or enable 'Peak Detect' mode to force the scope to record the highest and lowest voltages between samples.
Expert Insight: Always leave your probes in the 10x position. While the 1x position seems like it would give you better resolution for tiny signals, it drops the probe's bandwidth to roughly 5MHz and heavily loads your circuit with capacitance, potentially causing the very oscillations you are trying to debug. Only use 1x for low-frequency audio or DC ripple measurements.
Final Verdict for the Home Lab
If you are building a permanent home electronics lab and want the best balance of price, performance, and longevity, the Siglent SDS1104X-E is the premier choice in 2026. Its SPO technology and native 100MHz bandwidth provide a professional-grade window into your circuits. However, if you are strictly budget-constrained, the Rigol DS1054Z remains a legendary entry point that will easily carry you through years of microcontroller and analog experimentation. Pair your new scope with a quality soldering station, and you will transition from guessing how your circuits work to truly seeing the electrons flow.