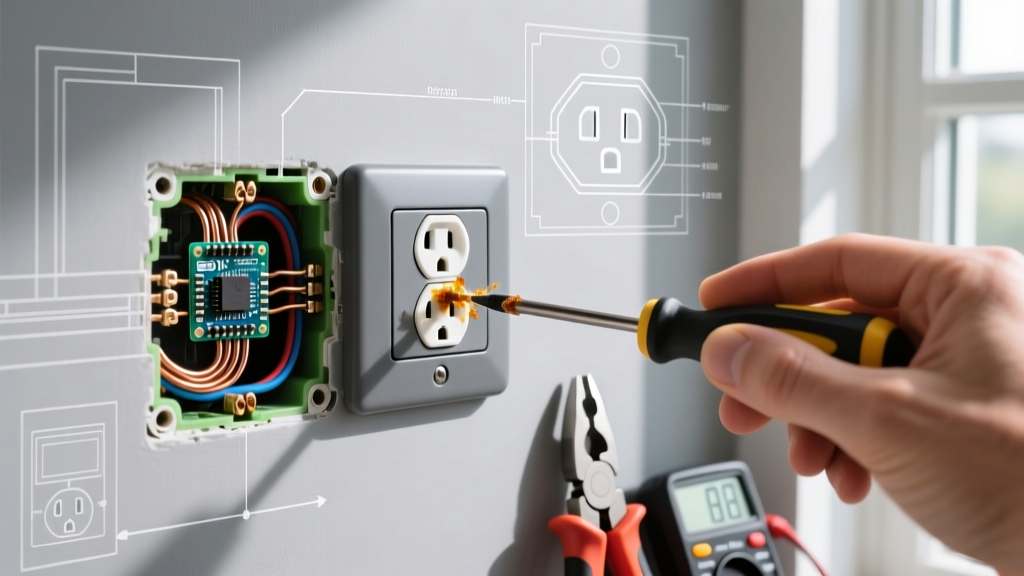
The exact single-phase voltage drop formula NEC guidelines reference (via Informational Notes in 210.19(A) and 215.2) is VD = (2 × K × I × D) / CM. While the National Electrical Code does not strictly mandate voltage drop limits for most residential branch circuits, it highly recommends a maximum 3% drop on branch circuits and a 5% combined drop for feeders and branch circuits to ensure reasonable efficiency. For a standard 120V circuit, a realistic 3% magnitude means your calculated voltage drop should not exceed 3.6V, leaving 116.4V at the load.
The Core Voltage Drop Formula NEC Guidelines Reference
This formula is an approximation derived from Ohm’s Law (V = I × R), adapted for the physical properties of standard building wire. It applies to single-phase AC and DC circuits, assumes a relatively unity power factor, and ignores inductive reactance (which is negligible for smaller wire sizes). It is intended for steady-state loads, not momentary inrush currents.
| Symbol | Definition | Standard Units / Values |
|---|---|---|
| VD | Voltage Drop | Volts (V) |
| 2 | Multiplier for the return path (out and back) | Constant (Use √3 or 1.732 for 3-phase) |
| K | Conductor Resistivity Constant | 12.9 (Copper) / 21.2 (Aluminum) at 75°C |
| I | Current (Load) | Amperes (A) |
| D | Distance (One-way length of the circuit) | Feet (ft) |
| CM | Circular Mils (Cross-sectional area of the wire) | CM (Found in NEC Chapter 9, Table 8) |
Rearranged Forms for Field Sizing
On the jobsite, you rarely know all variables upfront. By rearranging the core algebra, you can solve for the exact wire size needed, the maximum allowable run length, or the maximum load a specific wire can carry over a set distance.
- Solve for Wire Size (CM):
CM = (2 × K × I × D) / VD
Use this when pulling a new feeder and needing to know which AWG to buy. - Solve for Maximum Distance (D):
D = (CM × VD) / (2 × K × I)
Use this when placing a subpanel or well pump to find the maximum trench length before upsizing wire. - Solve for Maximum Current (I):
I = (CM × VD) / (2 × K × D)
Use this when auditing an existing long circuit to see how many amps you can safely add.
Worked Examples: Tracking Units from Blueprint to Breaker
Abstract formulas fail when units get mixed up. Here are two step-by-step derivations tracking every unit from the blueprint to the final breaker termination.
Problem 1: Calculating Drop on an Existing 120V Branch Circuit
Setup: You are troubleshooting a receptacle at the end of a garage. The circuit uses 12 AWG copper wire, the one-way distance is 80 feet, and a space heater draws a continuous 20A load. Will it pass the 3% NEC recommendation?
- Identify Variables: K = 12.9, I = 20A, D = 80 ft. From NEC Chapter 9 Table 8, the CM for 12 AWG is 6,530.
- Set Maximum Allowable VD: 3% of 120V = 3.6V.
- Apply Formula:
VD = (2 × 12.9 × 20 × 80) / 6530 - Multiply Numerator: 2 × 12.9 = 25.8. Then 25.8 × 20 = 516. Then 516 × 80 = 41,280.
- Divide by CM: 41,280 / 6,530 = 6.32V.
- Calculate Percentage: (6.32 / 120) × 100 = 5.26%.
Verdict: The circuit fails the 3% recommendation. The space heater will see only 113.68V, causing it to draw slightly more current to compensate for its wattage rating, which will further heat the 12 AWG wire.
Problem 2: Sizing Wire for a New 240V Subpanel Feeder
Setup: You are feeding a detached workshop subpanel. The continuous calculated load is 40A, the one-way trench distance is 150 feet, and you want to limit the drop to 3% (7.2V on a 240V system).
- Identify Variables: K = 12.9, I = 40A, D = 150 ft, VD = 7.2V.
- Apply Rearranged Formula:
CM = (2 × 12.9 × 40 × 150) / 7.2 - Multiply Numerator: 2 × 12.9 = 25.8. Then 25.8 × 40 = 1,032. Then 1,032 × 150 = 154,800.
- Divide by VD: 154,800 / 7.2 = 21,500 CM.
- Lookup Wire Size: Checking NEC Chapter 9 Table 8, 8 AWG is 16,510 CM (too small). 6 AWG is 26,240 CM.
Verdict: You must pull 6 AWG copper. (Note: Always verify the chosen wire's ampacity in NEC Table 310.16 exceeds the breaker size; 6 AWG THHN at 75°C is rated for 65A, safely covering the 40A load).
Real-World Scenario: The 200-Foot Driveway Lighting Failure
Formulas on paper are clean; jobsites are messy. Consider a real-world failure involving a low-voltage landscape lighting transformer that was swapped for a standard 120V line-voltage LED driveway run.
The Setup: A DIY homeowner ran 14 AWG copper wire down a 200-foot driveway to power a series of 120V LED bollard lights. The total continuous load was 12A. They used a basic online resistance calculator, looked at the result, and pulled the wire.
The Numbers: Using the correct formula: VD = (2 × 12.9 × 12 × 200) / 4110 (where 4,110 is the CM for 14 AWG). The numerator is 61,920. Divided by 4,110, the actual voltage drop is 15.06V. The voltage at the last fixture was a mere 104.9V.
The Outcome: At 105V, the internal switching drivers inside the LED fixtures began to buzz audibly. The severe undervoltage caused the drivers to pull excess amperage to meet their wattage demands, overheating the internal components. Within three months, four fixtures suffered premature capacitor failure and died completely.
What Went Wrong: The homeowner used a reference chart that listed "Ohms per 1,000 feet" for the entire loop (out and back), but then plugged that data into a single-conductor formula without accounting for the return path. By effectively halving the resistance in their mental math, they calculated a drop of roughly 7.5V (6.25%). They assumed a 6% drop was "close enough" for LEDs, completely missing that the actual drop was double their calculation, pushing the system into a deep brownout. For a 200-foot run at 12A, they should have upsized to at least 8 AWG (CM = 16,510) to bring the drop down to 3.75V (3.1%).
Unit Mistakes and Assumptions That Break the Math
When your calculated voltage drop doesn't match what your Fluke multimeter reads at the receptacle, one of these assumptions or unit errors is usually the culprit.
Mistake 1: Confusing CM with kcmil (MCM)
In NEC Chapter 9 Table 8, wire sizes up to 1 AWG are listed in standard Circular Mils (e.g., 1 AWG is 83,690 CM). However, once you hit 1/0 AWG and larger, the table switches to kcmil (thousands of circular mils). 1/0 AWG is listed as 105 kcmil. If you plug "105" into your formula instead of "105,600", your calculated voltage drop will be 1,000 times larger than reality, leading you to buy massively oversized, un-pullable wire.
Mistake 2: One-Way Distance vs. Total Wire Pulled
The variable D in the formula is strictly the one-way physical distance from the panel to the load. The "2" in the numerator accounts for the hot and the neutral (the return path). If you measure out 300 feet of physical trench, D = 300. Do not multiply D by 2 yourself, or you will double-count the return path and calculate a drop twice as high as it actually is.
Mistake 3: Ignoring AC Reactance on Large Feeders
The standard VD = (2 × K × I × D) / CM formula assumes DC resistance. For wires smaller than 1/0 AWG, AC inductive reactance is negligible. But for large feeders (1/0 AWG and up) pulled through steel or PVC conduit, the alternating magnetic field creates reactance that increases total impedance. According to Southwire's engineering guidelines, for large commercial feeders, you must abandon the basic K-constant formula and instead use the exact AC Impedance (Z) values found in NEC Chapter 9, Table 9, factoring in the conduit material and power factor of the load.
Mistake 4: Sizing to Breaker Rating Instead of Actual Load
Voltage drop is a function of the actual current flowing through the wire, not the rating of the breaker protecting it. A 20A breaker protecting a circuit that only ever draws 4A of LED lighting will experience virtually zero voltage drop, even if the wire is 100 feet long. Always calculate VD using the continuous, real-world amperage of the connected load, not the breaker stamp.
Bench Tip: When verifying your math in the field, measure the voltage at the panel busbar under load, then measure at the furthest receptacle under the exact same load. The difference is your true VD. If your meter reads a 2V drop but your math predicted 6V, check for loose neutral terminations or shared neutrals on multi-wire branch circuits altering the return path resistance.
Mastering this formula bridges the gap between simply passing an inspection and engineering a circuit that performs flawlessly for decades. For deeper reading on how temperature corrections impact these baseline calculations, review the Fluke guide on understanding voltage drop in field measurements, and always cross-reference your final wire selections with the ampacity tables in the latest NFPA 70 (NEC) edition.