
The Foundation: Reading Wiring Diagrams for Light Switches
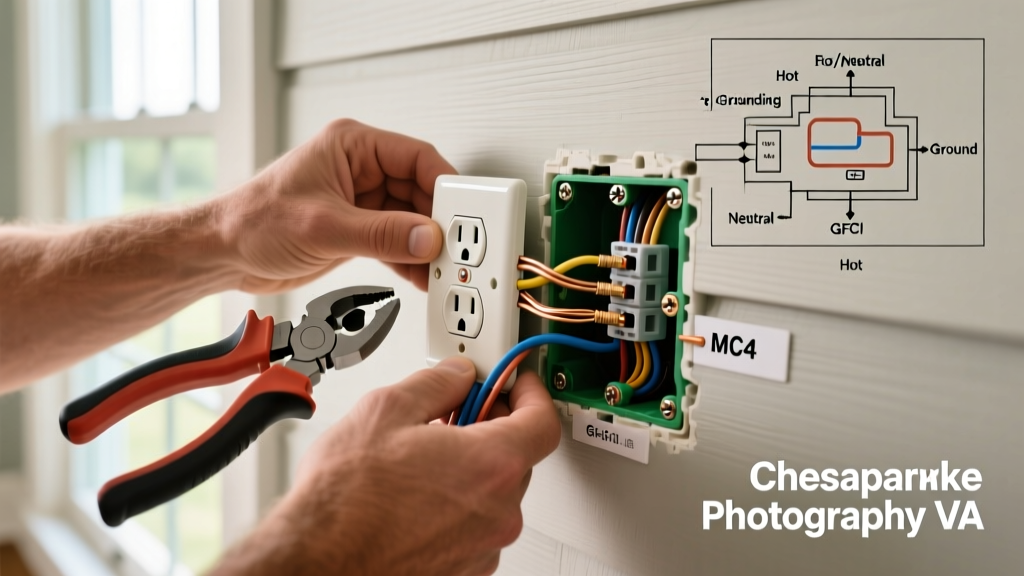
Interpreting wiring diagrams for light switches is the critical bridge between theoretical electrical knowledge and safe, functional home installations. Whether you are upgrading a standard toggle to a modern dimmer or wiring a 3-way circuit for a stairwell, the diagram is your blueprint. In 2026, the proliferation of smart home technology and stricter National Electrical Code (NEC) requirements mean that understanding line, load, traveler, and neutral wires is no longer optional for DIYers.
⚠️ CRITICAL SAFETY WARNING: Always shut off power at the main breaker panel before opening any electrical box. Verify the absence of voltage using a non-contact tester. Never rely solely on the wall switch being in the 'off' position. Follow all OSHA electrical safety standards and local codes.
Essential Tools for Switch Installation
Professional-grade tools prevent wire damage and ensure secure connections. The following 2026 toolkit is optimized for residential switch wiring:
| Tool Category | Recommended Model | Purpose & Specification | Est. Cost (2026) |
|---|---|---|---|
| Wire Strippers | Klein Tools 11055E | Strips 14-12 AWG solid/stranded without nicking copper. | $18.00 |
| Voltage Tester | Fluke 1AC-II VoltAlert | CAT IV 1000V non-contact voltage detection. | $35.00 |
| Wire Connectors | Wago 221-412 (2-port) | Lever-nuts for secure, inspectable splices; replaces wire nuts. | $0.60 / ea |
| Torque Screwdriver | Ideal Industries 36-166 | Ensures NEC 110.14(D) torque compliance (in-lb). | $145.00 |
Scenario 1: Single-Pole Switch Wiring Diagram
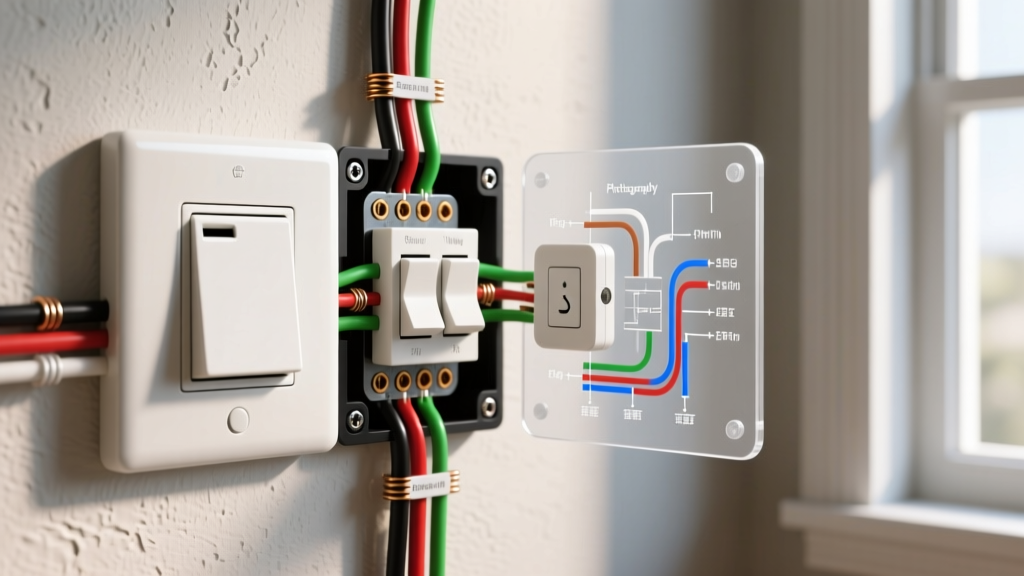
A single-pole switch controls a light from one location. The wiring diagram for this setup is the most straightforward: it simply interrupts the 'hot' (line) wire. The neutral wire bypasses the switch entirely and goes straight to the light fixture.
Step-by-Step Single-Pole Installation
- Identify the Line and Load: With the power safely off, identify the incoming hot wire (Line) and the wire leading to the fixture (Load). If both are black, use a multimeter upon restoring power temporarily, or trace the cable to the panel.
- Prepare the Wires: Use the Klein 11055E to strip exactly 3/4-inch of insulation from the 14 AWG (15A circuit) or 12 AWG (20A circuit) wires. Do not expose more bare wire than necessary, which creates a short-circuit hazard.
- Ground Connection: Connect the bare copper or green insulated ground wire to the green grounding screw on the switch. If the metal box is grounded, also attach a pigtail to the box's grounding clip.
- Terminate Line and Load: Wrap the Line wire clockwise around one brass terminal screw and the Load wire around the other. Tighten using your torque screwdriver set to the manufacturer's specification (typically 12 to 14 in-lbs for standard residential switches like the Leviton Decora series).
- Secure and Test: Fold the wires neatly into the back of the box using a 'Z' fold pattern. Mount the switch, attach the faceplate, restore power, and test.
Scenario 2: 3-Way Switch Wiring Diagrams (Traveler Logic)
3-way switches allow control from two locations. The wiring diagram here introduces 'traveler' wires. A common failure mode in DIY 3-way installations is misidentifying the common terminal versus the traveler terminals, resulting in a circuit that only works when the other switch is in a specific position.
Deconstructing the 3-Way Diagram
- Common Terminal (Dark Screw): On the first switch, this connects to the Line (hot) from the panel. On the second switch, it connects to the Load (wire to the light).
- Traveler Terminals (Brass Screws): These two screws connect to the two traveler wires (often red and black in a 3-wire Romex cable) that run between the two switch boxes. The switches alternate which traveler carries the current.
- Neutral Wire: Standard 3-way mechanical switches do not use a neutral wire. It remains bundled in the back of the box.
Pro Tip: When replacing an old 3-way switch (like a standard Leviton 5603), tag the wire connected to the old switch's dark 'Common' screw with electrical tape before removing it. This guarantees you reconnect the Line or Load to the correct terminal on the new switch.
Scenario 3: Smart Switch Wiring & The Neutral Dilemma
According to the U.S. Department of Energy, advanced lighting controls significantly reduce residential energy consumption. However, installing smart switches introduces a major wiring diagram variable: the neutral wire.
Neutral vs. No-Neutral Smart Switches
Smart switches contain internal Wi-Fi, Zigbee, or Lutron Clear Connect radios that require constant standby power (usually 1-2 watts). To complete this low-power circuit, most smart switches require a neutral wire connection.
- Neutral-Required Switches (e.g., Kasa KS200M, TP-Link): The wiring diagram will show a white neutral wire connecting from the switch's neutral terminal to the bundle of white neutral wires in the back of the box. Edge Case: If your older home's switch box lacks a neutral bundle, you cannot legally or safely use the ground wire as a neutral substitute. This causes stray voltage on grounding paths and is a severe NEC violation.
- No-Neutral Switches (e.g., Lutron Caseta PD-5S-DV): These advanced switches draw micro-currents through the LED bulb itself. The wiring diagram omits the neutral connection entirely. Failure Mode: If the connected LED bulbs draw less than the switch's minimum wattage threshold, the bulbs will flicker or 'ghost' when off. The solution is installing a LUT-MLC bypass capacitor directly at the light fixture, not at the switch.
NEC Compliance: Torque Specifications and Pigtailing
Modern electrical inspections heavily scrutinize terminal torque and box fill. Under NEC 110.14(D), any electrical equipment with marked torque specifications must be tightened using a calibrated torque tool. While a standard screwdriver might feel 'tight,' over-torquing can strip the brass screw head or snap the wire, while under-torquing causes high-resistance connections that lead to arcing and fires.
Furthermore, if your wiring diagram requires connecting multiple ground or neutral wires to a single switch terminal, you must use a 'pigtail.' Create a 6-inch jumper wire, connect it to the main wire bundle using a Wago 221 lever nut, and terminate the single jumper end to the switch screw. Never loop two separate wires under a single terminal screw unless the device is explicitly marked 'CU ALR' and designed for double-lugging.
Frequently Asked Questions
Can I use a 3-way switch as a single-pole switch?
Yes. To adapt a 3-way switch for single-pole use, connect the Line (hot) wire to the Common (dark) screw, and the Load wire to one of the Traveler (brass) screws. Cap off the second traveler screw with a wire nut. Leave the ground connected. This is a common workaround when a 3-way switch is the only inventory available on a job site.
Why does my wiring diagram show a red wire?
In standard residential NM-B (Romex) cable, a red wire indicates a secondary hot wire. In a switch box, a red wire is almost always a 'traveler' in a 3-way or 4-way switch configuration, or it is the switched-hot wire feeding a ceiling fan's light kit independently from the fan motor.
Do dimmer switches require special wiring diagrams?
Standard dimmers wire identically to single-pole switches (Line, Load, Ground). However, they generate significant heat. Ensure the electrical box has adequate cubic-inch volume (NEC Article 314) to dissipate heat, and never remove the dimmer's metal cooling fins to make it fit in a multi-gang box, as this alters its maximum wattage rating.