
The Physics of a Burned Electrical Outlet
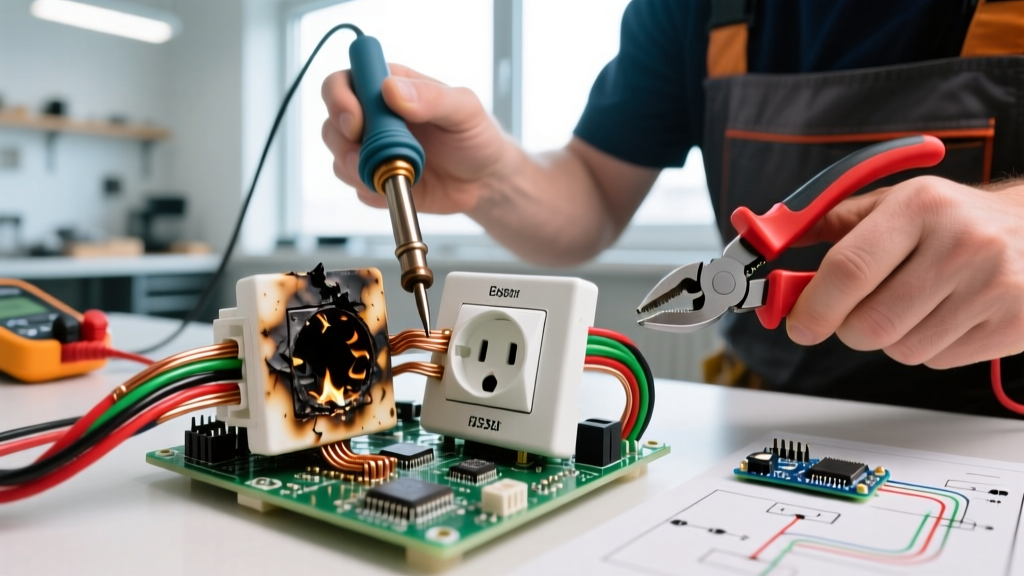
A burned electrical outlet is never a cosmetic issue; it is a glaring symptom of thermal runaway. According to the National Fire Protection Association (NFPA), electrical distribution and lighting equipment are consistently among the top causes of home structure fires. When you see brown scorch marks, melted plastic, or smell ozone near a receptacle, you are witnessing the physical result of high electrical resistance.
Resistance generates heat proportional to the square of the current ($I^2R$ losses). In a healthy 15-amp circuit, a properly torqued terminal screw has near-zero resistance. However, if a connection is loose, the resistance spikes. As the terminal heats up, the metal expands. When the load drops, it cools and contracts. Over hundreds of thermal cycles, this expansion and contraction loosens the terminal screw further, increasing resistance and generating even more heat until the PVC faceplate deforms or the wire insulation melts.
CRITICAL SAFETY WARNING: Do not attempt to touch a burned outlet or plug anything into it. Immediately locate your main electrical panel and switch off the corresponding circuit breaker. Verify the power is dead using a non-contact voltage tester (NCVT) before removing the faceplate.
Diagnostic Matrix: Receptacle vs. Wiring Damage
Before purchasing a replacement, you must determine the extent of the damage. A burned outlet does not always mean the branch wiring is ruined. Use the following diagnostic matrix to assess your situation:
| Visual Symptom | Probable Root Cause | Required Action |
|---|---|---|
| Brown scorch marks on the faceplate slots | Arcing from a worn-out plug or loose internal receptacle contacts. | Replace receptacle. Inspect plug blades on the appliance cord. |
| Melted plastic around the terminal screws | Loose wire termination, backstabbed push-in connector failure. | Cut back damaged wire, strip fresh insulation, replace receptacle. |
| Black soot inside the electrical box | Dead short, severe ground fault, or aluminum wire oxidation. | Inspect wire insulation. Call an electrician if wires are brittle. |
| Entire PVC electrical box is warped | Sustained high-resistance fault over weeks/months. | Replace both the receptacle and the damaged electrical box. |
2026 Upgrade Pathways: Choosing the Right Receptacle
When replacing a burned electrical outlet, do not simply swap it for the cheapest builder-grade alternative. The Electrical Safety Foundation International (ESFI) strongly recommends upgrading to modern, code-compliant safety devices. Here is how to choose the right receptacle for your specific circuit:
1. Standard Tamper-Resistant (TR) Duplex
Best for: General living rooms, bedrooms, and hallways.
Model Example: Leviton Decora 5320-W (15A, 125V).
2026 Pricing: $3.50 - $4.50 per unit.
Upgrade Value: Features internal shutter mechanisms that prevent children from inserting foreign objects. This is now a strict requirement under the National Electrical Code (NEC) for all new residential installations.
2. Heavy-Duty / Spec-Grade Commercial
Best for: Kitchen countertops, living room entertainment centers, and workshop tools.
Model Example: Hubbell 5262 (Heavy Duty 15A) or Leviton 5362 (20A).
2026 Pricing: $8.00 - $12.00 per unit.
Upgrade Value: Built with thicker brass contacts and high-impact nylon. They grip plug blades much tighter than standard receptacles, drastically reducing the thermal cycling that causes burned outlets in high-draw areas.
3. AFCI / GFCI Combination Receptacles
Best for: Kitchens, bathrooms, garages, and outdoor patios (GFCI), or bedrooms where breaker-space is limited (AFCI).
Model Example: Eaton AFTR15 (AFCI/TR) or Leviton 8599 (GFCI 20A).
2026 Pricing: $24.00 - $32.00 per unit.
Upgrade Value: Provides localized arc-fault or ground-fault protection without requiring a specialized, expensive circuit breaker in the main panel.
Step-by-Step Replacement & Torque Protocol
Replacing the outlet requires precision. The most common mistake DIYers make is failing to use a torque screwdriver, leading to a repeat failure within a few years.
- Verify Power is Off: Insert a Klein NCVT-3 tester into both the top and bottom slots of the burned outlet. Test a known live outlet first to ensure the tool's battery is working.
- Extract and Inspect: Remove the faceplate and unscrew the mounting strap. Gently pull the receptacle out. Inspect the black (hot), white (neutral), and bare/green (ground) wires for brittle, charred insulation.
- Trim and Strip: If the wire ends are scorched, use wire strippers (like the Klein 11063W) to snip off the damaged portion. Strip exactly 5/8 inch (16mm) of fresh insulation. Do not nick the copper conductor, as this creates a weak point that can snap under the screw head.
- Form the Shepherd's Hook: Use needle-nose pliers to bend the exposed copper into a tight, clockwise hook. The clockwise direction ensures that tightening the screw pulls the loop closed rather than pushing it out.
- Terminate on the Screws (Never Backstab): Push-in 'backstab' connectors rely on a small internal spring that loses tension under heat. Always wrap the wire around the brass (hot) and silver (neutral) terminal screws.
- Apply Exact Torque: Modern NEC guidelines mandate tightening to the manufacturer's specifications. For most 15A and 20A copper-wired receptacles, the required torque is 14 lb-in (1.58 N-m). Use a calibrated torque screwdriver (e.g., Wiha 61081) to achieve this exact clamping force.
- Wrap and Mount: Wrap the sides of the receptacle with a single layer of 3300-rated electrical tape to cover the exposed terminal screws before pushing it back into the box. This prevents accidental shorts against a metal box or ground wire.
What If I Have Aluminum Wiring?
If your home was built between 1965 and 1973, you may have aluminum branch wiring. Aluminum expands and contracts at a different rate than copper and is prone to severe oxidation. If you find aluminum wire connected to a burned outlet, do not simply attach it to a standard brass terminal. You must use a receptacle rated 'CO/ALR' (Copper/Aluminum Revised) and apply an antioxidant paste like Noalox to the wire before termination to prevent future micro-arcing.
Edge Cases: When the Box is Melted
PVC electrical boxes begin to soften and deform at approximately 212°F (100°C). If the heat from the burned outlet has warped the mounting ears of the plastic box, a new receptacle will not sit flush, creating a physical strain on the terminals. In this scenario, you must use an 'old work' bracket or carefully cut out the damaged PVC box and install a retrofit metal box (such as the Madison Electric MSB2) to ensure a rigid, fire-resistant enclosure.
Frequently Asked Questions
Can a burned outlet cause a fire if I just stop using that specific plug?
No. Even if nothing is plugged into the receptacle, the hot and neutral bus bars inside the outlet remain energized up to the point of the internal contacts. If the internal brass contacts are warped or carbon-tracked from previous arcing, they can spontaneously short and ignite surrounding dust or insulation. It must be replaced immediately.
Why did my 15-amp outlet burn when it's on a 20-amp breaker?
This is a severe code violation and a major fire hazard. A 15-amp receptacle is only rated to handle 15 amps of continuous current. If it is protected by a 20-amp breaker, the breaker will not trip until the draw exceeds 20 amps. The outlet will overheat, melt, and potentially catch fire while the breaker happily stays closed. You must either downgrade the breaker to 15 amps or upgrade the receptacle to a 20-amp model (provided the wire is 12 AWG).
Is it safe to use a wire nut and pigtail if the wire is too short after cutting off the burned section?
Yes, provided you have at least 6 inches of free conductor length inside the box from the point the wires enter the enclosure, as mandated by NEC 300.14. Use a UL-listed wire nut (like an Ideal Yellow 74) or a push-in connector (like a WAGO 221) to attach a 6-inch 12 AWG or 14 AWG copper pigtail to reach the new receptacle's terminals comfortably.