
The Anatomy of a 4-Way Switch Circuit
When a single light fixture needs to be controlled from three or more locations, standard single-pole and 3-way switches are insufficient. This is where 4 way electrical wiring becomes mandatory. A standard 4-way circuit consists of two 3-way switches (one at the line source, one at the load) and one or more 4-way switches positioned in the middle of the traveler run.
Unlike a 3-way switch, which has three terminals (one common, two travelers), a standard 4-way switch features four brass terminals and no common screw. Internally, the switch acts as a cross-connect relay. In one toggle position, it passes the electrical current straight through (Terminal 1 to 3, Terminal 2 to 4). In the other position, it crosses the paths (Terminal 1 to 4, Terminal 2 to 3). When troubleshooting 4 way electrical wiring, understanding this internal X-pattern is the key to isolating the failure point.
Diagnostic Matrix: Symptoms and Root Causes
Before pulling out your screwdriver, match your specific symptom to the diagnostic matrix below. This will save you hours of unnecessary wire tracing.
| Symptom | Probable Root Cause | Multimeter Test Required | Resolution |
|---|---|---|---|
| Switch A works, but B and C do nothing. | Line-side 3-way switch common terminal failure or loose hot wire. | VAC test on Line common screw. | Replace Line-side 3-way switch or tighten wire nut. |
| Light only turns on from one specific switch location. | Miswired travelers at the 4-way switch; Line and Load mixed. | Continuity test across 4-way terminals. | Re-identify travelers and ensure pairs are kept together. |
| Light flickers or buzzes when toggled. | Pitted internal brass contacts or backstabbed push-in terminal failure. | Visual inspection and voltage drop test. | Replace switch; move wires from push-in to side-screw terminals. |
| Breaker trips immediately upon toggling. | Dead short; ground wire touching a traveler or brass terminal. | Resistance (Ohms) test between travelers and ground. | Wrap switch body with electrical tape or correct bare ground placement. |
Step-by-Step Multimeter Troubleshooting Protocol
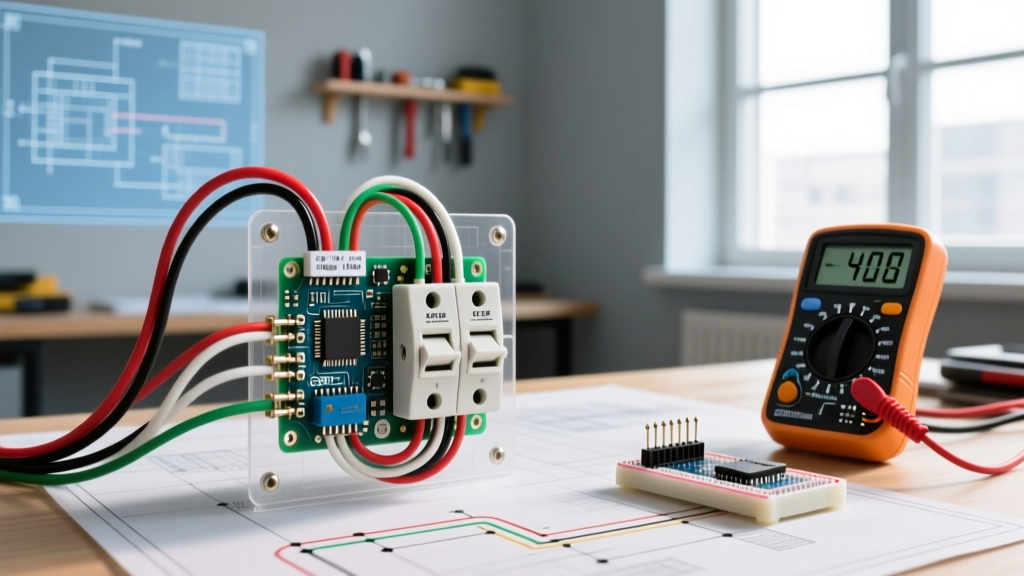
To properly troubleshoot 4 way electrical wiring, you need a reliable digital multimeter (DMM). For 2026 residential diagnostics, a True-RMS meter like the Klein Tools MM400 (approx. $45) or the Fluke 117 is highly recommended to avoid false readings from induced phantom voltages.
Phase 1: Lockout and Zero-Energy Verification
According to the U.S. Consumer Product Safety Commission (CPSC), electrocution remains a leading cause of fatal DIY home accidents. Never assume a wire is dead based on the light fixture's state.
- Turn off the branch circuit breaker at the main panel.
- Apply a physical lockout/tagout device to the breaker to prevent accidental re-energizing.
- Use a non-contact voltage tester (NCVT) on all switches, followed by a live-dead-live test with your DMM set to VAC to confirm zero energy at the line source.
Phase 2: Testing the Line-Side and Load-Side 3-Way Switches
The 4-way switch cannot function if the bookend 3-way switches are faulty. Remove the covers and pull the switches out.
- Line-Side 3-Way: Identify the black (hot) common wire. Ensure it is firmly secured under the dark-colored common screw, not backstabbed. Backstabbed connections degrade over time due to thermal expansion and contraction, leading to high-resistance arcing.
- Load-Side 3-Way: Identify the wire leading to the light fixture (the load). This must be on the common screw. The remaining two brass screws are for the incoming travelers from the 4-way switch.
Phase 3: The 4-Way Continuity Test
With the power confirmed OFF and the wires removed from the 4-way switch, set your multimeter to the Continuity setting (the diode symbol) or Ohms (Ω).
- Place one probe on the top-left terminal and the other on the bottom-left terminal.
- Toggle the switch. In one position, the meter should read near 0.00 Ω (continuous). In the other, it should read OL (Open Line / infinite resistance).
- Repeat for the right-side terminals.
- Finally, test diagonally (top-left to bottom-right). The continuity state should be the exact opposite of the vertical test.
Expert Insight: If your 4-way switch (such as the ubiquitous Leviton 5604-2W Decora model) fails any of these diagonal or vertical continuity tests, the internal spring-loaded toggle mechanism has fatigued. Replace the switch immediately; they cost roughly $6.50 at major hardware retailers and are not serviceable.
Advanced Edge Cases and Modern Complications
Smart Switch Integration Failures
As smart home ecosystems evolve, many homeowners attempt to retrofit traditional 4-way circuits with smart switches. This is a frequent source of wiring failures. Standard smart switches (like early-generation Wi-Fi models) require a neutral wire and cannot be wired in series as a traditional 4-way switch.
If you are upgrading to a smart ecosystem in 2026, the most reliable method for 4-way control is to install a single smart switch at the line or load location (e.g., Lutron Caseta PD-5WS-DV) and cap off the traveler wires in the intermediate boxes using Wago 221 lever nuts. You then use wireless RF remotes (like the Lutron Pico) mounted to the wall plates for the intermediate locations. Attempting to wire hardwired smart switches in a 4-way traveler loop will result in destroyed logic boards and voided warranties.
Phantom Voltage on Long Traveler Runs
In large commercial buildings or expansive residential remodels, traveler wires can run 50 feet or more parallel to other active circuits. This creates capacitive coupling, inducing a "phantom voltage" that can read anywhere from 20V to 90V on a high-impedance digital multimeter, even when the circuit is off or the switch is open.
Pro Tip: If you are reading 45V on a traveler wire that should be dead, do not panic. Switch your DMM to a low-impedance (LoZ) setting if available, or use a solenoid voltage tester (wiggy). The phantom voltage will collapse to zero under the low-impedance load, confirming the wire is actually de-energized.
NEC Color-Coding and Re-Identification
A massive point of confusion when troubleshooting 4 way electrical wiring is wire color. The National Fire Protection Association (NFPA) and the National Electrical Code (NEC) do not strictly mandate the color of traveler wires. Electricians frequently use 14/3 or 12/3 Romex, utilizing the black, red, and white wires as travelers.
However, per NEC Article 200.7, if a white wire is used as a hot traveler (which is standard practice in 3-way and 4-way loops), it must be permanently re-identified with black tape, paint, or a marker at every termination point. If you open a 4-way box and see white wires connected to brass traveler screws without black tape, you have identified a code violation and a potential shock hazard for future workers. Take the extra 30 seconds to wrap the ends with high-quality 3M Super 33+ vinyl electrical tape.
When to Call a Licensed Electrician
While replacing a faulty 4-way switch is a straightforward DIY task, certain scenarios require professional intervention. The Electrical Safety Foundation International (ESFI) strongly advises hiring a licensed contractor if you encounter:
- Scorched or melted wire insulation: This indicates a historical high-resistance fault or an overloaded circuit. The damaged wire must be cut back to clean copper or entirely replaced.
- Missing grounding paths: If your home features older ungrounded 2-wire cloth-sheathed cable, upgrading to modern metal or grounded plastic switches requires specific code-compliant mitigation (such as GFCI protection at the breaker).
- Aluminum wiring: If your travelers are aluminum (common in homes built between 1965 and 1973), you must use CO/ALR rated switches and apply antioxidant paste. Standard brass terminal switches will galvanically corrode when in contact with aluminum, leading to severe fire hazards.
By methodically isolating the line, load, and traveler segments, you can confidently troubleshoot 4 way electrical wiring, restoring full multi-location control to your lighting circuits safely and efficiently.