
The True Cost of Wiring Electric Brakes on Trailer Rigs in 2026
Towing a 5,000-pound travel trailer or a dual-axle utility rig demands more than just a heavy-duty hitch; it requires a robust, code-compliant electric braking system. For DIYers and fleet managers alike, understanding the exact cost of wiring electric brakes on trailer setups is critical for budgeting and safety compliance. In 2026, material costs for copper wiring and rare-earth brake magnets have stabilized, but professional labor rates have climbed. This comprehensive cost estimation guide breaks down every component, labor hour, and hidden expense involved in outfitting a single or tandem-axle trailer with electric brakes.
Component Cost Matrix: Parts and Materials
The foundation of any trailer brake system relies on four main electrical circuits: the brake feed, the breakaway switch, the ground, and the controller interface. Below is the 2026 pricing matrix for high-grade, DOT-compliant components.
| Component Category | Recommended 2026 Model / Spec | Estimated Cost (USD) |
|---|---|---|
| Electric Brake Assembly (12-inch) | Dexter Nev-R-Adjust (per wheel) | $85.00 - $120.00 |
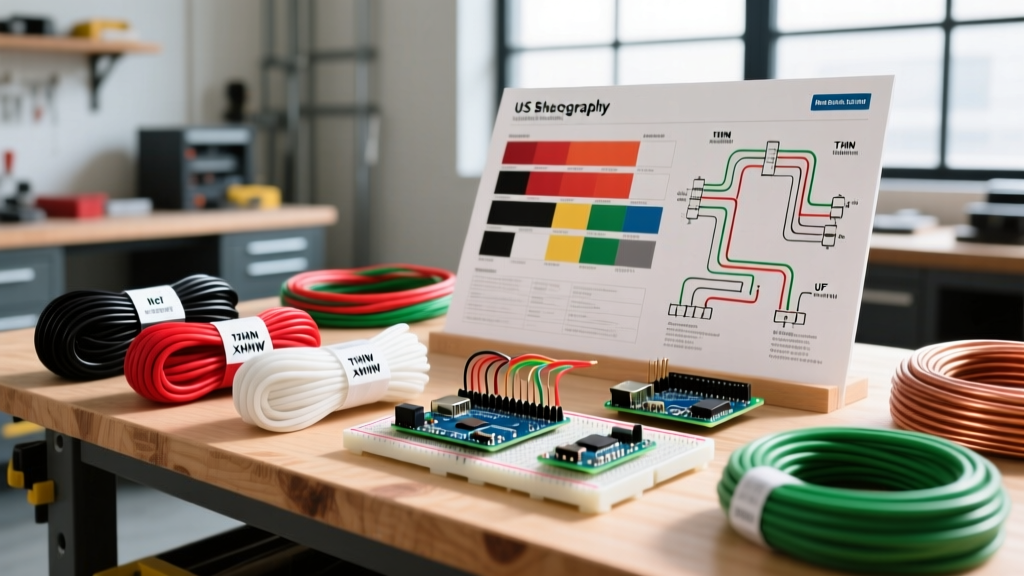
| Main Brake Wiring Harness | Southwire 10 AWG Duplex Jacketed (50ft) | $65.00 - $85.00 |
| Proportional Brake Controller | Tekonsha Prodigy P3 (Hardwired) | $170.00 - $190.00 |
| Wireless Brake Controller | Curt Echo MS2 (Plug-and-Play) | $220.00 - $250.00 |
| Breakaway Kit with Battery | Hopkins Engager (7Ah Battery) | $40.00 - $55.00 |
| Connectors & Loom | DSG-Canusa Heat Shrink & Split Loom | $25.00 - $40.00 |
Total DIY Parts Estimate
- Single Axle (2 wheels): $385.00 - $495.00 (using hardwired controller)
- Tandem Axle (4 wheels): $555.00 - $735.00 (using hardwired controller)
DIY vs. Professional Installation: Labor and Time Estimates
If you lack the tools to route wires through enclosed C-channel frames or crimp heavy-gauge terminals, professional installation is the safest route. In 2026, specialized trailer repair shops and RV service centers charge between $110 and $165 per hour for electrical and chassis labor.
Labor Time Breakdown
- Single Axle Wiring & Controller Setup: 3 to 4 hours ($330 - $660 in labor)
- Tandem Axle Wiring & Controller Setup: 5 to 7 hours ($550 - $1,155 in labor)
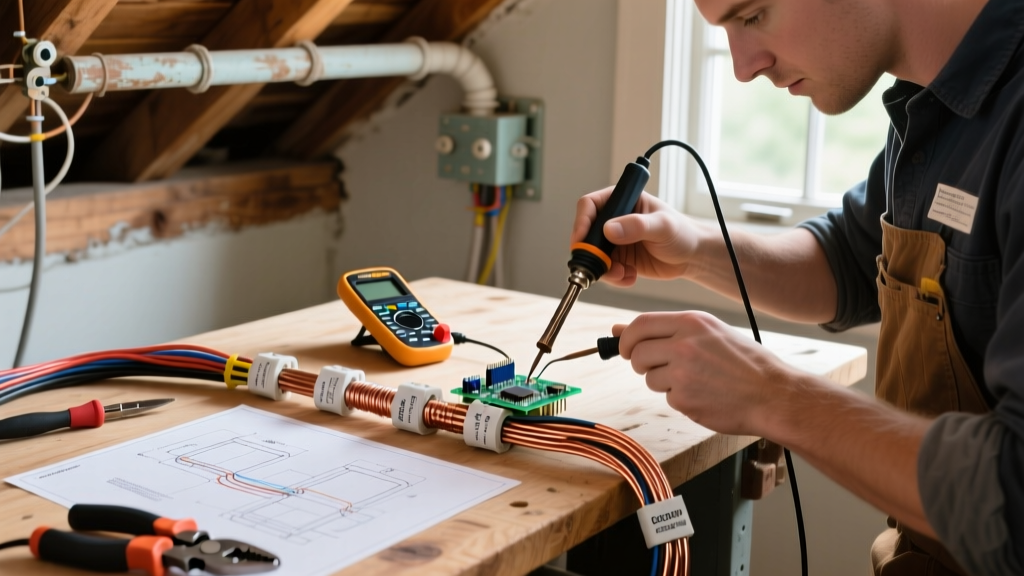
When combining parts and professional labor, expect to pay between $900 and $1,200 for a single-axle setup, and $1,100 to $1,890 for a tandem-axle rig. DIY installation saves the entirety of the labor cost but requires a specialized crimping tool (like the Knoweasy Heavy Duty Wire Crimper, approx. $45) and a digital multimeter for continuity testing.
Deep Dive: Essential Components and Sizing Specifications
Cutting corners on wire gauge or controller type is the leading cause of trailer brake failure. According to industry guidelines referenced by the etrailer.com technical database, undersized wiring leads to severe voltage drop, resulting in weak braking performance at highway speeds.
The 10 AWG Wire Mandate
Never use 12 AWG or 14 AWG wire for the main brake feed from the tow vehicle to the trailer axles. A 25-foot run of 12 AWG copper carrying 6 amps (typical for two brake magnets) will experience a voltage drop of roughly 0.97V. While this seems negligible, when combined with alternator variance, pin-connector resistance at the 7-way plug, and grounding friction, the voltage reaching the brake magnet can drop below the 9V threshold required for full actuation. Always use 10 AWG duplex jacketed wire for the main trunk line, stepping down to 12 AWG only for the final 3-foot pigtails connecting to the individual brake assemblies.
Proportional vs. Time-Delayed Controllers
In 2026, time-delayed controllers are considered obsolete for highway towing. Proportional controllers, like the Tekonsha Prodigy P3, use internal accelerometers to match the tow vehicle's deceleration rate, applying the exact necessary voltage to the trailer brakes in real-time. While they cost about $60 more than basic time-delayed units, they eliminate the 'push-pull' jerking sensation during emergency stops and drastically reduce brake shoe wear.
Step-by-Step Wiring Routing and Material Waste Factors
Accurate cost estimation requires accounting for material waste. When measuring your trailer frame, always apply the 15% waste and droop rule. If your trailer measures 20 feet from the tongue to the rear axle, purchase at least 23 feet of duplex wire to account for frame obstructions, service loops, and routing around suspension components.
- Frame Preparation: Degrease the interior C-channel of the trailer frame. Run the 10 AWG duplex wire from the 7-way junction box at the tongue toward the rear.
- Loom and Secure: Slide the wire through UV-resistant split loom tubing. Secure the loom to the frame using self-tapping loom clips or heavy-duty zip ties every 18 inches. Never let the wire rest directly on sharp metal edges or near the exhaust routing of the tow vehicle.
- The Breakaway Tap: Splice the breakaway switch inline on the positive (black) brake feed wire. This must be located before the trailer plug but after the main harness feed to ensure the breakaway battery can independently lock the brakes if the trailer detaches.
- Axle Drops: At each axle, T-splice the 12 AWG pigtail wires. Route these wires through the backing plate grommets to connect to the brake magnet terminals.
Hidden Costs and Common Failure Modes
Budgeting for the parts is only half the battle. Failing to account for environmental protection and proper grounding will result in costly troubleshooting down the line.
CRITICAL WARNING: The most common failure mode in DIY trailer wiring is the 'daisy-chained' ground. Never run a single ground wire from the left brake magnet to the right brake magnet. If the left connection corrodes, both brakes on that axle fail. Every brake magnet must have its own dedicated 12 AWG ground wire ring-terminated directly to a bare metal point on the trailer frame or axle beam.
Corrosion and Connector Upgrades
Standard vinyl crimp caps are entirely unsuitable for trailer undercarriages. Moisture ingress causes galvanic corrosion within six months, leading to high-resistance connections. You must budget for adhesive-lined marine-grade heat shrink butt connectors (such as those by 3M or DSG-Canusa). When heated, the inner adhesive melts and seals the wire strands, creating a waterproof barrier. Expect to spend an extra $25 on high-quality heat shrink and a dedicated heat gun if you do not already own one.
Grounding the 7-Way Plug
The white wire on your 7-way RV plug must be grounded to the trailer tongue using a star washer and a self-tapping screw into bare metal. Paint, powder coating, and rust act as insulators. Use a wire wheel attachment on an angle grinder to expose bare steel before attaching the ground ring terminal, and coat the finished connection in dielectric grease.
Legal Requirements and Code Compliance
Before finalizing your budget, ensure your build meets legal thresholds. The RV Industry Association (RVIA) and federal DOT regulations mandate that any trailer with a Gross Vehicle Weight Rating (GVWR) over 3,000 pounds must be equipped with a functional breakaway braking system. Furthermore, the National Electrical Code (NFPA 70) Chapter 9, Table 8 dictates the DC resistance limits for copper wire, reinforcing the necessity of 10 AWG wire for long-run, high-amperage DC circuits like trailer brakes. Skipping the $45 breakaway kit to save money is not only illegal in 49 states but will void your tow vehicle's insurance coverage in the event of a runaway trailer collision.
Frequently Asked Questions (FAQ)
Can I use the trailer's metal frame as the ground return path instead of running a white wire?
No. While automotive chassis grounding works for 12V lighting circuits drawing minimal current, electric brake magnets draw up to 3 amps each. Relying on hitch ball contact and frame-to-axle friction for a ground path will result in severe voltage drop and erratic brake controller readings. Always run a dedicated copper ground wire back to the 7-way plug.
Do I need to upgrade my tow vehicle's alternator to handle electric trailer brakes?
Generally, no. Four 12-inch electric brake magnets draw a combined maximum of 12 to 14 amps when fully engaged. Modern 2026 tow vehicle alternators output between 180 and 250 amps. The brake controller draws this current in short, pulsed bursts, which is well within the alternator's reserve capacity. However, you must ensure your tow vehicle's factory brake controller wiring harness is rated for at least 20 amps and protected by a 30-amp circuit breaker under the hood.
How often should I replace the breakaway kit battery?
The 7Ah lead-acid or AGM battery inside the breakaway kit should be load-tested annually and replaced every 3 to 4 years. If the battery is dead during a disconnect event, the breakaway switch will pull the pin, but the brakes will not engage, rendering the safety system useless.