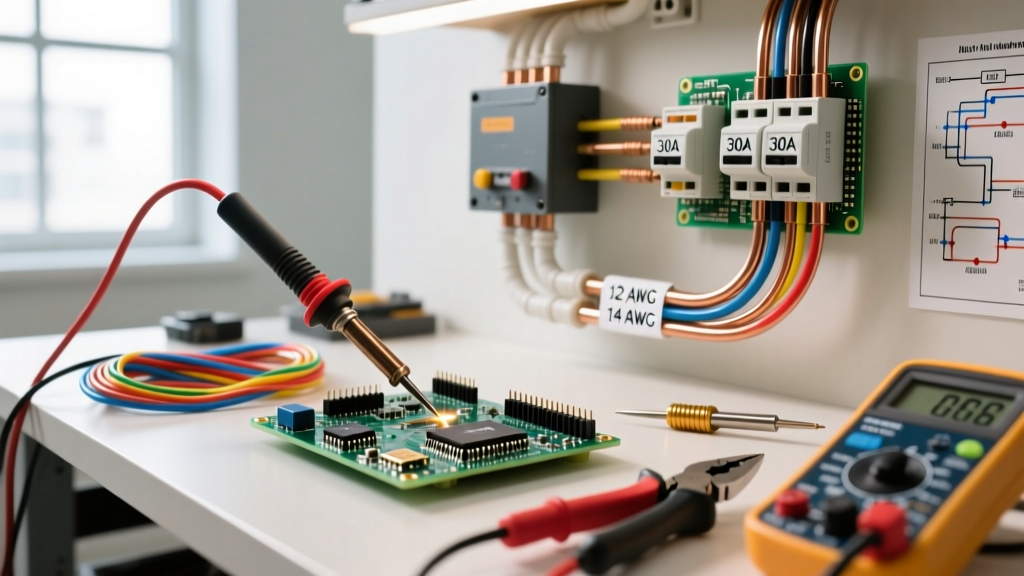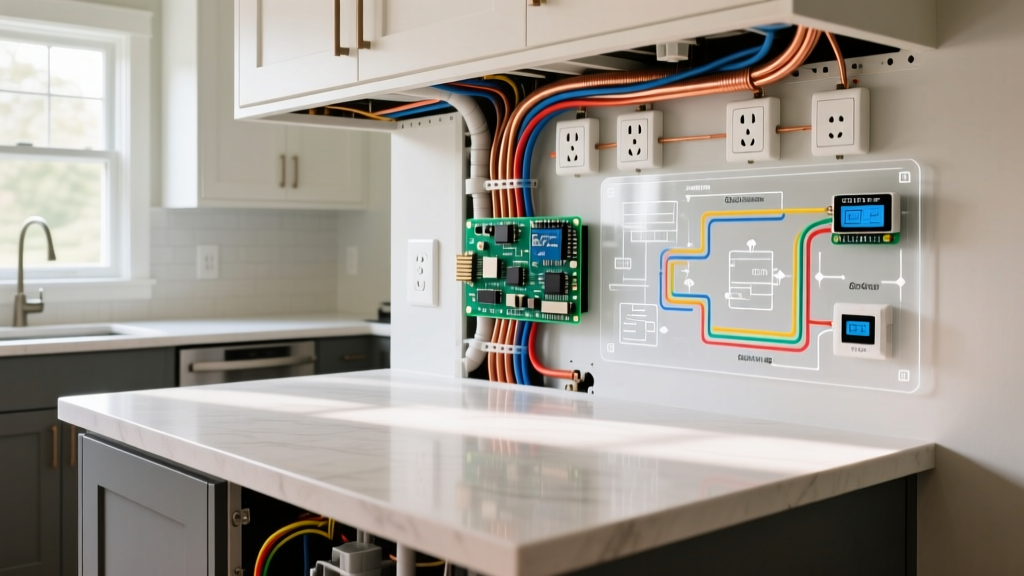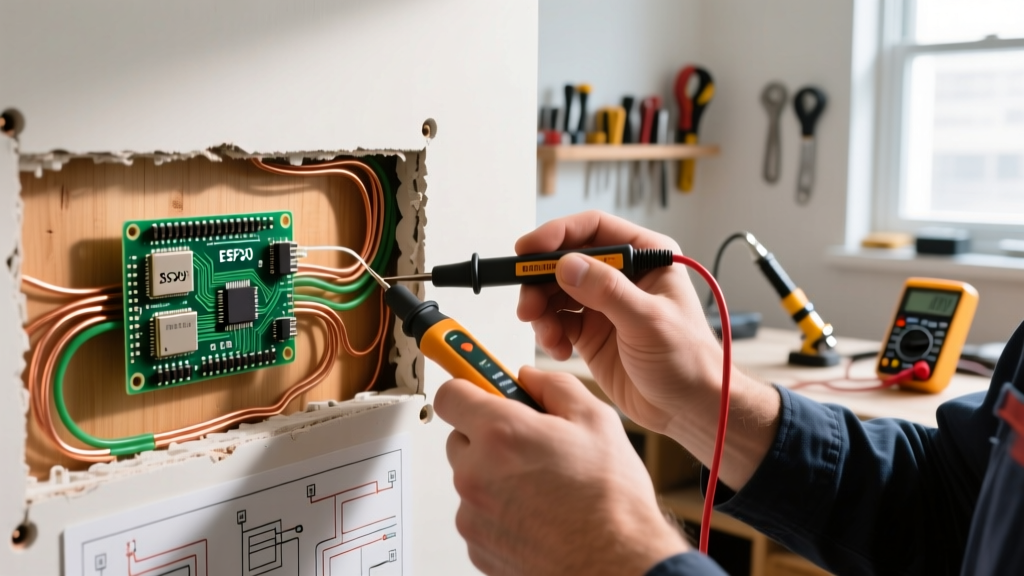

Why Tracing Wiring is Critical for Renovation Planning
When planning a major home renovation—whether you are finishing a basement, removing a load-bearing wall, or upgrading a kitchen—knowing exactly what is behind the drywall is non-negotiable. Striking a live 12/2 NM-B (Romex) cable with a reciprocating saw or a hammer drill is not just a dangerous arc-flash hazard; it is a costly mistake. Repairing severed wiring inside a finished wall often requires cutting open large sections of drywall, pulling new cable through fire-blocked studs, and patching the finish, easily adding $1,500 to $3,000 in unexpected contractor fees to your remodel budget.
Understanding how to trace electrical wiring before demolition begins allows you to map your existing 'as-built' electrical infrastructure. This proactive planning ensures your new framing, plumbing, and HVAC rough-ins do not conflict with existing circuits, and helps you identify which breakers need to be upgraded or relocated to meet the latest 2023 National Electrical Code (NEC) standards, which most jurisdictions are actively enforcing in 2026.
The Best Tools to Trace Electrical Wiring in 2026
The market for wire tracers has evolved significantly. Basic non-contact voltage testers (NCVTs) are useful for confirming the presence of voltage at an outlet, but they lack the depth and directional precision required to map a cable's path through a wall cavity. For renovation planning, you need dedicated circuit tracers or advanced tone generators.
| Tool Model | Technology Type | Max Wall Depth | Avg. Price (2026) | Best Renovation Use Case |
|---|---|---|---|---|
| Klein Tools ET45 | RF Tone & Capacitive | 2.5 inches | $45 - $55 | Standard drywall residential remodels |
| Amprobe AT-3500 | Active/Passive RF Tone | 4 inches | $120 - $140 | Tracing through plaster and lath walls |
| Fluke 2042 Advanced | Filtered RF & Magnetic | 20 feet (open) | $230 - $260 | Complex commercial retrofits & deep tracing |
| Bosch GMS 120 | Capacitive & Magnetic | 2 inches (cable) | $90 - $110 | Quick stud and live-wire avoidance mapping |
For most residential renovation planners, the Klein Tools ET45 offers the best entry-level balance of price and performance. However, if you are renovating an older home with plaster-and-lath walls or dealing with complex multi-gang junction boxes, the Fluke 2042 is worth the investment due to its superior signal filtering and ability to trace dead (unpowered) wires.
Step-by-Step: How to Trace Electrical Wiring with a Tone Generator
Using a tone and probe kit (like the Klein ET45 or Amprobe AT-3500) is the most reliable method for mapping wire runs. Here is the professional workflow for tracing a circuit from the receptacle to the breaker panel.
Step 1: Isolate and Prep the Circuit
Turn off the breaker for the circuit you intend to trace. Verify the power is off using a high-quality CAT III or CAT IV multimeter at the receptacle. Never rely solely on a non-contact tester for life-safety verification, as OSHA electrical safety guidelines mandate verified zero-energy states before interacting with exposed conductors.
Step 2: Connect the Transmitter
Plug the tone generator transmitter into the target receptacle. If you are tracing a hardwired appliance circuit (like a dishwasher or disposal), you will need to disconnect the wire nuts at the junction box and clip the transmitter's alligator leads directly to the bare copper ground and the black (hot) conductor.
Step 3: Calibrate the Receiver Probe
Turn on the receiver wand and adjust the sensitivity dial. Hold it near the transmitter to establish a baseline tone. You want the tone loud and clear near the source, but you must dial the sensitivity down as you move away to prevent 'signal bleed' (where the sensor picks up the electromagnetic field from adjacent parallel cables).
Step 4: Sweep the Wall and Map the Route
Place the tip of the receiver flat against the drywall. Sweep slowly in a vertical motion to find the horizontal run, then switch to horizontal sweeps to track the vertical drop to the floor plate or up to the ceiling joists. Use blue painter's tape to mark the wall every 12 inches along the traced path.
Edge Cases: Tracing Armored (AC) and Metal-Clad (MC) Cables
One of the most frustrating failure modes in renovation planning occurs when you attempt to trace older Armored Cable (AC/BX) or modern Metal-Clad (MC) cable using standard capacitive sensors.
The Faraday Cage Effect: The interlocking metal armor of AC and MC cables acts as a Faraday cage, effectively blocking the 60Hz electric field and standard RF tones from reaching your receiver wand. If your tracer suddenly 'goes dead' mid-wall, you are likely dealing with shielded cable.
The Magnetic Field Solution
To trace shielded cables, you must rely on the magnetic field rather than the electric field.
- For Live Circuits: Plug a high-draw resistive load (like a 1500W space heater or a hair dryer) into the circuit. This pulls 12+ amps of current, generating a strong magnetic field. Use a specialized magnetic stud/wire sensor (like the Bosch GMS 120 in 'metal' mode) to track the magnetic signature through the armor.
- For Dead Circuits: If the cable is disconnected, standard tracing is nearly impossible through the armor. You will need to use a clamp-on ammeter at the breaker panel and perform a continuity test, or physically fish the cable from the basement/crawlspace to map its termination point.
Integrating Wire Maps into Your Renovation Blueprints
Tracing the wires is only half the battle; integrating that data into your renovation plans is what separates DIYers from professional project managers. Once you have marked the walls with painter's tape, follow this documentation protocol:
- Establish a Datum Line: Use a laser level to shoot a horizontal reference line across the room at exactly 48 inches from the finished floor.
- Photograph with Scale: Take high-resolution photos of the taped wall, ensuring a metal tape measure is visible in the frame extending from the datum line to the floor and ceiling.
- Create an Electrical Overlay: Import these photos into your CAD software, SketchUp, or even a digital markup app on your tablet. Trace the taped lines digitally to create an 'Electrical As-Built' layer.
- Plan Demolition Cuts: Use this overlay to plan your drywall scoring and stud-cutting. You can now confidently cut inspection holes in the center of the stud bays that are guaranteed to be free of wiring.
Code Compliance and Safety Standards for Remodels
As you trace and map your existing wiring, you will inevitably uncover code violations left behind by previous owners or DIYers. When planning your renovation, any circuit you expose, alter, or extend must be brought up to current code. According to the National Electrical Code (NEC), this often means:
- AFCI Protection: Most living spaces, bedrooms, and kitchens now require Arc-Fault Circuit Interrupter (AFCI) protection. If you trace a 15A lighting circuit back to an older panel, plan to swap the standard breaker for a Combination AFCI breaker.
- Box Fill Calculations: If your tracing reveals that a previous homeowner shoved five 12-AWG cables into a single 18-cubic-inch junction box, you must plan to install a larger retrofit box or add a secondary junction box to meet NEC Article 314 box-fill limits.
- Grounding Paths: In older homes, you may trace a 2-prong ungrounded circuit. If your renovation plan includes adding new receptacles to this branch, the NEC requires you to either pull a new equipment grounding conductor back to the panel or install GFCI-protected receptacles marked 'No Equipment Ground'.
Frequently Asked Questions
Can I use my smartphone to trace electrical wiring?
While there are apps that claim to use your phone's internal magnetometer to find wires, they are highly unreliable for renovation planning. Smartphones can detect the magnetic field of a heavily loaded wire from about 1 inch away, but they cannot differentiate between a live electrical cable, a steel nail plate, or a copper plumbing pipe. Always use a dedicated, calibrated wire tracer.
How do I trace a wire that is buried under concrete or a subfloor?
Tracing wires under a concrete slab requires heavy-duty underground cable locators (like the Fluke 2042 or specialized utility locators) that inject a high-powered RF signal into the wire. For standard wooden subfloors, a high-sensitivity tone generator can usually penetrate 1.5 inches of plywood and underlayment, provided the wire is not shielded by metal ductwork or foil-faced insulation.
By investing the time to properly trace and map your electrical wiring before swinging a hammer, you protect your budget, ensure the safety of your crew, and lay the groundwork for a renovation that passes municipal inspections on the first try.