
Introduction to Residential Solar Wiring in 2026
As solar technology matures and grid electricity prices continue to climb, DIY solar installations have become a mainstream home project. In 2026, a high-quality 8kW residential solar kit typically costs between $12,000 and $16,000 before federal tax incentives. However, the most critical phase of any solar installation isn't bolting panels to the roof; it is the solar panel electrical wiring. Improper wiring leads to voltage drop, system inefficiency, and severe fire hazards.
This guide provides a comprehensive, code-compliant approach to wiring a residential solar array, focusing on grid-tied and hybrid inverter systems. According to the U.S. Department of Energy, proper system design and adherence to electrical codes are the primary differentiators between a safe, long-lasting solar array and a hazardous one.
Wire Sizing and Voltage Drop Calculations
Selecting the correct wire gauge is non-negotiable in solar panel electrical wiring. Undersized wires cause excessive voltage drop (which reduces inverter efficiency) and can overheat, melting insulation. For outdoor roof runs, you must use PV Wire (Photovoltaic Wire), which features XLPE insulation rated for 600V/1000V and extreme UV resistance. Never use standard THHN wire for exposed rooftop runs.
Solar Wire Sizing Matrix (Copper Conductors)
| Wire Gauge (AWG) | Max Ampacity (90°C) | Primary Application in Solar Array | Insulation Type Required |
|---|---|---|---|
| 10 AWG | 30A - 40A | Module strings to combiner box / microinverter trunk cables | PV Wire (UV Rated) |
| 8 AWG | 50A - 55A | Short combiner runs, heavy-duty string outputs | PV Wire or THWN-2 in conduit |
| 6 AWG | 65A - 75A | Combiner box to charge controller / DC disconnects | THWN-2 in conduit |
| 2 AWG | 115A - 130A | Battery bank to hybrid inverter DC terminals | RHW-2 or THWN-2 |
| 6 AWG Bare | N/A | Equipment Grounding Conductor (EGC) for racking and panels | Bare Copper |
Step-by-Step Solar Panel Electrical Wiring Sequence
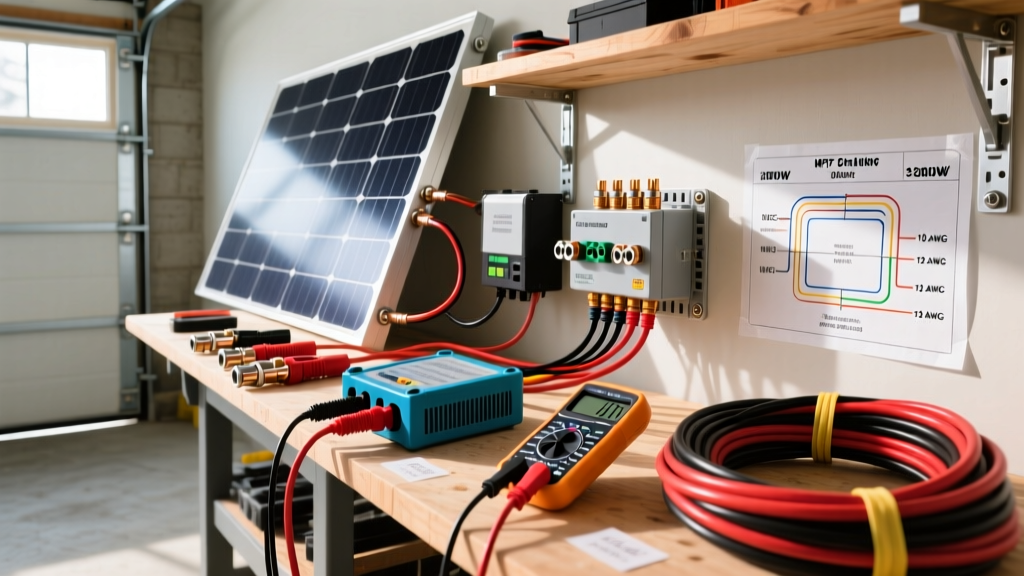
To maintain a safe workflow, always wire the DC side (solar to inverter) before connecting the AC side (inverter to main panel). Never work on live DC circuits, as DC arcs do not self-extinguish like AC arcs.
- Racking and Equipment Grounding: Before placing a single panel, bond the aluminum racking system. Use a 6 AWG bare copper wire connected to the racking via WEEBs (Washer, Electrical Equipment Bond) or approved grounding lugs. Run this ground wire down to the main grounding electrode system.
- Module Stringing (Series vs. Parallel): For string inverters, wire panels in series to increase voltage while keeping amperage low, minimizing voltage drop. Connect the positive MC4 connector of one panel to the negative MC4 of the next. Ensure your total open-circuit voltage (Voc) adjusted for your local historical record low temperature does not exceed the inverter's maximum DC input (usually 600V for residential).
- MC4 Connector Crimping: If you are making custom MC4 pigtails, strip exactly 15mm of insulation. Use a dedicated MC4 crimping tool (like the Amphenol H4ZAHT00 or IWISS IWS-3220M). A poor crimp increases resistance and will melt the connector under a 10A load.
- Combiner Box and DC Disconnect: Route your string wires into a NEMA 3R rated outdoor combiner box. Install inline DC fuses (typically 15A or 20A) on the positive leads of each string if you have three or more parallel strings. From the combiner, run your aggregated DC wires through a 600V DC-rated disconnect switch before entering the inverter.
- Inverter AC Tie-In: Connect the inverter's AC output to an AC disconnect, then route to your main service panel via a dedicated backfed breaker.
Critical NEC Code Requirements for Home Solar
The National Electrical Code (NEC), published by the National Fire Protection Association (NFPA), strictly governs solar installations. Ignoring these will result in failed inspections and voided home insurance policies.
NEC 705.12: The 120% Busbar Rule
The sum of the main breaker ampere rating and the solar backfed breaker ampere rating cannot exceed 120% of the busbar's rated ampacity. Example: For a 200A main panel with a 200A main breaker, the busbar is rated for 200A. 200A x 1.20 = 240A. Subtract the 200A main breaker, leaving a maximum of 40A for the solar breaker. A 40A breaker supports roughly 7.6kW of continuous inverter output.
NEC 690.12: Rapid Shutdown Requirements
In the event of a grid outage or emergency, rooftop wires must de-energize quickly. NEC 690.12 requires Module-Level Power Electronics (MLPE) to reduce voltage outside the array boundary to under 30 volts within 30 seconds. If you are using a string inverter, you must install rapid shutdown devices (like the Tigo TS4-A-O) on every single panel. If you use microinverters (e.g., Enphase IQ8 series), rapid shutdown is inherently built into the microinverter architecture.
Common Wiring Failure Modes and Troubleshooting
Even experienced DIYers make mistakes. Here are the most common failure modes in residential solar panel electrical wiring and how to avoid them:
- Mismatched MC4 Connectors: Never mix MC4 brands (e.g., mating an Amphenol H4 male with a generic Multicontact female). Slight dimensional variances cause poor contact, leading to high resistance, arcing, and roof fires. Always buy matched pairs from the same manufacturer.
- UV Degradation of Conduit: If using PVC conduit on the roof to protect wire transitions, you must use Schedule 80 PVC or paint Schedule 40 PVC with UV-resistant latex paint. Standard PVC becomes brittle and shatters after 3-4 years of direct sun exposure.
- Loose Torque on Lugs: Inverter and disconnect lugs must be torqued to the manufacturer's exact specification (usually measured in inch-pounds). Use a calibrated torque screwdriver. Aluminum wire expands and contracts with heat cycles; a hand-tightened lug will loosen over time, creating a hot spot.
- Ground Faults from Pinched Wires: When sliding panels into mid-clamps, it is incredibly easy to pinch the PV wire against the aluminum rail. Always use wire management clips (like the IronRidge Wire Manager) to secure wires at least 1 inch above the roof surface and away from clamp edges.
2026 Material Cost Breakdown for Wiring
Budgeting for the electrical balance of system (eBOS) is crucial. Below are average 2026 retail prices for high-quality wiring components for a standard 8kW string inverter system:
| Component | Specification | Estimated Unit Cost (2026) |
|---|---|---|
| PV Wire | 10 AWG, 1000V, Black/Red | $1.35 - $1.60 per foot |
| MC4 Connector Pairs | Amphenol H4 or Stäubli | $1.50 - $2.00 per pair |
| DC Disconnect Switch | 600VDC, 30A, NEMA 3R | $45.00 - $65.00 |
| Rapid Shutdown Device | Tigo TS4-A-O (per panel) | $42.00 - $48.00 each |
| AC Disconnect | 240VAC, 60A, NEMA 3R | $35.00 - $50.00 |
| Solar Backfed Breaker | 40A, 240V (Square D / Eaton) | $25.00 - $40.00 |
Final Safety and Commissioning Advice
While DIY solar panel electrical wiring on the DC side is entirely feasible for a skilled homeowner, the final AC tie-in to the main service panel involves working near live 240V busbars with massive fault current potential. If you are not a licensed electrician, it is highly recommended to complete all roof wiring, conduit runs, and inverter mounting yourself, then hire a licensed professional for the final breaker installation and utility interconnection paperwork. Always test your DC strings with a multimeter for correct voltage and polarity before plugging them into the inverter to prevent catastrophic arc flashes.