Projects vs Electronics: A Practical Comparison
Projects vs electronics is a choice between building a function and buying a packaged product. Projects offer learning, customization, and direct access to components such as Arduino Uno, Raspberry Pi 5, Adafruit Feather, or a breadboard. Electronics from brands like Sony, Samsung, Apple, or Anker offer certified safety, tighter tolerances, and lower immediate risk. Choose projects when the goal is education, prototyping, or niche control; choose finished electronics when you need reliability, regulatory compliance, and time savings. The deciding factors are power, fault tolerance, data quality, and whether the failure would embarrass you or endanger someone. Use it as a practical decision framework.
The difference is not only about price or skill. A wire general who has spent years tracing cable runs, inspecting terminal blocks, and repairing failed boards learns quickly that projects and products fail for different reasons. A project usually fails because the builder skipped a current check, used a thin jumper wire, ignored ground loops, or trusted a breadboard connection for six months. A finished electronic product usually fails because of component aging, heat, moisture, vibration, or a manufacturing defect, but the failure is often bounded by design margins that were tested before shipping. That distinction matters when the device is controlling a pump, powering a motor, or sitting near flammable materials.
What a Project Really Is
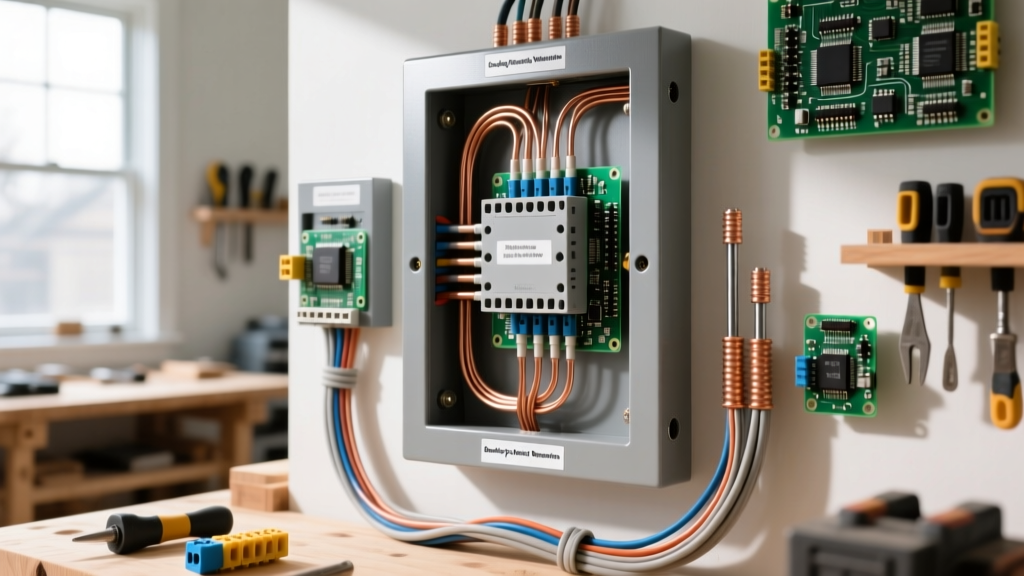
A project is an exposed system. The builder chooses the microcontroller, power supply, connectors, enclosure, and safety behavior. A typical maker setup might use an Arduino Uno with a 9V wall adapter, a breadboard, jumper wires, a relay module, and a small DC motor. The project is useful because it can be modified in minutes. If the relay needs a flyback diode, the builder can add one. If the sensor needs a pullup resistor, the builder can change the circuit. This openness is powerful, but it also means the builder is responsible for every weak link. A loose wire, a cold solder joint, or a USB-C cable rated for only 3A can create intermittent faults that are hard to reproduce.
What a Finished Electronics Product Really Is
A finished electronics product is a closed system. The manufacturer decides which PCB layout, connector, enclosure, power supply, and firmware behavior are acceptable. A Samsung television, Apple phone, Xiaomi air purifier, or Anker charger has been designed around standards such as IEC 62368-1 for electrical safety, FCC Part 15 for radio interference in the United States, and CE marking requirements in Europe. Those products are not magic. They can still fail. But they usually have protection features that the average DIY project lacks: fuses, thermistors, isolation, creepage distances, ESD protection, and tested power delivery. A product may be less flexible, but it often gives more predictable behavior over years.
In practice, the best answer is not always projects versus electronics. Many real systems use both. A small business might buy a commercial UPS, a PoE switch, and a router, then build a custom monitoring dashboard with a Raspberry Pi 5 and a temperature sensor. That blend keeps the high-risk power and network pieces commercial while allowing customization where it is safe. The important question is where to put your hands and where to put your money.
Decision Criteria: Purpose, Risk, Time, and Cost
Before choosing a path, define the purpose of the work. A learning project has different success criteria than a deployed device. If the goal is to understand how a H-bridge works, a breadboard and a small motor are fine. If the goal is to automate a garage door that moves hundreds of pounds, a commercial opener or a professionally wired control panel is usually better. Risk should be evaluated by consequence, not by voltage alone. A 5V circuit can still cause a fire if a thin wire is hidden inside a wall, and a 120V circuit can be safe if properly enclosed and protected.
- Purpose: Is this for learning, prototyping, production, or permanent installation?
- Risk: Can failure damage property, data, or people?
- Time: Do you need it this weekend or next year?
- Cost: Include tools, test equipment, rework, and downtime.
- Scalability: Will one unit become ten, fifty, or five hundred?
- Serviceability: Can you replace a failed part without redesigning the whole system?
A practical rule is that projects win when the problem is small, visible, and reversible. Finished electronics win when the problem is standardized, safety-critical, or needs to survive years without attention. For example, a hobbyist can safely control a 12V fan with an Arduino and a transistor. A hospital cannot safely build its own mains-connected display panel without formal testing, documentation, and certification. The boundary is not technology; it is accountability.
Wiring and Power: Why Projects Often Fail
Most project failures are not exotic. They are wiring and power failures. A microcontroller reset, a motor starting poorly, or a sensor reading jumping around is often caused by voltage drop, bad ground, undersized cable, or a noisy power supply. Breadboard jumper wires are convenient but weak. A 22 AWG stranded wire has roughly 0.0129 ohm per foot. A 20-foot round trip at 1A can drop about 0.258V. That may be acceptable for a logic signal, but not for a motor or a sensitive analog sensor. A wire general learns to measure voltage at the load, not only at the supply, because the difference reveals the real problem.
Power Budgets in Real Numbers
Power budgeting is the first engineering step in any electronics project. It is not enough to know that a board runs at 5V. You need to know peak current, inrush current, and the resistance of every cable between the supply and the load. A Raspberry Pi 5 can draw significant current during boot, and an ESP32 can spike when Wi-Fi starts. If the supply is marginal, the board may brown out in a way that looks random. The table below shows common maker components with practical numbers that are easy to forget when buying parts.
| Item | Typical power | Practical note |
|---|---|---|
| Arduino Uno | 5V at 40-80mA idle | Use 7V to 12V supply; 5V regulator can get hot near 500mA. |
| Raspberry Pi 5 | 5V at 3A for 15W, official 27W USB-C PD | Low voltage at 5V is better than 9V through thin cable; use short thick cable. |
| ESP32 dev board | 3.3V at 350-500mA during Wi-Fi peaks | USB serial adapters can brown out; add 470uF to 1000uF bulk capacitance near the module. |
| USB-C power bank | 5V to 20V, commonly 15W to 100W | A 100W port does not mean a 3A 5V device will get clean power if cable resistance is high. |
| Small DC motor | 12V at 1A to 3A running, 5A stall | Stall current can trip a cheap power bank or reset a microcontroller. |
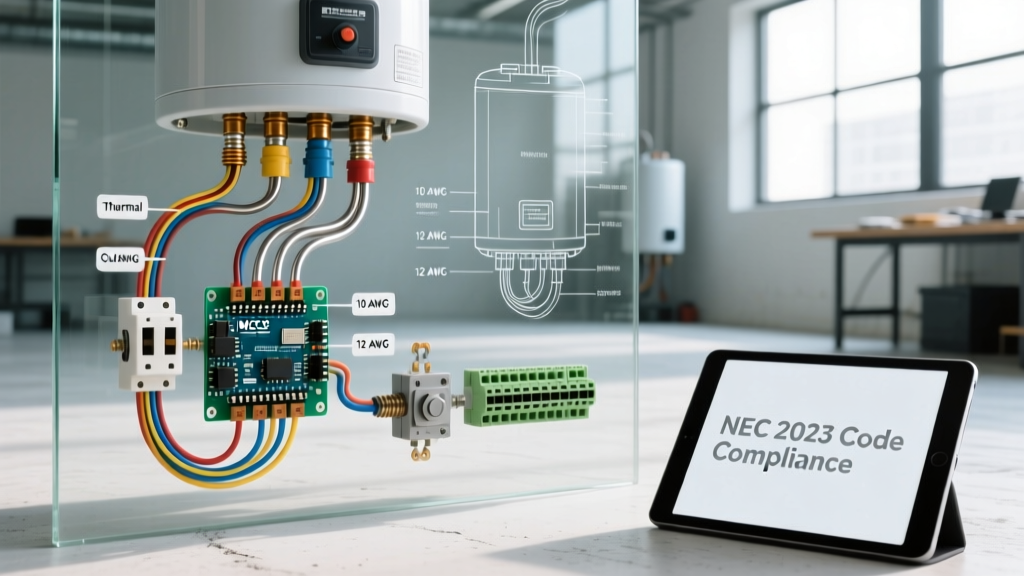
Cable choice changes the outcome. A 18 AWG wire drops less than half the voltage of 22 AWG over the same length. A Wago 221 lever connector can make a field repair much safer than a twisted wire with electrical tape, especially in 120V or 240V installations. For low-voltage DC projects, ferrules and proper terminal screws improve reliability. For mains projects, a Phoenix Contact terminal block, an ETL listed power supply, and a properly rated enclosure are not optional niceties; they are part of the design.
Common Project Failure Modes
Once you inspect enough failed projects, patterns emerge. The root cause is rarely one dramatic error. It is usually a chain: a weak power supply feeding a long cable driving a motor that causes a voltage dip that resets a microcontroller that toggles a relay that creates more noise. Breaking the chain requires measurement, not guessing. A good multimeter and a basic oscilloscope can save hours of frustration.
- Undersized wire causing voltage drop and heat.
- Missing decoupling capacitors near IC power pins.
- Ground loops between sensors, shields, and power supplies.
- Relay coils switching high-current loads without proper contact rating.
- Connectors rated for less current than the label suggests.
- Firmware assuming a sensor will always return valid data.
Projects often look successful during a short test and fail later because heat, vibration, humidity, and power cycles were never considered. A breadboard with 20 jumper wires can work on a desk for weeks, then fail when moved. A finished product is usually tested for repeated cycles, temperature range, connector wear, and electrical noise. That is why commercial devices may feel boring but are often more trustworthy.
Reliability, Testing, and Certifications
Reliability is measured by how long a system works without intervention. A project may have no reliability plan at all. A product usually does. Testing can be simple: a Fluke 87V True RMS multimeter can verify voltage, current, resistance, and continuity. A Keysight DSOX1204G or Siglent SDS1104X-E oscilloscope can reveal power supply ripple, UART noise, or relay bounce. A thermal camera can show a hot connector before it fails. These tools are not expensive luxuries if they prevent a fire or a week of lost data.
Certification is another major difference. UL listed, ETL listed, CE marked, and FCC compliant devices have been evaluated by the manufacturer and sometimes by independent labs. A DIY project usually has none of that. That is acceptable for a classroom or a personal bench. It is not acceptable for a commercial installation where insurance, code, or liability may require certified equipment. Even if a project works perfectly, it can still fail an inspection because it lacks documentation, labeling, strain relief, or overcurrent protection.
Testing a project should be proportional to its risk. A small 5V sensor node may need a bench supply, a multimeter, and a few hours of soak testing. A mains-powered heater control needs more: a proper enclosure, a fused power inlet, a thermistor or thermal fuse, a relay rated for the load, and a test sequence that checks failure modes. The goal is not perfection. The goal is a known risk level.
Cost Analysis: Hidden Numbers
Projects are often sold as cheap, but the cost story is misleading. An Arduino Uno may cost around 25 dollars, a breadboard 8 dollars, and jumper wires 6 dollars. That looks inexpensive until the project needs a 12V relay board, a proper power supply, a USB-C cable rated for 5A, an enclosure, a fuse holder, a DIN rail, terminal blocks, and a multimeter to debug it. A finished electronics product may cost more upfront but include a tested power supply, enclosure, warranty, and support. For a one-off hobby, the project may still be cheaper. For a deployed device, the hidden cost of debugging and rework can exceed the price of a commercial module.
Time is the most common hidden cost. A hobbyist may spend four hours wiring a sensor node and eight hours chasing an intermittent reset. That time has value. A professional may pay for a Phoenix Contact power supply, a Mean Well module, or a pre-certified controller because the cost of failure is higher. If your time is worth 40 dollars per hour and debugging takes six hours, the project has already cost 240 dollars in labor before any hardware failure. Finished electronics often buy certainty.
Replacement cost matters too. A consumer smart plug from Anker or Belkin may be replaced in five minutes. A custom IoT relay project may require desoldering, reflashing firmware, replacing a connector, and retesting the whole system. If the device is in an inconvenient location or used by family members, the replacement burden should be part of the decision. Projects are rewarding when you want to own the whole stack. They are annoying when you only want the function.
Which Should You Choose?
The right choice depends on what you are trying to accomplish. If you want to learn current, voltage, grounding, and firmware, build projects. If you want a device that runs for years without becoming a weekend repair job, buy electronics. If you want customization plus reliability, use a hybrid approach. Many successful makers now use finished power supplies, commercial sensors, and custom control logic. That keeps the dangerous or boring parts professional while leaving the interesting parts open.
- Define the failure consequence: cosmetic, financial, safety, or data loss.
- Choose the lowest-risk architecture that meets the requirement.
- Measure voltage, current, and cable drop before finalizing the design.
- Use connectors, fuses, and enclosures rated above the expected load.
- Test for hours or days, not minutes.
- Document settings, part numbers, and troubleshooting steps.
A practical example: an aquarium controller may use a commercial power supply, a DS18B20 temperature probe, and a custom Arduino or Raspberry Pi program. The power supply and sensors are bought because they are standard and reliable. The control logic is built because it is unique to the tank. Another example: a garage door opener should not be a DIY relay project. The load is heavy, the environment is dirty, and a failure can trap a vehicle or injure a person. In that case, buying a LiftMaster or Chamberlain unit is often the safer engineering choice.
Final Recommendations
Projects and electronics serve different needs, and the smartest builders know when to stop building. Use projects when curiosity, customization, or learning is the main goal. Use finished electronics when safety, scale, certification, or predictability is the main goal. If you are working with wires, respect the basics: measure before you assume, use proper gauge, protect against shorts, and make failures obvious instead of silent. A project that fails loudly and safely is better designed than one that fails invisibly and creates heat.
The strongest makers do not chase novelty. They chase control. A breadboard can teach more about current than a hundred videos. A multimeter can reveal why a product works and a project does not. A certified module can remove risk from a system where you do not need to be an expert. Projects vs electronics is not a rivalry. It is a portfolio decision. Build where learning and flexibility matter. Buy where reliability and liability matter. Blend when you want the best of both without pretending every wire is harmless.