
What Is a Pigtail in Electrical Wiring?
When navigating residential or commercial electrical boxes, you will frequently encounter a short length of wire bridging multiple conductors to a single terminal. If you are asking, 'what is a pigtail in electrical wiring?', you are looking at one of the most fundamental, yet frequently botched, techniques in the electrical trade. A pigtail is a short jumper wire used to connect two or more circuit wires together, terminating into a single wire nut, crimp, or lever connector, with the other end connecting to a device terminal (like a receptacle or switch) or a ground bus.
Pigtailing serves three primary purposes: it allows multiple branch circuit wires to land on a single screw terminal without daisy-chaining through the device itself; it extends wires that have been cut too short to reach a terminal; and it ensures circuit continuity so that removing a device does not break the downstream circuit. In 2026, with the proliferation of smart home devices requiring dedicated neutrals, mastering the pigtail is no longer optional—it is a critical requirement for modern electrical infrastructure.
Why the NEC Mandates Pigtailing (and Box Fill Secrets)
The National Electrical Code (NEC) heavily relies on pigtailing to maintain safety and circuit integrity. One of the most vital code updates in recent cycles, specifically NEC Article 404.2(C), requires a grounded circuit conductor (neutral) at nearly all switch locations. Because traditional switch loops only pulled a hot and a switched-leg, electricians retrofitting smart switches must now pull a neutral and pigtail it to the smart switch's neutral lead and the downstream circuit's neutral bundle.
Pro-Tip on Box Fill (NEC 314.16): Many DIYers and junior electricians panic about box fill calculations when adding pigtails for smart switches. According to NEC Article 314.16(B)(1), conductors that originate and terminate entirely within the same box (i.e., your pigtail) do not count toward the box fill volume allowance. Only the conductors entering and leaving the box are counted. This is a massive advantage when working in tight 14-cubic-inch shallow boxes.
The 2026 Material Guide: Wire, Connectors, and Lugs
Choosing the right materials is where most field failures originate. A pigtail is only as strong as its weakest mechanical connection.
1. Sourcing the Right Wire
Never use undersized wire for a pigtail. The pigtail must match or exceed the ampacity of the circuit it is bridging. For a 20-amp circuit protected by a 20A breaker, you must use 12 AWG copper wire. For a 15-amp circuit, 14 AWG is the minimum, though many professionals standardize on 12 AWG THHN for all pigtails to reduce inventory complexity and prevent accidental undersizing.
- THHN/THWN-2 Stranded vs. Solid: Stranded THHN is highly preferred for pigtails inside crowded boxes. It bends easily, reducing mechanical stress on device terminals. In 2026, 12 AWG stranded copper THHN costs approximately $0.35 to $0.45 per foot.
- NM-B (Romex) Offcuts: Solid wire offcuts from rough-in work are acceptable for pigtails, but they are stiff and can push devices out of alignment when folding the wire back into the box.
2. Connector Matrix: Wago vs. Ideal vs. Crimp
The days of relying solely on twist-on wire nuts are ending in the professional sector. Here is how the top connector types compare for pigtailing applications.
| Connector Type | Top 2026 Model | Cost per Unit | Pros | Cons |
|---|---|---|---|---|
| Lever Nuts | WAGO 221-413 | $0.55 - $0.75 | Tool-free, reusable, visual inspection window, accepts stranded/solid. | Bulky, consumes significant box volume. |
| Twist-On Wire Nut | Ideal 72B (Purple Twister) | $0.12 - $0.18 | Low profile, cheap, fast for high-volume rough-in. | Requires high hand torque, prone to user error. |
| Crimp Sleeves | King Innovation Copper Crimp | $0.25 - $0.35 | Permanent, vibration-proof, lowest profile for tight boxes. | Requires specific crimping tool, non-reversible. |
The Professional Tool Loadout
To execute a flawless pigtail, you need precision tools. Relying on cheap combination pliers will result in nicked conductors and high-resistance connections that generate heat.
- Wire Strippers: The Klein Tools 11063W (8-20 AWG) or the Knipex TwinGrip 13 26. These provide clean, burr-free strips without scoring the copper, which is critical for preventing breakage under terminal screws.
- Crimpers (If using sleeves): The Knipex 97 49 61 or a dedicated ratcheting sleeve crimper. Never use the cutting jaws of your Lineman pliers to crimp a sleeve; it creates a cold joint that will eventually arc.
- Torque Screwdriver: The Klein 695 or Wiha 601 torque screwdriver. Most modern 15A and 20A receptacles require exactly 14 in-lbs of torque on the terminal screws. Hand-tightening often leads to under-torquing (causing arcing) or over-torquing (stripping the brass threads).
Step-by-Step Execution Guide
Follow this exact sequence to ensure a code-compliant, low-resistance pigtail connection.
- Measure and Cut: Cut your pigtail wire to exactly 6 inches. This provides enough length to reach the terminal and fold neatly, without creating excess bulk that jams the box.
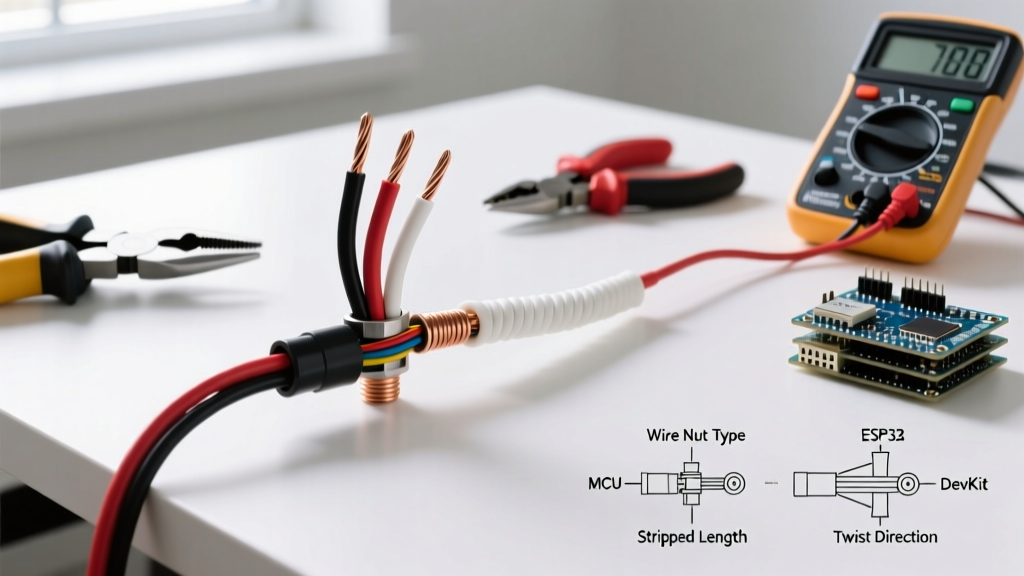
- Strip to Specification: Strip exactly 3/4 inch of insulation if using WAGO 221 lever nuts (the strip length is laser-etched on the side of the connector). Strip 1/2 inch to 5/8 inch if using twist-on wire nuts.
- Align the Conductors: Hold the circuit wires and the pigtail wire parallel to each other. Do not pre-twist solid wires before applying a wire nut; the internal spring coil of the nut is designed to bite into parallel wires and twist them simultaneously, creating a superior gas-tight seal.
- Apply the Connector: Twist the wire nut clockwise until you feel the wires twist together outside the nut (the 'shoulder twist' test). For lever nuts, simply lift the lever, insert the wire to the stop, and snap it down.
- The Tug Test: Firmly pull on the pigtail wire. If any wire slips out, strip it down and start over with a new connector.
- Terminate and Torque: Form a clockwise hook with the pigtail end, loop it around the device terminal screw, and tighten to the manufacturer's specified torque (usually 14 in-lbs).
Edge Cases: Aluminum Wiring and Smart Switches
If you are working in a home built between 1965 and 1973, you may encounter aluminum branch circuit wiring. Never use standard copper wire nuts to pigtail copper to aluminum. The dissimilar metals will cause galvanic corrosion, and aluminum's 'cold-flow creep' will cause the connection to loosen over time, leading to catastrophic electrical fires.
For aluminum-to-copper pigtailing, you must use specialized connectors like the King Innovation AlumiConn 3-Port lug connector (Model #95110) or the IDEAL Twister Al/Cu (Model #65) with antioxidant paste. The AlumiConn uses independent setscrews torqued to exactly 15 in-lbs to separate the metals and prevent oxidation, making it the gold standard for remediation in 2026.
Final Verdict
Understanding what a pigtail is and how to execute it properly separates amateur DIYers from seasoned professionals. By upgrading from generic twist-on nuts to WAGO lever connectors or precision crimps, utilizing stranded THHN wire, and verifying torque with a calibrated screwdriver, you eliminate the leading causes of residential electrical fires: loose, high-resistance connections. Always verify your local jurisdiction's adoption of the latest NEC guidelines before beginning any panel or device modification.