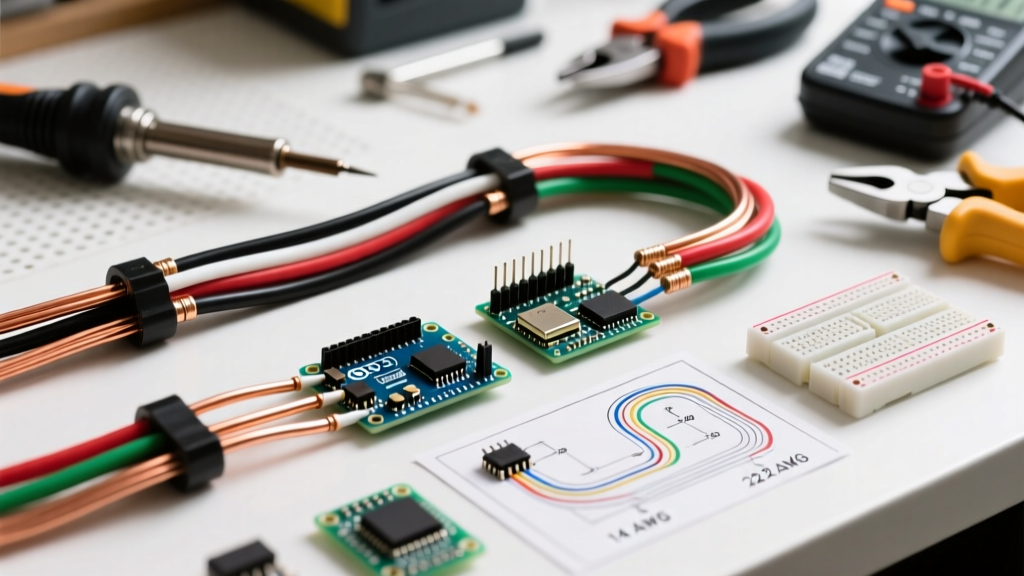

Architecting the Electrical Wiring Lighting Circuit
Designing and installing a reliable illumination system requires more than just connecting a switch to a fixture. When planning an electrical wiring lighting circuit, the margin for error is slim; undersized wire, improper terminations, or missing neutrals can lead to voltage drop, flickering, or catastrophic thermal failures. In 2026, with the widespread adoption of high-draw smart luminaires and strict adherence to the latest NEC (National Electrical Code) revisions, selecting the correct materials and tools is paramount. This guide breaks down the exact components, pro-grade tools, and failure-mode troubleshooting matrices required for residential and light-commercial lighting installations.
NEC Article 210 Compliance Baselines
According to the National Fire Protection Association (NFPA), branch circuits supplying lighting units must be calculated based on the specific volt-ampere per square foot requirements of the occupied space. For standard residential dwellings, a general lighting load of 3 VA per square foot is the baseline. However, modern LED integration has drastically reduced actual amperage draw, allowing a single 15-ampere branch circuit to theoretically handle dozens of fixtures. Despite this, best practice dictates limiting a single lighting circuit to 10-12 physical devices (switches, fixtures, or receptacles on the same switch leg) to prevent nuisance tripping and simplify future troubleshooting.
Core Materials: Wire, Breakers, and Terminations
The foundation of any reliable electrical wiring lighting circuit is the cable assembly and overcurrent protection. While 12 AWG wire is standard for receptacle circuits, 14 AWG remains the industry standard for dedicated lighting circuits due to its flexibility and cost-efficiency, provided it is paired with a 15A breaker.
| Material Specification | Application | 2026 Avg. Cost | Max Run (3% Drop) |
|---|---|---|---|
| Southwire 14/2 NM-B (Romex) | Standard 15A lighting branch circuits | $0.48 / linear ft | 50 feet |
| Southwire 12/2 NM-B | 20A circuits, long runs, commercial | $0.65 / linear ft | 65 feet |
| Eaton BR115 15A Breaker | Overcurrent protection for 14 AWG | $6.85 per unit | N/A |
| Wago 221-413 Lever Nuts | 3-port splicing for switch loops | $0.45 per unit | N/A |
| Arlington F101 Nail-On Box | New construction fixture mounting | $1.15 per unit | N/A |
Termination Hardware: Lever Nuts vs. Twist-On
While traditional Ideal Wire-Nuts (like the 72B blue or 73B yellow) are still prevalent, the industry has heavily shifted toward Wago 221-series lever nuts for lighting circuits. Lighting boxes often contain tight junctions with multiple 14 AWG conductors (line, load, neutral, and ground). Lever nuts reduce installation time by 40% and provide a verifiable visual confirmation that the wire is fully seated, eliminating the 'cold joint' failure mode common with improperly twisted wire-nuts.
Pro-Grade Hand Tools for Circuit Installation
Attempting to strip 14 AWG solid copper with a standard utility knife compromises the conductor, creating a micro-fracture that will eventually arc under thermal cycling. Invest in purpose-built electrical tools.
- Klein Tools 11055E Wire Stripper ($32.50): The industry standard for 10-18 AWG solid and stranded wire. The precision-machined stripping holes prevent nicking the copper core, which is critical when prepping wires for switch terminals.
- Milwaukee 48-22-0304 Voltage Detector ($24.99): A non-contact voltage tester with dual-range detection. Essential for verifying a circuit is de-energized before removing existing switch plates.
- Knipex 13 26 8 Lineman Pliers ($58.00): Features a specialized crimping die for wire ferrules and a high-leverage cutting head that cleanly shears 12 and 14 AWG copper without deforming the wire tip.
- Klein Tools 32500 Multi-Bit Screwdriver ($16.50): Lighting installations require constant swapping between #1 and #2 Phillips, and 1/4-inch and 5/16-inch nut drivers for grounding screws and box mounting.
Smart Lighting & The Floating Neutral Problem
The most common failure mode in modern electrical wiring lighting circuit retrofits involves smart switches. Standard mechanical switches only interrupt the hot leg; they do not require a neutral wire. However, Wi-Fi and Zigbee smart switches require a constant 120V power source to keep their internal radios alive.
Pro-Tip for Remodels: If you are opening walls to install a smart lighting circuit, always pull 14/3 NM-B cable to the switch box instead of 14/2. The extra red wire serves as a dedicated neutral or a traveler for 3-way smart switch configurations, future-proofing the circuit for advanced automation hubs.
If a neutral is unavailable, electricians must either rewire the box or utilize specialized low-power RF switches like the Lutron Caseta line, which operates without a neutral by bleeding a micro-current through the LED fixture itself.
Troubleshooting Matrix: Common Installation Failures
Even with premium materials, installation errors occur. Use this diagnostic matrix to identify and resolve circuit anomalies before closing up drywall.
| Symptom | Root Cause Analysis | Corrective Action |
|---|---|---|
| Breaker trips instantly upon energizing | Hot-to-ground short in the junction box; pierced cable sheathing from a rogue drywall screw. | Megger test the circuit. Inspect all boxes for pinched grounds and ensure cable clamps are properly secured. |
| LED fixtures flicker or glow when off | Induced voltage from running unshielded low-voltage data cables parallel to the 120V lighting circuit. | Maintain a minimum 2-inch separation between line-voltage and low-voltage cables per NEC Article 725. |
| Dimming at the end of a long hallway | Voltage drop exceeding 3% on a 14 AWG run longer than 50 feet. | Upsize the feeder wire to 12/2 NM-B for the main run, dropping to 14 AWG only for the final fixture pigtails. |
| Smart switch reboots randomly | Overloaded neutral bus or shared neutral with a high-draw appliance circuit. | Ensure the lighting circuit neutral is isolated and not borrowed from an adjacent receptacle branch circuit. |
Safety Gear & Final Verification
Adhering to OSHA electrical safety guidelines is non-negotiable. Before terminating any conductors, verify the main breaker is locked out and tagged out (LOTO). Wear ANSI Z87.1 rated safety glasses when stripping wires or driving screws into metal junction boxes to protect against copper shards.
Once all fixtures and switches are terminated, do not immediately flip the breaker. Use a digital multimeter set to continuity mode across the hot and ground bus bars at the panel. A reading of infinite resistance (OL) confirms there are no dead shorts. Only after passing the continuity test should the circuit be energized and verified under load. By strictly adhering to these material specifications and installation protocols, your lighting circuit will deliver safe, flicker-free performance for decades.


