
The Critical Intersection of High-Draw Appliances and Electrical Code
When it comes to kitchen renovations and appliance upgrades, wiring an electric oven represents one of the most demanding tasks for residential electrical systems. Modern convection ovens, dual-fuel ranges, and smart induction cooktops routinely pull between 7,500 and 12,000 watts. This massive continuous load requires strict adherence to the National Electrical Code (NEC) to prevent thermal runaway, breaker nuisance tripping, and catastrophic electrical fires.
As of the 2026 enforcement cycles, local Authorities Having Jurisdiction (AHJs) are cracking down on legacy wiring methods and improper load calculations. This guide breaks down the exact NEC articles, wire gauges, and termination standards required for a code-compliant electric oven installation.
Core NEC Articles Governing Electric Oven Installation
To pass inspection and ensure long-term safety, your installation must satisfy several intersecting articles within NFPA 70 (The National Electrical Code). Understanding these specific sections is non-negotiable for professional electricians and advanced DIYers:
- Article 210 (Branch Circuits): Dictates the sizing of the circuit breaker and the permissible loads on a single branch circuit. An electric oven must generally be on a dedicated, individual branch circuit.
- Article 250 (Grounding and Bonding): Specifically, Section 250.140 outlines the rules for grounding ranges and ovens, mandating the use of a separate Equipment Grounding Conductor (EGC) for all new installations.
- Article 422 (Appliances): Covers the specific disconnecting means and branch-circuit sizing for fixed and portable appliances. Section 422.10 requires the branch circuit rating to be no less than the marked rating of the appliance.
- Article 110.14(D) (Termination Torque): A heavily enforced modern code requiring that all terminal lugs be tightened to the manufacturer’s specified torque using a calibrated torque screwdriver.
The 3-Wire vs. 4-Wire Configuration Shift
One of the most common points of confusion when wiring an electric oven is the transition from 3-prong to 4-prong receptacles. Prior to the 1996 NEC revision, it was permissible to use a 3-wire setup (two hots and a combined neutral/ground) with a NEMA 10-50 receptacle. This was inherently dangerous because any fault current on the appliance chassis could energize the neutral wire.
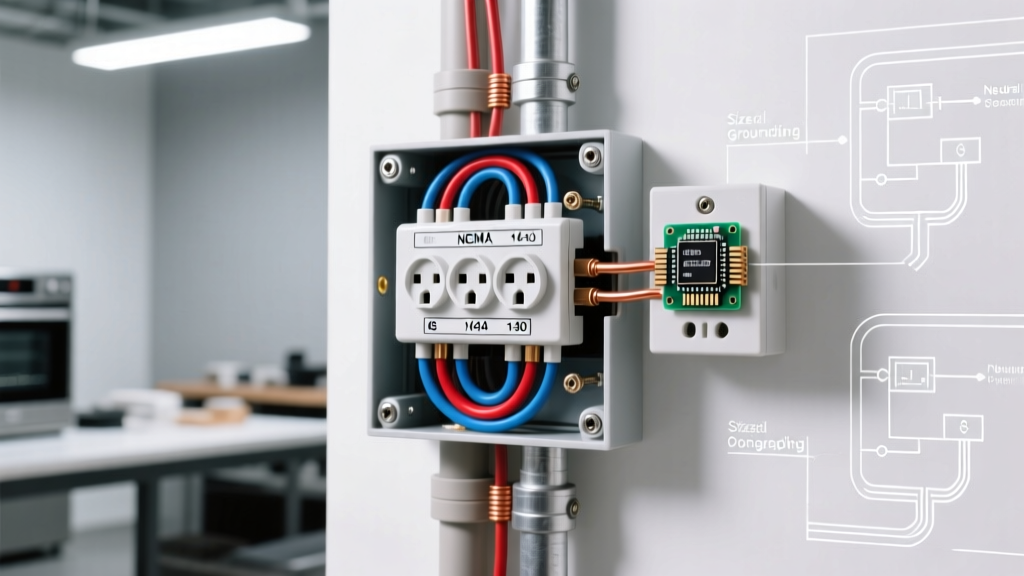
Today, the NEC strictly mandates a 4-wire configuration for all new construction and remodels where the wall receptacle is replaced. This requires a NEMA 14-50R receptacle, which separates the neutral (return path for 120V components like oven lights and clocks) from the equipment ground (safety fault path).
Code Exception Note: If you are simply replacing an old oven in an existing kitchen with an unmodified 3-wire NEMA 10-50 receptacle, the NEC allows you to install a 3-prong cord on the new oven and bond the neutral to the chassis via the manufacturer's bonding strap. However, upgrading the circuit to a 4-wire NEMA 14-50 is the only way to meet modern safety standards and is highly recommended.
Breaker Sizing and Wire Gauge Matrix
Selecting the correct wire gauge and breaker size is dictated by the appliance's kilowatt (kW) rating and the NEC ampacity tables (Table 310.16). Most residential electric ovens require either a 40-amp or 50-amp circuit. Below is the standard compliance matrix for copper conductors (specifically NM-B or THHN in conduit).
| Appliance Rating | Required Breaker | Copper Wire Gauge (NM-B/THHN) | Receptacle Type |
|---|---|---|---|
| Up to 8.0 kW (approx. 33A) | 40 Amp (2-Pole) | 8 AWG (with ground) | NEMA 14-50R |
| 8.1 kW to 12.0 kW (approx. 50A) | 50 Amp (2-Pole) | 6 AWG (with ground) | NEMA 14-50R |
| Over 12.0 kW (Commercial/Heavy Duty) | 60 Amp (2-Pole) | 4 AWG (with ground) | Hardwired / NEMA 14-60R |
Note: Aluminum wire requires upsizing (e.g., 6 AWG for 40A, 4 AWG for 50A), but copper is the industry standard for indoor residential appliance branches due to its superior thermal conductivity and termination reliability.
Step-by-Step Code-Compliant Wiring Procedure
Executing the physical installation requires precision. Follow these steps to ensure your work passes inspection and operates safely under maximum thermal load.
1. Panel Preparation and Breaker Installation
Install a 2-pole 50A breaker (e.g., Square D QO250 or Eaton BR250, matching your panel brand). Strip the 6 AWG THHN/NM-B conductors to exactly 3/4 inch. Insert the red and black hot wires into the breaker terminals and the white neutral into the neutral bar. Critical Step: Use a calibrated torque screwdriver to tighten the lugs to the manufacturer's specification (typically 45 in-lbs for 6 AWG wire). This satisfies NEC 110.14(D) and prevents loose connections that cause arcing.
2. Routing and Securing the Cable
If using 6/3 NM-B (Romex) cable, route it from the panel to the kitchen wall box. Per NEC 334.30, the cable must be secured with approved staples within 12 inches of the panel and every 4.5 feet thereafter. Do not over-tighten staples, which can crush the cable jacket and damage the internal THHN insulation.
3. Wall Box and Receptacle Termination
Install an extra-deep single-gang or 2-gang metal remodel box to accommodate the stiffness of 6 AWG wire. Mount a high-grade NEMA 14-50R receptacle (such as the Leviton 278-S00 or Hubbell HBL9450A). Connect the bare copper ground to the green grounding screw, the white neutral to the silver terminal, and the red/black hots to the brass terminals. Ensure no bare copper is exposed outside the terminal clamps.
4. Appliance Cord and Strain Relief
Attach a UL-listed 4-prong, 50A range cord to the oven's terminal block. The bare ground wire must be connected to the appliance chassis grounding screw. Remove the bonding strap that connects the neutral terminal to the chassis (this strap is only for 3-wire setups). Secure the cord using a UL-approved strain relief clamp to prevent tension from pulling the wires out of the terminal block.
Common Code Violations and Edge Cases
Even experienced installers make mistakes when wiring high-draw 240V appliances. Avoid these frequent code violations:
- Using 50A Breakers on 8 AWG Wire: This is a severe fire hazard. 8 AWG copper is generally rated for 40A (under the 60°C column for NM-B cable). Pairing it with a 50A breaker violates NEC 240.4.
- Missing GFCI Nuances: While standard 125V kitchen counter receptacles require GFCI protection, a 250V 50A receptacle located directly behind an electric oven does not require GFCI protection unless it is installed within 6 feet of the sink edge, per NEC 210.8(A)(7). Always check local AHJ amendments, as some municipalities enforce stricter kitchen GFCI rules.
- Improper Grounding Paths: Never bond the equipment grounding conductor to a flexible gas line, metallic water pipe (as a primary ground), or the neutral bus bar in a subpanel. The ground must trace back to the main service panel's grounding electrode system.
Frequently Asked Questions (FAQ)
Can I wire a hardwired electric oven to a plug-in receptacle?
Yes, but it requires a code-compliant conversion. You must install a NEMA 14-50R receptacle on the wall and use a UL-listed 4-prong appliance cord rated for 50 amps. Ensure the oven's internal terminal block is rated for cord-and-plug connection, and verify the manufacturer's installation manual permits this modification. For more on appliance safety standards, refer to Underwriters Laboratories (UL) electrical safety guidelines.
Do I need to use conduit for my electric oven wiring?
In most standard residential wood-frame constructions, NM-B (Romex) cable is perfectly legal and does not require conduit, provided it is run inside walls and protected from physical damage. However, if the wiring is exposed (such as in an unfinished basement or surface-mounted on a masonry wall), NEC 334.15 requires the cable to be protected by EMT conduit or PVC schedule 80.
Why does my 50A breaker trip when the oven preheats?
If the breaker trips immediately, you likely have a dead short or a ground fault. If it trips after 10–15 minutes of preheating, the breaker may be experiencing thermal fatigue from a loose terminal connection (check torque), or the oven's actual draw exceeds the breaker's continuous load rating. Verify the oven's kW rating; if it exceeds 12kW, you may need to upgrade to a 60A circuit with 4 AWG wire.