
The Hidden Dangers of Incorrect Cable Stapling
When planning a rough-in for new construction or a remodel, the focus is often on circuit design, breaker sizing, and AFCI/GFCI compliance. However, one of the most common causes of long-term electrical failure and arc-fault nuisance tripping occurs at the mechanical level: the improper use of staples for electrical wiring. According to the National Fire Protection Association (NFPA), mechanical damage to cable insulation during installation is a leading precursor to hidden arc faults and residential fires.
The PVC jacket and internal nylon insulation on modern NM-B (Romex) cable are remarkably resilient to heat, but highly vulnerable to point-load compression. When a steel staple is over-driven, it crushes the dielectric barrier between the copper conductor and the ground wire. Over time, thermal cycling (the expansion and contraction of the wire under load) causes the crushed insulation to degrade, leading to micro-arcing. In 2026, with AFCI breakers calibrated to detect arcs as low as 5 milliamps, a poorly stapled wire will almost certainly cause nuisance tripping that is incredibly difficult to diagnose.
The Physics of Pinching: Why Size and Material Matter
To understand safety best practices, you must understand the physical dimensions of the cables you are securing. A standard 12/2 NM-B cable measures approximately 0.20 inches thick by 0.44 inches wide. The insulation thickness is roughly 0.030 inches.
Safety Warning: Using a 3/8-inch staple on a 12/2 cable will physically compress the jacket, reducing the clearance between the live conductor and the staple crown to less than 0.010 inches. This violates the dielectric isolation requirements and creates an immediate shock and fire hazard.
Furthermore, using bare, uncoated steel staples on damp locations or exterior penetrations (even if the cable is rated for it) invites oxidation. Rust expands, which can slowly cut through the cable jacket over a decade. This is why selecting the correct material—galvanized steel, stainless steel, or UV-rated non-metallic polymers—is a critical safety decision.
NEC Code Requirements for Staples for Electrical Wiring
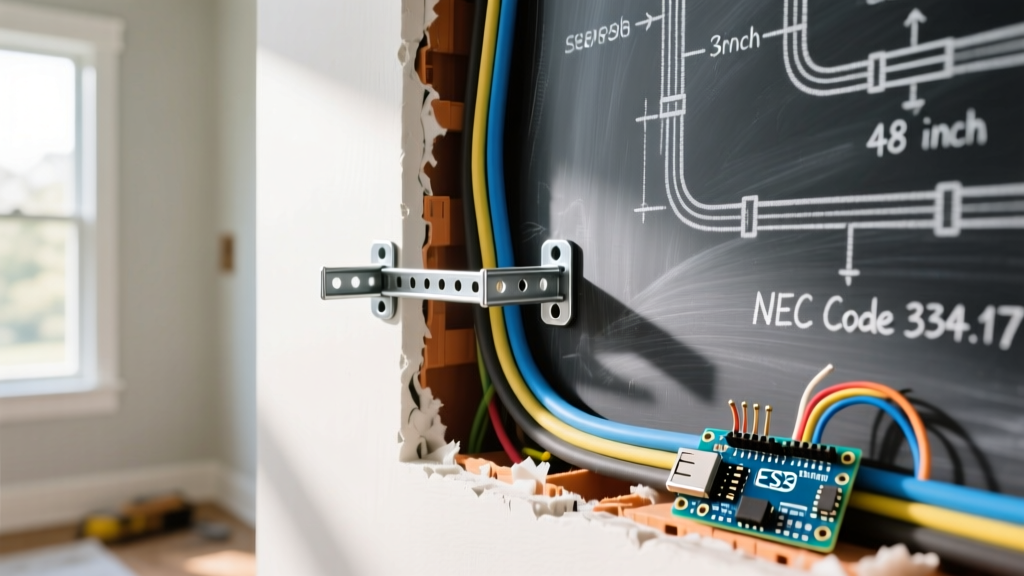
The National Electrical Code (NEC) outlines strict spacing and support rules under Article 334.30 (Securing and Supporting). Compliance is not just about passing inspection; it prevents cable sagging, which can stress terminal connections inside junction boxes and receptacles.
- The 8-Inch Rule: NM cable must be secured within 8 inches of a single-gang electrical box that does not have an internal cable clamp. If the box has an internal clamp, the staple must be within 12 inches.
- The 4.5-Foot Rule: Cables must be supported at intervals not exceeding 4.5 feet (54 inches).
- The Bored Hole Exception: If NM cable is run through bored holes in framing members (studs or joists), it is considered "supported" by the framing itself. You do not need to staple the cable every 4.5 feet inside bored holes, provided the hole is properly sized and the cable is not subject to physical damage.
- Stacking Restrictions: The NEC generally prohibits stacking multiple cables under a single standard staple unless the staple is specifically listed and marked by the manufacturer (e.g., UL-listed) for stacking.
Material & Sizing Matrix: Matching Staples to Cable Types
Selecting the right staple requires matching the crown width and leg length to the specific cable profile. Below is a definitive sizing matrix for standard residential wiring in 2026.
| Cable Type | Approx. Dimensions | Required Staple Size | Recommended Material |
|---|---|---|---|
| 14/2 & 12/2 NM-B | 0.20" x 0.44" | 1/2" Crown x 1/2" Leg | Galvanized Steel or Non-Metallic |
| 12/3 & 10/3 NM-B | 0.24" x 0.54" | 3/4" Crown x 1/2" Leg | Galvanized Steel (Heavy Duty) |
| UF-B (Underground) | Varies (Thick Jacket) | 1/2" or 3/4" depending on gauge | Stainless Steel or UV-Rated Polymer |
| MC Cable (Metal Clad) | Circular (e.g., 3/8" OD) | Specific MC Cable Straps (Not Staples) | Steel or Nylon One-Piece Straps |
| Low Voltage (Cat6, Coax) | Circular | 3/8" or 1/2" Non-Metallic | UV-Rated Nylon/Plastic (No Steel) |
Top Rated Insulated vs. Bare Metal Staples
The market has shifted heavily toward non-metallic and insulated staples to eliminate the risk of a metal crown piercing the cable jacket if the staple is driven crooked.
1. Non-Metallic Polymer Staples (e.g., Arlington Industries NM101)
Cost: ~$7.50 per 100-pack.
Pros: Will not rust, will not conduct electricity if a short occurs, and the polymer crown naturally flexes, making it nearly impossible to crush the cable insulation even if over-driven.
Cons: More expensive than steel. The legs can bend if you hit dense engineered lumber (like LVL headers) with too much force.
2. Galvanized Steel Staples (e.g., Gardner Bender GS-1019B)
Cost: ~$4.50 per 100-pack.
Pros: Extremely high holding power in dense framing. Inexpensive and universally available.
Cons: High risk of over-driving and crushing the cable jacket. If driven at an angle, the sharp steel crown can slice the NM-B sheathing.
3. Insulated Steel Staples (e.g., Southwire Insulated Staples)
Cost: ~$6.00 per 100-pack.
Pros: Features a plastic sleeve over the steel crown. Provides the driving strength of steel with the dielectric safety of plastic.
Cons: The plastic sleeve can occasionally tear off during installation if the staple gun track is poorly maintained.
Step-by-Step Safe Stapling Technique
Even the safest staple can cause a fire hazard if installed incorrectly. Follow this protocol to ensure NEC compliance and mechanical safety.
- Position the Cable: Lay the NM-B cable flat against the center of the stud face. Ensure the cable is not twisted. Twisting a flat cable creates internal stress on the conductors.
- Select the Tool: For non-metallic staples, use a manual staple gun (like the Stanley TR150) or a hammer. Avoid pneumatic staple guns for NM-B cable unless you have a precision depth-dial and extensive experience. Pneumatic tools deliver 60-100 PSI of force, instantly crushing the jacket before the operator can react.
- Align the Crown: Hold the staple perfectly perpendicular to the cable. The crown should sit parallel to the cable's long axis.
- Drive the Staple: If using a hammer, strike the staple squarely until the crown is just flush with the cable jacket. Do not compress the jacket. You should be able to slide a piece of paper between the staple crown and the cable.
- Check for Dimples: Run your thumb over the stapled area. If you feel a deep indentation in the PVC, pull the staple with needle-nose pliers, discard the staple, and re-secure the cable an inch away using a new staple.
Common Failure Modes & Edge Cases
As an electrical inspector or seasoned journeyman, you will encounter specific edge cases that compromise safety:
- The "Twofer" Violation: Running two 12/2 cables under a single 1/2-inch staple. While some older code cycles allowed this, modern best practices and many local AHJs (Authorities Having Jurisdiction) prohibit it unless using a specifically listed stacking staple (e.g., Arlington NM112). Stacking causes the bottom cable to bear the compressive weight of the top cable against the hard steel crown.
- Edge Nailing: Stapling too close to the edge of a stud (less than 1.25 inches from the face). If the staple misses the wood, it can puncture the cable. Furthermore, if drywall screws are later driven into the same edge, they can strike the staple, driving it directly into the live conductor.
- UV Degradation: Using standard white non-metallic staples for exterior UF-B runs. Standard indoor plastics become brittle under UV exposure within 6 months. Always use black, UV-stabilized polymer staples for any wiring exposed to sunlight before drywall or siding is applied.
Expert FAQ
Can I use drywall nails or roofing nails to secure NM cable in a pinch?
Absolutely not. Roofing nails have wide, flat heads that can easily slice the cable jacket, and their smooth shanks lack the withdrawal resistance required by the NEC. Furthermore, the Electrical Safety Foundation International (ESFI) strongly warns against using improvised fasteners, as they are not UL-listed for electrical cable support and void the cable manufacturer's warranty.
Do I need to staple low-voltage wires (Cat6, Coax) to the same code standards?
While the NEC (Article 800) has slightly more relaxed spacing requirements for communications cables, the safety principle remains identical: never use metal staples for low-voltage wiring. A steel staple can easily crush the delicate foam dielectric core of a Cat6 or Coax cable, ruining the impedance and causing massive data packet loss. Always use dedicated, non-metallic J-hooks or Velcro straps for low-voltage bundles.
What is the penalty for over-driving a staple during inspection?
In 2026, most municipal inspectors carry a small feeler gauge or simply use their fingernail. If the cable jacket is visibly compressed or dimpled, the inspector will issue a "red tag" rejection. You will be required to cut out the damaged section of the cable, pull new wire back to the nearest junction box, and re-terminate, costing hours of labor and materials.
By treating staples for electrical wiring as critical safety components rather than mere consumables, you ensure the longevity of the installation, prevent catastrophic arc faults, and guarantee a smooth, first-time electrical inspection.