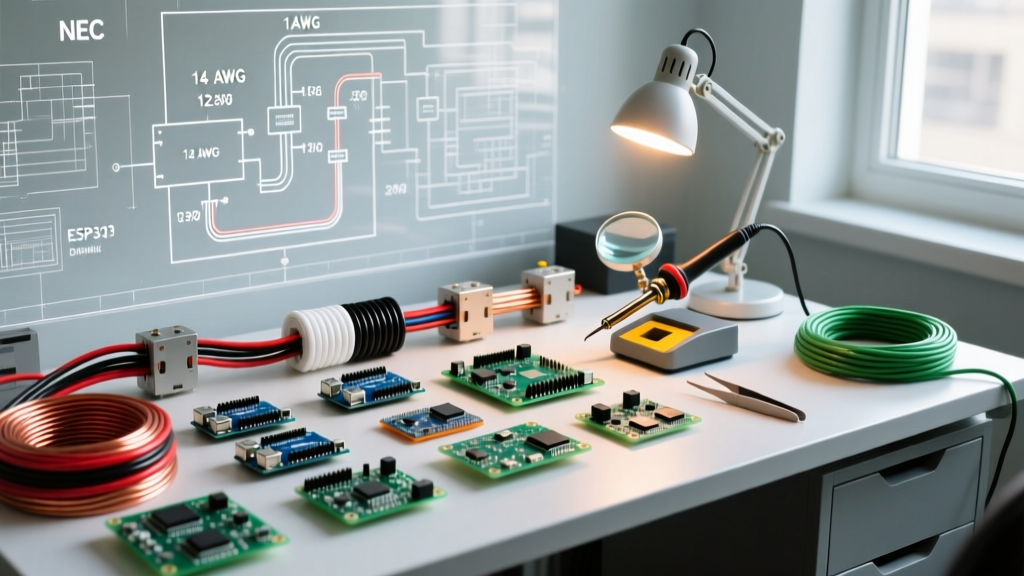

The Foundation: Why Code Matters When You Learn Electrical Wiring
Many DIY enthusiasts approach home projects with a singular focus: making the circuit work. However, when you learn electrical wiring, making a circuit functional is only half the battle. The other half—and arguably the more critical one—is ensuring the installation is safe, durable, and compliant with the National Electrical Code (NEC). Published by the National Fire Protection Association (NFPA), the NEC (NFPA 70) is updated every three years to address new technologies and mitigate emerging fire hazards.
Ignoring code standards doesn't just risk failing a municipal inspection; it introduces severe hazards like arc faults, thermal overloads, and lethal shock risks. This guide transitions you from simply connecting wires to understanding the engineering and safety principles that govern modern electrical installations.
Wire Sizing and Ampacity: The Core of Safe Wiring
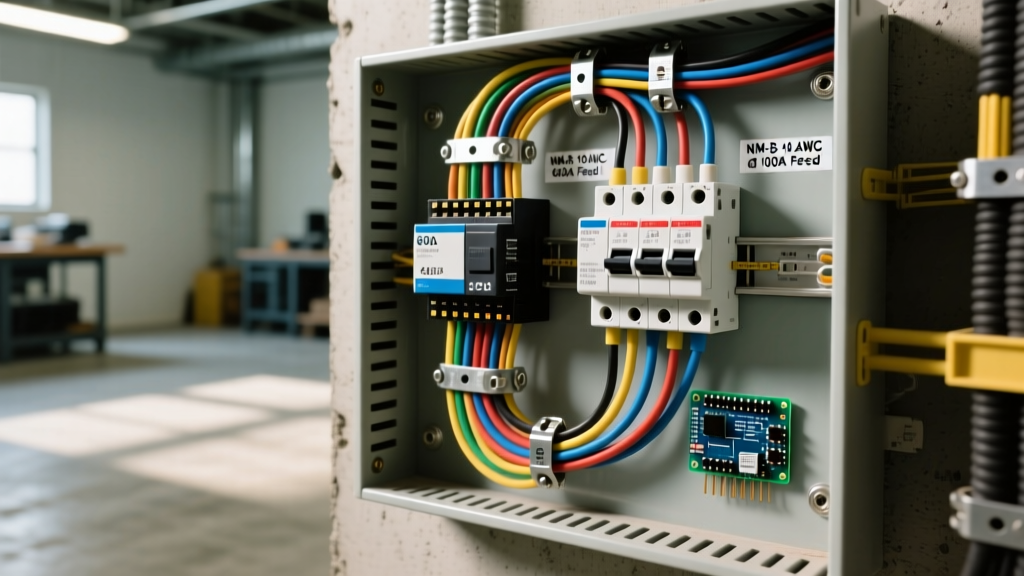
The most fundamental concept to grasp when you learn electrical wiring is ampacity—the maximum amount of electric current a conductor can carry before its insulation begins to melt or degrade. The NEC strictly regulates this in Article 310. Undersized wire paired with an oversized breaker is a leading cause of residential electrical fires.
Standard Residential Wire Gauge Matrix
Below is the standard reference for copper conductors in typical residential branch circuits (based on 60°C/75°C column ratings for NM-B cable):
| AWG Size | Max Ampacity | Standard Breaker | Common Applications |
|---|---|---|---|
| 14 AWG | 15 Amps | 15A | General lighting, bathroom exhaust fans |
| 12 AWG | 20 Amps | 20A | Kitchen small appliances, laundry, standard receptacles |
| 10 AWG | 30 Amps | 30A | Electric water heaters, window AC units, dryers (120V portion) |
| 8 AWG | 40 Amps | 40A | Electric ranges, large HVAC compressors |
| 6 AWG | 55 Amps | 50A | Electric vehicle (EV) chargers, subpanels, tankless water heaters |
Pro Tip: While 14 AWG is permitted for 15A lighting circuits, many professional electricians exclusively use 12 AWG (like Southwire Romex SIMpull 12/2 NM-B) for all general-purpose branch circuits to minimize voltage drop and allow for future circuit upgrades without rewiring.
Essential NEC Rules Every Beginner Must Memorize
When studying how to learn electrical wiring, certain NEC articles appear in almost every residential project. Memorizing these will save you from costly tear-downs and rework.
1. The 6/12 Foot Receptacle Spacing Rule (NEC 210.52)
The NEC mandates that no point along the floor line in any wall space can be more than 6 feet from a receptacle. Because a standard lamp cord is 6 feet long, this effectively requires that receptacles be spaced no more than 12 feet apart. Furthermore, any wall space wider than 24 inches requires its own dedicated outlet.
2. Box Fill Calculations (NEC Article 314)
Overcrowding wires inside a junction or device box generates excessive heat. You must calculate box fill based on the volume of the box and the size of the wires. For example, a standard Carlon B114R single-gang plastic nail-on box has a volume of 14 cubic inches. Under NEC 314.16(B), each 12 AWG conductor counts as 2.25 cubic inches. If you exceed the box's cubic inch capacity, you must upgrade to a deeper box (e.g., a 22-cubic-inch Carlon B122R).
3. AFCI and GFCI Protection (NEC 210.8 & 210.12)
- GFCI (Ground Fault Circuit Interrupter): Protects humans from lethal shock by detecting current imbalances as small as 4 to 6 milliamps. Required in wet or damp locations: kitchens, bathrooms, garages, outdoors, crawlspaces, and laundry areas.
- AFCI (Arc Fault Circuit Interrupter): Protects property from fires by detecting dangerous electrical arcs (sparks) caused by damaged wires or loose connections. Required in almost all living spaces, including bedrooms, living rooms, hallways, and closets.
Breaker Technology: Choosing the Right Protection
Modern electrical panels utilize advanced breakers to meet the NEC's stringent protection requirements. Here is a comparison of the primary breaker types you will encounter:
| Breaker Type | Primary Function | Typical Cost (2026) | Best Application |
|---|---|---|---|
| Standard Thermal-Magnetic | Overcurrent & Short Circuit | $5 - $10 | Garages (non-receptacle loads), subpanel feeders |
| GFCI Breaker | Shock Protection | $45 - $60 | Hot tubs, outdoor receptacles, sump pumps |
| AFCI Breaker | Fire/Arc Protection | $35 - $50 | Bedrooms, living rooms, home offices |
| Dual Function (DF) | Shock + Arc Protection | $55 - $75 | Kitchens, laundry rooms (code requires both GFCI and AFCI) |
Grounding vs. Bonding: Clearing the Confusion
A major stumbling block when beginners learn electrical wiring is confusing grounding with bonding. According to OSHA electrical safety guidelines and NEC Article 250, they are distinct but complementary concepts:
Grounding connects the electrical system to the earth (via ground rods or Ufer grounds) to dissipate lightning strikes and stabilize voltage during utility surges.
Bonding connects all non-current-carrying metal parts (like metal junction boxes, appliance chassis, and conduit) together to create a low-impedance path back to the panel. If a hot wire touches a metal box, bonding ensures the breaker trips instantly, rather than leaving the box energized and lethal to touch.
Never use the earth as a substitute for an equipment grounding conductor (EGC). The bare copper wire in your NM-B cable is a bonding/grounding wire designed to clear faults by tripping the breaker, not just to dump current into the dirt.
Practical Steps: Executing Your First Safe Splice
When practicing your skills, the quality of your wire splices dictates the longevity of the circuit. While traditional twist-on wire nuts (like Ideal 341 Yellow) are common, they require significant torque and technique to ensure a gas-tight connection. For DIYers learning the trade, Wago 221 Series Lever Nuts are highly recommended.
Step-by-Step Wago 221 Splicing Guide
- Strip the Wire: Use a precision stripper like the Klein Tools 11055. Strip exactly 11mm (7/16 inch) of insulation from 12 or 14 AWG solid copper wire. Do not nick the copper.
- Inspect the Conductor: Ensure no bare copper is exposed beyond the splice point, which could cause a short inside the box.
- Engage the Lever: Flip the orange lever on the Wago 221 connector up to a 90-degree angle.
- Insert and Lock: Push the stripped wire fully into the terminal until it hits the back stop. Snap the lever down.
- Verify: Gently tug on each wire to confirm mechanical lock. Use the built-in test port on the Wago connector to verify voltage with a Fluke 2AC VoltAlert before energizing the circuit.
When to Step Back and Call a Professional
While learning electrical wiring empowers you to handle branch circuits, swap receptacles, and install light fixtures, certain tasks require the expertise of a licensed electrician and formal permits. According to the Electrical Training Alliance, working inside the main service panel, upgrading service amperage (e.g., 100A to 200A), or installing 240V heavy appliance circuits involves lethal arc flash hazards and complex utility coordination. Always defer to local municipal codes, pull required permits, and prioritize safety over DIY pride.