
Introduction to Residential Switch Wiring
Wiring electrical switches is a foundational skill for any home DIYer, remodeler, or apprentice electrician. Whether you are replacing a cracked single-pole toggle in an older home or upgrading to a Wi-Fi-enabled smart switch in a modern renovation, understanding the flow of current, the physical mechanics of termination, and the latest safety codes is critical. According to the Electrical Safety Foundation International (ESFI), electrical receptacles, switches, and lighting fixtures are involved in thousands of residential fires annually, often stemming from improper terminations or overloaded circuits.
In this comprehensive guide, we move beyond basic theory to provide actionable, field-tested procedures for wiring electrical switches safely, efficiently, and up to modern code standards.
The Anatomy of Residential Switch Circuits
Before stripping any wire, you must understand the roles of the conductors inside your electrical box. A standard residential lighting circuit operates on 120 volts and utilizes three primary types of wires:
- Hot (Line): Usually black (or red), this wire brings continuous 120V power from the breaker panel to the switch.
- Switched Hot (Load): This wire carries power from the switch to the light fixture only when the switch is in the 'ON' position.
- Neutral: Usually white, this completes the circuit back to the panel. Note: Standard single-pole switches do not connect to the neutral wire; the neutrals are typically bundled together in the back of the box with a wire nut.
- Ground: Bare copper or green insulated, this provides a safe path for fault currents.
Essential Tools and 2026 Material Costs
Using the right tools prevents damaged conductors and loose connections. Below is a breakdown of professional-grade tools and standard material costs for a typical switch replacement project.
| Category | Recommended Model / Type | Average Cost (2026) |
|---|---|---|
| Non-Contact Voltage Tester | Klein Tools NCVT-4IR (Dual-Range) | $35.00 - $42.00 |
| Wire Strippers | Klein Tools 11055 (14-24 AWG) | $28.00 - $34.00 |
| Standard Single-Pole Switch | Leviton Decora 5601-2W (15A) | $3.50 - $5.50 |
| Commercial Grade Switch | Leviton 5262-W (20A, Heavy Duty) | $8.00 - $12.00 |
| Smart Switch (Wi-Fi) | Kasa Smart KS200M (Requires Neutral) | $25.00 - $35.00 |
| Premium Dimmer | Lutron Diva LED+ DVCL-153P | $28.00 - $38.00 |
Step-by-Step: Wiring a Standard Single-Pole Switch
The single-pole switch is the most common configuration in residential wiring, controlling a light from one location. Follow these precise steps for a secure, code-compliant installation.
- Kill the Power and Verify: Turn off the corresponding 15A or 20A breaker at the main panel. Test the wires inside the box using a non-contact voltage tester. Always test the tester on a known live source first to ensure the battery isn't dead.
- Remove the Old Switch: Unscrew the wall plate and the two mounting screws holding the switch to the box. Gently pull the switch out, taking note of which wire is connected to which terminal.
- Prepare the Conductors: If the old wires are damaged or have old screw impressions, cut them back. Using your wire strippers, strip exactly 3/4 inch of insulation. Pro Tip: Stripping too little leaves exposed copper outside the terminal; stripping too much leaves bare wire exposed outside the switch body, creating a shock hazard.
- Form the J-Hook: Use needle-nose pliers to bend the bare copper into a tight 'J' shape or hook.
- Terminate with the Screw: Hook the wire around the terminal screw clockwise. This ensures that as you tighten the screw, the loop is pulled tighter rather than pushed out. Tighten the screw firmly (roughly 14 inch-pounds of torque for 14 AWG solid copper).
- Connect the Ground: Attach the bare copper or green ground wire to the green grounding screw on the switch. If you are working with a metal electrical box, you must also run a ground pigtail from the switch to the grounding clip or screw inside the metal box.
- Secure and Test: Carefully fold the wires back into the box, mount the switch, and attach the wall plate. Restore power and test the fixture.
Critical Warning: Avoid 'Backstabbing'
Many modern residential switches feature push-in 'backstab' connectors on the rear. While the NEC permits them for 14 AWG wire, professional electricians universally avoid them. These spring-loaded internal contacts degrade over time due to thermal expansion and contraction, leading to high-resistance connections, arcing, and eventual failure. Always use the side screw terminals or the internal screw-clamp plates for a permanent mechanical connection.
Tackling 3-Way Switch Configurations
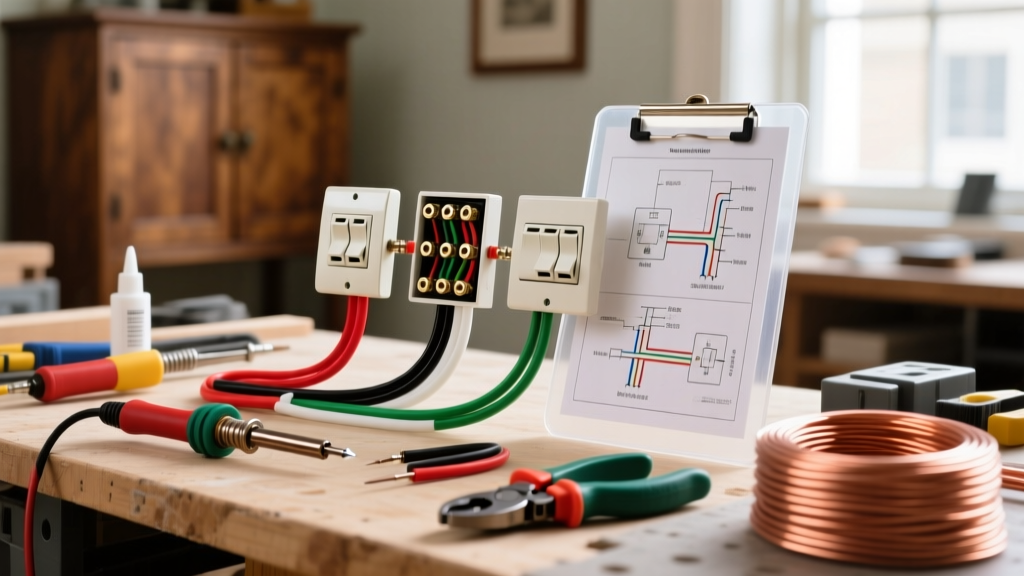
When a light is controlled from two different locations (e.g., the top and bottom of a staircase), you need a 3-way switch setup. Wiring electrical switches in a 3-way configuration requires an understanding of 'traveler' wires.
Identifying the Terminals
A 3-way switch has three terminal screws (excluding the ground):
- Common Terminal (Dark/Black Screw): This connects to either the Line (power source) on one switch, or the Load (light fixture) on the other switch.
- Traveler Terminals (Brass/Light Screws): These two screws connect to the traveler wires (usually red and black, or two wires from a 14/3 or 12/3 Romex cable) that run between the two switch boxes.
Failure Mode: The most common DIY mistake in 3-way wiring is confusing the common terminal with a traveler. If your light only turns on when the other switch is in a specific position, you have likely swapped the common wire with a traveler wire.
Smart Switches and NEC Neutral Wire Requirements
The integration of smart home technology has fundamentally changed how we approach switch wiring. According to the National Electrical Code (NEC), specifically Article 404.2(A), a grounded (neutral) conductor is now required at nearly all switch locations controlling lighting loads. This was implemented to accommodate smart switches, timers, and occupancy sensors that require continuous standby power.
Dealing with Older Homes (Pre-1985)
In older homes, electricians often used a 'switch loop,' where only a 2-wire cable (hot and switched hot) was run to the switch box, leaving no neutral. If you are installing a smart switch like the Kasa KS200M or a Lutron Caseta in an older home, you have two choices:
- Pull a New Cable: Replace the 2-wire cable with a 3-wire cable (14/3 or 12/3) to bring a true neutral down to the switch box. This is the most code-compliant and future-proof method.
- Use a 'No-Neutral' Switch: Devices like the Lutron Caseta PD-6ANS are engineered to trickle a tiny amount of current through the LED bulb itself to maintain their internal Wi-Fi/Zigbee radios. While convenient, they can sometimes cause low-wattage LEDs to flicker or 'ghost' (glow faintly when off).
For deeper insights into energy-efficient lighting controls and smart home integrations, the U.S. Department of Energy provides excellent guidelines on maximizing efficiency with automated switching.
Pro Troubleshooting Matrix
When wiring electrical switches, things don't always go perfectly. Use this matrix to diagnose common post-installation issues.
| Symptom | Probable Cause | Expert Fix |
|---|---|---|
| Lights flicker when the switch plate is bumped. | Loose backstabbed connection or wire nut vibration. | Move wires to side-screw terminals; ensure wire nuts are twisted tightly with no bare copper showing. |
| Switch plate feels warm or hot to the touch. | Overloaded circuit or internal switch contact degradation. | Verify breaker amperage. If on a 20A breaker, the switch MUST be rated for 20A. Replace 15A switch with a 20A commercial model. |
| LED bulbs glow faintly when the switch is OFF. | Smart switch leakage current or illuminated toggle switch. | Install an Lutron LUT-MLC bypass capacitor at the light fixture, or switch to a standard non-illuminated mechanical toggle. |
| Breaker trips immediately upon flipping the switch. | Dead short (Hot touching Ground or Neutral). | Inspect the box for pinched wires. Ensure ground wires aren't accidentally touching the brass/hot terminal screws on the side of the switch. |
Final Safety and Code Reminders
Before closing up any wall plate, perform a visual inspection. Ensure no bare copper is exposed outside the terminal screws, all wire nuts are secure, and the ground wires are neatly folded at the back of the box. If you are working with 12 AWG wire on a 20A circuit, ensure your wire strippers and terminal screws are rated for the thicker gauge. Mastering the art of wiring electrical switches not only saves you thousands in contractor fees but ensures your home's electrical infrastructure remains safe, reliable, and up to code for decades to come.