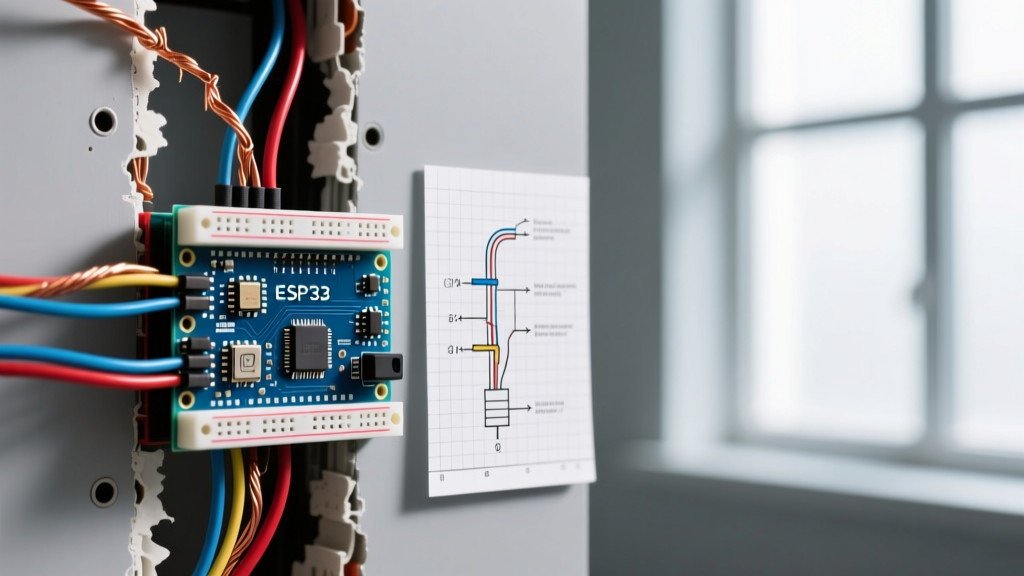

The Hidden Dangers of Exposed Electrical Wiring
Finding bare, uncapped, or frayed wires in your basement, attic, or behind a removed fixture is a jarring experience. Exposed electrical wiring is not merely a cosmetic flaw or a minor code violation; it is a critical life-safety hazard. According to the National Fire Protection Association (NFPA), electrical failures or malfunctions are involved in roughly 46,000 home fires annually, resulting in hundreds of fatalities and over a billion dollars in direct property damage. When copper or aluminum conductors are left exposed to the elements, humidity, and physical contact, the risk of arc faults and lethal electrocution increases exponentially.
Safety Warning: Never assume a wire is dead simply because it is disconnected from a fixture. Always verify the absence of voltage before touching any conductor. The Occupational Safety and Health Administration (OSHA) mandates strict lockout/tagout and verification procedures for professionals; homeowners must adopt the same rigorous verification habits.
Primary Failure Modes and Edge Cases
Why exactly is exposed electrical wiring so dangerous? The risks go far beyond simply touching a live wire. The most common failure modes include:
- Oxidation and Corrosion: Bare copper reacts with oxygen and ambient moisture, forming copper oxide. This increases electrical resistance at the connection point, leading to localized heating and eventual thermal runaway.
- Arc Tracking: If exposed wires are close to one another or resting on a slightly conductive surface (like dusty drywall or damp wood), electricity can 'track' across the surface, creating a sustained, high-temperature arc fault that easily ignites surrounding materials.
- Mechanical Stress and Fatigue: Wires without the physical protection of a junction box or conduit are vulnerable to accidental impacts, rodent damage, and vibration, which can sever strands or compromise the remaining insulation.
- Capacitive Coupling and Ghost Voltages: Long runs of exposed, disconnected wire can act as antennas, picking up induced voltages from adjacent live cables, creating confusing and potentially dangerous shock hazards.
NEC Code Requirements for Bare Wire Containment
The National Electrical Code (NEC) is unequivocal regarding exposed conductors. Under NEC Article 110.14 (Electrical Connections), all splices and terminations must be made with identified means (like listed wire connectors) and must be accessible. Furthermore, NEC Article 300.15 (Boxes or Fittings Where Required) dictates that a box or terminal fitting must be installed at every conductor splice point, outlet, switch, junction, or pull point. You cannot simply twist two wires together, wrap them in tape, and leave them dangling in a wall cavity or ceiling joist bay. The Consumer Product Safety Commission (CPSC) regularly flags unenclosed splices as a primary cause of residential electrical fires during property investigations.
Connector Comparison: Choosing the Right Cap
When remediating exposed electrical wiring, selecting the correct termination method is critical. While traditional twist-on wire nuts have been the standard for decades, modern connector technology offers superior safety margins, especially for DIYers. Below is a comparison of the three most common termination methods available in 2026.
| Connector Type | Popular Model | Avg Cost (2026) | Pros | Cons & Failure Risks |
|---|---|---|---|---|
| Twist-On (Wire Nut) | Ideal Industries 73B (Yellow) | $0.12 / ea | Cheap, widely available, familiar to most. | Requires specific torque; high failure rate if undersized or over-torqued; can vibrate loose over time. |
| Lever Nut | WAGO 221-413 (3-Conductor) | $0.65 / ea | Tool-free, visual confirmation of wire insertion, handles stranded and solid wire perfectly. | Higher upfront cost; takes up slightly more physical space in crowded boxes. |
| Push-In (In-Sure) | TE Connectivity / 3M Scotchlok | $0.35 / ea | Very fast installation, compact footprint. | Solid wire only (no stranded); extremely difficult to remove without damaging the conductor; no visual verification. |
Expert Recommendation: For repairing exposed electrical wiring, the WAGO 221 Series Lever Nuts are the undisputed best practice. The transparent housing allows you to visually confirm the wire is fully seated, and the lever mechanism provides a constant, gas-tight clamping force that will not loosen due to thermal expansion and contraction cycles.
Step-by-Step Remediation: From Hazard to Code-Compliant
If you discover exposed electrical wiring during a remodel or inspection, follow this precise workflow to neutralize the hazard and bring the circuit up to modern safety standards.
Step 1: Isolate and Verify the Circuit
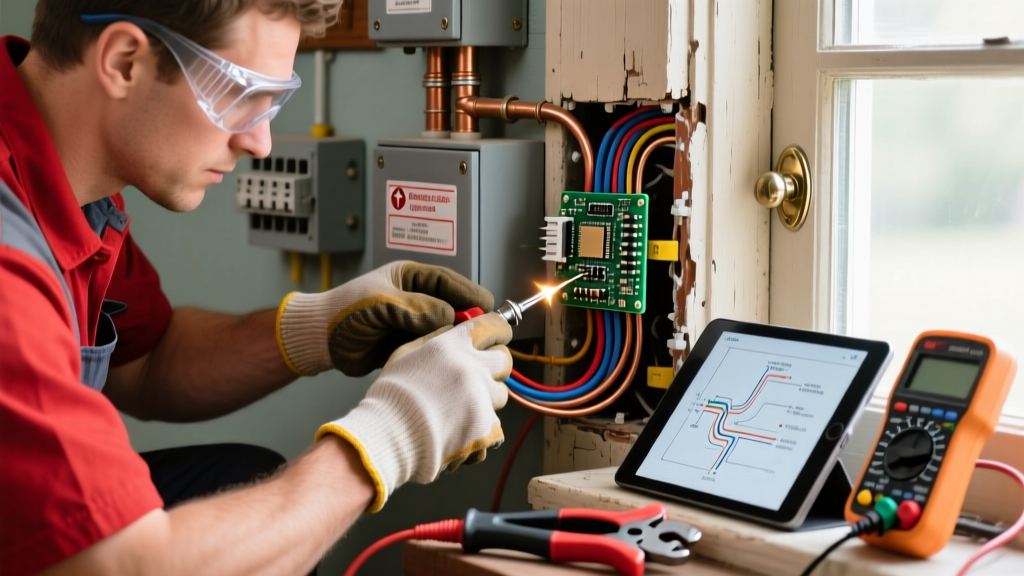
Locate the correct breaker in your main panel and switch it to the OFF position. Use a high-quality non-contact voltage tester (NCVT), such as the Klein Tools NCVT-3 (approx. $35), to test the exposed wires. Test the NCVT on a known live source first to ensure the tool's battery is functional, then test the exposed wire, and finally test the known live source again. This 'Live-Dead-Live' testing protocol is a mandatory safety best practice.
Step 2: Assess and Strip the Insulation
Examine the existing insulation. If the wire jacket is brittle, cracked, or shows signs of heat damage (discoloration or melting), you must cut back the wire to a point where the insulation is pristine. Use a precision wire stripper like the Klein Tools 11063W Katapult (approx. $28) to strip exactly 11mm (7/16 inch) of insulation from the conductor. Stripping too little results in insulation being clamped inside the connector (causing an open circuit); stripping too much leaves bare copper exposed outside the connector.
Step 3: Terminate with a Listed Connector
Insert the stripped wire into a WAGO 221 lever nut. If you are capping a single wire to safely abandon it in a box, use a WAGO 221-412 (2-port) or a specific wire cap like the Ideal Industries Power Plug. Push the wire firmly against the stop, then flip the orange lever down until it clicks. Give the wire a firm tug to ensure it is mechanically locked.
Step 4: Enclose in a Listed Junction Box
NEC Article 300.15 requires all splices and terminations to be enclosed. If the exposed wire is dangling in a joist bay, install a remodel junction box, such as the Arlington Industries BE101 non-metallic old-work box (approx. $1.50). Secure the cable to the box using an internal cable clamp to prevent strain on the WAGO connectors. The box cover must remain permanently accessible; you cannot drywall or panel over a junction box.
When to Call a Licensed Electrician
While capping a few exposed wires in an accessible attic is a manageable DIY task, certain scenarios demand professional intervention. If your exposed electrical wiring involves aluminum branch circuits (common in homes built between 1965 and 1973), standard copper-rated connectors can cause galvanic corrosion and catastrophic fires. You must use CO/ALR rated devices or have an electrician perform COPALUM or Alumiconn pigtailing repairs. Additionally, if you discover exposed knob-and-tube wiring, scorch marks on the surrounding wood, or a persistent burning ozone smell, evacuate the area and call a licensed professional immediately. A professional remediation service call typically ranges from $150 to $250 for the first hour, a small price to pay for guaranteed life-safety compliance.
Frequently Asked Questions
Is electrical tape a permanent fix for exposed wiring?
No. Electrical tape (even high-quality 3M Super 33+) is designed for insulating the outer jacket of a wire, not for terminating live conductors. The adhesive degrades over time, especially in hot attics or near warm fixtures, causing the tape to unspool and expose the live copper. Tape should never be used as a substitute for a mechanical wire connector and a junction box.
Can I use heat shrink tubing to seal exposed wires?
Adhesive-lined marine-grade heat shrink (like 3M MDT series) is excellent for low-voltage inline splices or repairing damaged outer cable jackets. However, it is not a recognized termination method for capping live 120V/240V AC branch circuit wires inside a junction box. You must use a listed mechanical connector (UL 486B or UL 486C).
What if the exposed wire is too short to reach a junction box?
NEC Article 300.14 requires at least 6 inches of free conductor to be left at each outlet or switch box for splicing. If an exposed wire is cut too short to reach a box or connector, you cannot simply stretch it. An electrician will need to splice a 'pigtail' extension using a WAGO lever nut inside an accessible junction box, or replace the entire cable run back to the previous junction point.