Earthing solar panels requires two distinct, non-negotiable actions: bonding all exposed non-current-carrying metal (rails, panel frames, inverter chassis) together with an Equipment Grounding Conductor (EGC), and grounding that bonded network to a physical Grounding Electrode System (GES) like a copper-clad ground rod. This dual-path setup prevents lethal DC shock hazards from ground faults and shunts lightning-induced transients safely into the earth. If you are designing or inspecting a photovoltaic (PV) array, the exact wire sizes, lug types, and testing thresholds detailed below are your baseline for a safe, code-compliant installation.
The Hazards of Skipping Solar Array Earthing
A modern residential solar string can easily operate at 400V to 600V DC. If a DC+ conductor chafes against an ungrounded aluminum mounting rail due to wind vibration or poor wire management, the entire rail system becomes energized at line voltage. Because the aluminum rails are mounted to the roof and the house, touching the rail while standing on a ladder or the ground completes the circuit through your body. This is a lethal DC shock hazard, made worse by the fact that DC arcs do not self-extinguish at zero-crossings like AC does.
An ungrounded PV array experiencing a ground fault will not trip the DC overcurrent protective device (OCPD) because there is no low-impedance path back to the source. The fault point will simply arc, generating extreme heat that ignites roofing materials. Proper earthing ensures the fault current is high enough to instantly trip the breaker or blow the fuse.
Beyond human shock hazards, ungrounded arrays act as massive antennas for lightning-induced electromagnetic pulses (EMPs). Even a strike a mile away can induce thousands of volts of transient surge on ungrounded metal frames, instantly destroying your microinverters, string inverter, and downstream home electronics.
Ground vs. Bond vs. Neutral: The Solar Distinctions
Misusing these terms on a jobsite leads to dangerous wiring errors. Here is how they apply specifically to PV systems:
- Grounding (Earthing): The physical connection to the earth (dirt). In solar, this is the Grounding Electrode Conductor (GEC) running from your inverter or grounding busbar down to a ground rod or the home's main grounding electrode system.
- Bonding: The metallic pathway that connects all exposed metal parts together to ensure they share the same electrical potential. The Equipment Grounding Conductor (EGC) bonds the panel frames to the rails, and the rails to the inverter chassis.
- Neutral: The grounded, current-carrying conductor on the AC side of your system. Never bond the DC negative conductor to the AC neutral, and never use the AC neutral as a bonding jumper for DC equipment.
Sizing Your Equipment Grounding Conductors (EGC)
Solar arrays require robust bonding conductors. While NEC Article 690 governs PV systems, the minimum sizes for your equipment grounding conductors are dictated by the rating of the overcurrent device protecting the circuit, per NEC Table 250.122. Note that if your solar array uses a ground-fault protection device (GFPD) rated at 30A, your EGC must be sized for 30A, regardless of the actual operating current of the string.
| OCPD Rating (Amps) | Copper EGC (AWG) | Aluminum EGC (AWG) | Typical Solar Application |
|---|---|---|---|
| 15A - 20A | 12 AWG | 10 AWG | Single microinverter branch circuits |
| 30A | 10 AWG | 8 AWG | Standard residential DC string inputs (GFPD rated) |
| 60A | 10 AWG | 8 AWG | Small commercial string inverters, AC combiner outputs |
| 100A | 8 AWG | 6 AWG | Large residential / small commercial 3-phase inverters |
| 200A | 6 AWG | 4 AWG | Commercial rooftop inverter AC output feeders |
| 400A | 3 AWG | 1 AWG | Utility-scale or large multi-inverter combiner outputs |
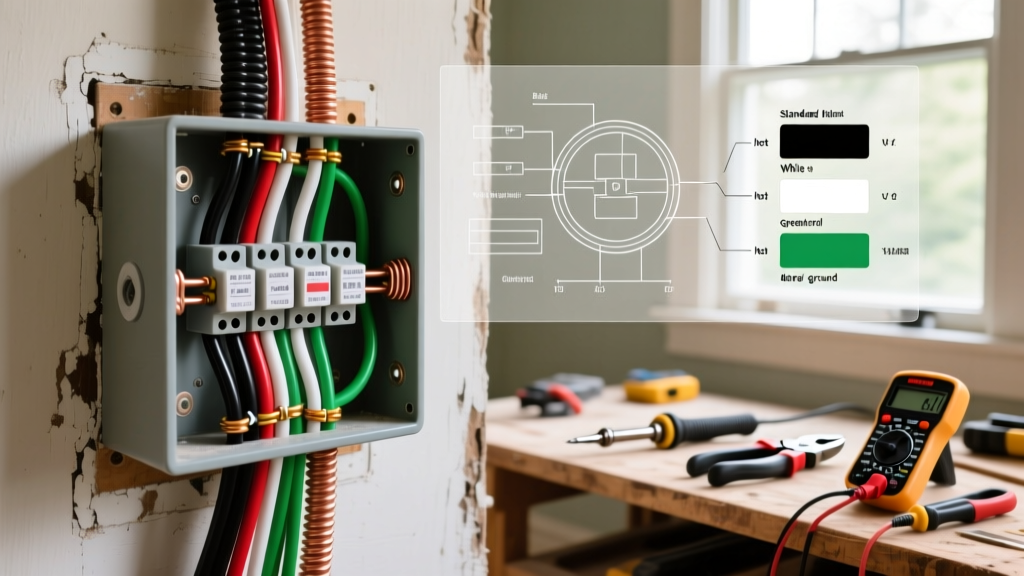
Pro-Tip: Always use insulated green or green-with-yellow-stripe THHN/THWN-2 wire for your EGC inside conduit. While bare copper is legally permitted for equipment grounding in many jurisdictions, insulated wire prevents accidental contact with live DC conductors inside crowded inverter combiner boxes and makes troubleshooting vastly easier.
Step-by-Step Verification: Testing Your Solar Earth Connection
Assuming your array is installed, you must verify both the bonding (metal-to-metal continuity) and the grounding (connection to earth). Do not rely on visual inspection alone; anodized aluminum rails are non-conductive unless specific bonding hardware is used.
Phase 1: Verifying the Equipment Bond (Continuity Test)
You need a digital multimeter (DMM) capable of measuring low resistance. Set the DMM to the continuity or lowest ohms (Ω) setting.
- De-energize the system: Turn off the DC disconnect and the AC backfed breaker. Verify zero voltage at the inverter terminals.
- Test Point A to B: Place one probe on the aluminum frame of the solar panel at the furthest corner of the array. Place the second probe on the bare metal chassis of the inverter or the main grounding busbar.
- Read the Value: You must read less than 1.0 ohm. If you read infinite resistance (OL) or a high value, your bonding path is broken. This usually means a missing WEEB (Washer, Electrical Equipment Bond) washer, a painted surface under a grounding lug, or a loose lay-in lug on the rail.
- Check the Mid-Clamps: Verify continuity between adjacent solar panel frames. If you are using mid-clamps that do not have integrated bonding pins, you must run a separate bonding jumper wire across every panel gap.
Phase 2: Verifying the Earth Connection (Resistance Test)
To verify the actual connection to the dirt, you need to measure ground resistance. According to NREL installation best practices and NEC 250.56, the target resistance to earth must be 25 ohms or less.
- Use a Ground Resistance Tester: A standard multimeter cannot measure earth resistance accurately. You need a dedicated 3-point fall-of-potential ground tester or a clamp-on ground resistance tester.
- Clamp-On Method (Easiest for Grid-Tied): If your solar grounding electrode is bonded to the main home service ground, clamp the tester around the Grounding Electrode Conductor (GEC). It will measure the loop resistance of the entire grounding system. It should read < 25 Ω.
- Fall-of-Potential Method (Standalone Arrays): For off-grid or standalone arrays with their own ground rod, drive two temporary test spikes into the earth in a straight line away from the main ground rod (at 50 ft and 100 ft). Connect the tester and run the measurement. If the reading exceeds 25 ohms, you must drive a second ground rod at least 6 feet away and bond them together, or use a ground enhancement material (GEM) like bentonite clay around the rod.
When to Call a Licensed Electrician & Code Caveats
While DIY solar enthusiasts can handle the physical mounting of panels and running DC conductors, the grounding and bonding interface with the home's electrical system crosses into highly regulated territory. The National Electrical Code (NEC) provides the framework, but your local Authority Having Jurisdiction (AHJ) has the final legal say on what passes inspection.
- Upgrading the Grounding Electrode System (GES): If your home's existing ground rod or ufer ground is degraded, missing, or measures > 25 ohms, replacing or supplementing the main service entrance grounding requires a licensed professional.
- Tying into the Main Service Panel: Connecting the solar GEC to the main panel's grounding busbar, or installing a new grounding busbar if one is missing, involves working inside the service entrance where the utility's unfused, high-fault-current conductors live.
- AC Grid-Tie Connections: Any work involving the AC neutral, the backfed breaker, or the rapid shutdown initiator wiring requires an electrician to ensure compliance with NEC Article 690 and local interconnection agreements.
Always consult your local building department before trenching for ground rods or modifying your main panel. For comprehensive safety standards regarding electrical work environments, refer to OSHA's electrical safety guidelines, which mandate strict lockout/tagout (LOTO) procedures whenever you are testing continuity on systems tied to the grid.