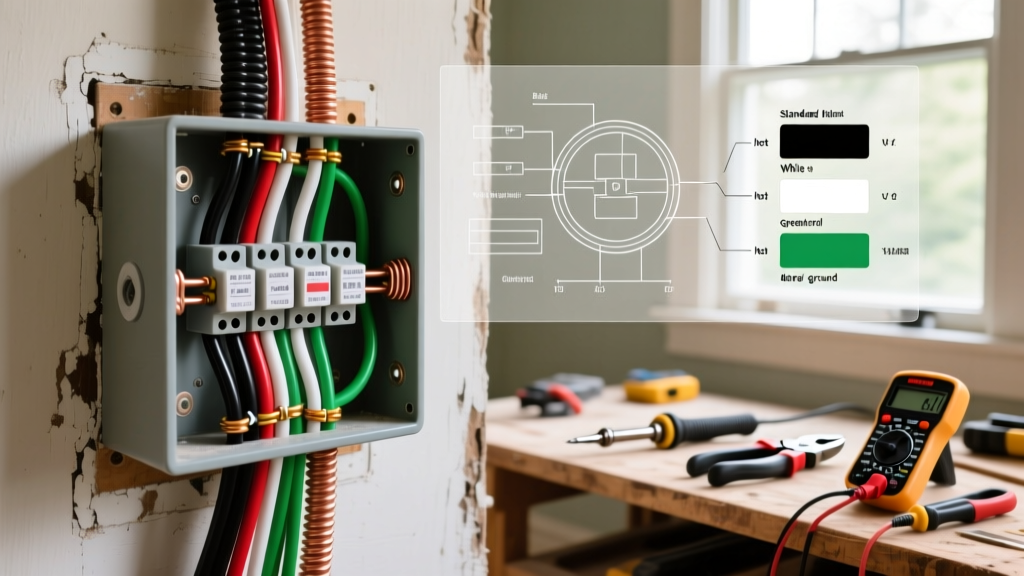

The Shock of the Unknown: Why Legacy Wire Colors Derail Renovations
Opening up a wall in a mid-century home often reveals a chaotic timeline of electrical upgrades. As a renovator, your initial demolition phase might expose original 1950s cloth-sheathed cables spliced haphazardly into modern 2026 NM-B (Romex) lines. When planning a remodel, understanding electrical wiring wire colors is not just about code compliance; it is a critical safety measure that directly impacts your project timeline, budget, and the physical safety of your crew.
The National Electrical Code (NEC) has evolved significantly over the decades. While modern standards are rigid, legacy homes are filled with grandfathered systems, improvised switch loops, and faded insulation. Misinterpreting a faded white wire as a neutral when it is actually a 120V hot feed from a switch loop can result in severe arc flashes or fatal shocks. This guide provides a comprehensive framework for decoding wire colors across different eras of residential construction, allowing you to plan your electrical rough-in and finish phases with precision.
The Modern Baseline: Standard NEC Wire Color Codes
Before assessing legacy wiring, you must have a firm grasp of the current baseline. For any new circuits added during your 2026 renovation, strict adherence to NEC Article 200 (Neutrals), Article 210 (Branch Circuits), and Article 250 (Grounding) is mandatory. Modern non-metallic (NM) sheathed cables use standardized color coding to indicate their function and amperage capacity.
| Wire Color | Function | NEC Reference | Common Cable Type |
|---|---|---|---|
| Black | Hot (Line/Load) | NEC 210.4 | 14/2, 12/2, 10/2 NM-B |
| Red | Secondary Hot / Traveler | NEC 210.4 | 14/3, 12/3 NM-B |
| Blue / Yellow | Travelers / Switched Hots | NEC 310.12 | THHN in Conduit |
| White | Grounded Conductor (Neutral) | NEC 200.2 | All standard NM-B |
| Gray | Neutral (277V Commercial) | NEC 200.2 | Commercial Conduit |
| Green / Bare | Equipment Grounding Conductor | NEC 250.118 | All standard NM-B |
According to the National Fire Protection Association (NFPA), the NEC mandates that grounded conductors (neutrals) must be white or gray, and grounding conductors must be green, green with yellow stripes, or bare. Any deviation from this in new work will fail inspection immediately.
Time Travel: Decoding Electrical Wiring Wire Colors by Era
The true challenge in renovation planning is dealing with the wiring already inside the walls. Here is how to interpret the color codes based on the era of the home you are remodeling.
Pre-1950s: Knob, Tube, and Early Cloth
In homes built before 1950, you will likely encounter knob-and-tube wiring or early rubber-insulated cloth cables. These systems rarely featured color coding. Both the hot and neutral wires were often covered in identical black or white cotton braid. Over decades, the white cloth turns brown or gray due to heat and dust accumulation. Renovation Action: Never assume polarity in pre-1950s homes. You must use a reliable True-RMS multimeter, such as the Fluke 117 (approx. $190), to test between the wire and a known ground. Furthermore, knob-and-tube lacks a ground wire entirely and cannot be extended; it must be completely replaced during a modern gut renovation.
1950s to 1970s: Early NM Cable and the Aluminum Era
During the mid-century boom, early versions of Romex were introduced. You may find 2-wire cables where both the hot and neutral wires are white, with the hot wire featuring a black tracer stripe. Alternatively, you might find cables where both wires are black.
More dangerously, the late 1960s and 1970s saw the widespread use of solid aluminum branch circuit wiring due to copper shortages. Aluminum wire is often coated in a white or gray compound and may have a dull, silver appearance when stripped. The Consumer Product Safety Commission (CPSC) warns that aluminum wiring expands and contracts differently than copper, leading to loose connections, oxidation, and severe fire hazards at receptacles and switches.
Renovation Action: If your renovation uncovers aluminum wiring, budget for remediation. Complete replacement is ideal but costly ($15 to $25 per linear foot in 2026). A code-compliant alternative is COPALUM crimping or using AlumiConn 3-port lug connectors (approx. $4.50 each) to pigtail aluminum to copper before terminating at modern devices.
The Renovator is Nightmare: Switch Loops and Travelers
One of the most common failure modes in DIY and poorly planned renovations is the misunderstanding of switch loops and 3-way traveler wires.
White Wires Used as Hot Feeds
Prior to the NEC 2011 update (which required a neutral at every switch box for smart home devices), electricians routinely used 2-wire NM cable to run power from a light fixture down to a switch. The black wire carried the switched hot back up to the light, and the white wire was used as the constant hot feed down to the switch. Under older code, this white wire was supposed to be re-identified with black tape. In reality, electricians often skipped this step. If you disconnect a white wire in an older ceiling box assuming it is a neutral, you may be breaking a live 120V circuit.
3-Way and 4-Way Travelers
When wiring staircases or long hallways, 3-way switches use traveler wires to carry current between switches. In a 12/3 or 14/3 cable, the red and black wires are typically travelers, but the white wire can also be used as a traveler if re-identified. When pulling new conduit for a remodel, THHN wires used as travelers can be any color except white, gray, or green. Blue, yellow, and brown are standard traveler colors in modern conduit runs.
Expert Tip: Always carry a roll of 3M Super 33+ vinyl electrical tape and a heat-shrink kit on your demolition cart. The moment you identify a white wire acting as a hot feed or a traveler, re-identify it at both ends immediately. Do not rely on your memory when the drywall crew arrives the next day.
Multi-Wire Branch Circuits (MWBC): The Hidden Panel Danger
Multi-Wire Branch Circuits use a single 3-wire cable (black, red, white) to supply two separate 120V circuits that share a single neutral wire. The black and red wires must be connected to opposite phases (legs) in the main panel so the currents cancel each other out on the shared neutral. If they are on the same phase, the neutral wire will carry the combined load, overheat, and potentially cause a fire.
During a renovation, a careless worker might remove the handle-tie from a 2-pole breaker to free up space, or move the red wire to a different single-pole breaker without realizing it is part of an MWBC. Renovation Action: Before any demolition begins, open the main panel and map all 3-wire cables. Ensure every MWBC has a listed handle-tie or a common-trip 2-pole breaker, as mandated by NEC 210.4(B). If you are upgrading the panel to a 200-amp service to support modern loads like EV chargers and heat pumps, verify the phase alignment of every existing MWBC before energizing the new panel.
5-Step Renovation Planning Checklist for Wiring Upgrades
To integrate electrical assessments into your renovation timeline, follow this structured planning checklist:
- Pre-Demolition Mapping (Weeks 1-2): Use a non-contact voltage tester (like the Klein Tools NCVT-3, approx. $35) and a circuit tracer to map every outlet and switch. Document the wire colors found at each device. Create a digital spreadsheet linking breaker numbers to specific rooms and wire types.
- Identify Grandfathered Hazards (Week 2): Flag any aluminum wiring, ungrounded 2-prong circuits, or knob-and-tube splices. Consult with a licensed electrical contractor to determine if your local Authority Having Jurisdiction (AHJ) requires these to be brought up to 2026 code during a remodel of this scope.
- Budget for AFCI/GFCI Upgrades (Week 3): Modern code requires Arc-Fault Circuit Interrupter (AFCI) protection for almost all living spaces, and Ground-Fault (GFCI) protection for wet areas. Budget $45 to $65 per AFCI/GFCI breaker, or plan to use dual-function receptacles where the panel cannot accommodate new breakers.
- Plan for Smart Home Neutrals (Week 4): If your renovation includes smart lighting (Lutron Caseta, Leviton Decora), ensure every switch box has a true neutral. If legacy switch loops lack a neutral, budget the time and labor to fish new 14/3 or 12/3 cables from the fixture to the switch box before drywall goes up.
- Final Rough-In Inspection (Week 8): Schedule the AHJ rough-in inspection before any insulation or drywall is installed. Ensure all re-identified wires are taped, all ground wires are properly bonded to metal boxes, and all MWBC handle-ties are installed.
Budgeting for the Unknown
When planning a renovation in a home older than 40 years, always allocate a 15% to 20% contingency fund specifically for electrical remediation. Upgrading a single circuit to meet modern grounding and color-code standards typically costs between $300 and $500. However, if you discover that the main service panel is a recalled Federal Pacific Stab-Lok or Zinsco panel—common in homes from the 1970s and 1980s—a full panel replacement will add $2,500 to $4,500 to your budget. For comprehensive safety standards regarding electrical work environments, refer to the Occupational Safety and Health Administration (OSHA) guidelines on electrical safety and hazard mitigation.
Conclusion
Decoding electrical wiring wire colors in older homes requires a blend of historical knowledge, strict adherence to modern safety codes, and a healthy respect for the unknown. By treating every wire as potentially live until proven otherwise, mapping legacy circuits before demolition, and budgeting for the inevitable code upgrades, you can ensure your renovation is both structurally sound and electrically safe for decades to come.


