
The Foundation: Selecting the Right Trailer Wire Jacket and Conductor
When planning a trailer electrical wiring project, the most critical mistake DIYers make is using standard household THHN or cheap PVC-jacketed automotive wire. Trailers operate in a brutal environment characterized by constant high-frequency vibration, UV exposure, road salt, and extreme temperature swings. To build a harness that survives beyond a single season, you must select materials engineered specifically for mobile, high-stress applications.
PVC (SAE J1128) vs. Cross-Linked Polyethylene (GXL/TXL)
Standard automotive wire is typically insulated with PVC and meets the SAE J1128 standard. While PVC is inexpensive, it maxes out at 105°C and becomes brittle in sub-freezing temperatures, leading to micro-cracks that invite moisture and corrosion. For a reliable trailer build in 2026, the industry standard is GXL (Cross-Linked Polyethylene). GXL wire handles continuous temperatures up to 125°C, features a much thinner but significantly tougher insulation wall, and offers superior abrasion resistance against metal chassis rub-points.
Bare Copper vs. Tinned Copper
Untinned bare copper wire will quickly develop black copper oxide when exposed to the humid, salty undercarriage environment of a trailer. This oxide layer increases resistance and causes voltage drop. Always source tinned copper wire, which complies with marine-grade standards like those outlined by the American Boat & Yacht Council (ABYC). The thin layer of tin prevents oxidation, ensuring the copper remains bright and highly conductive for decades.
Wire Gauge Sizing and Voltage Drop Management
Using undersized wire for trailer brakes is a severe safety hazard. A 25-foot run of 12 AWG wire powering dual-axle electric brakes can suffer a voltage drop of over 2.5 volts under load. This means your rear trailer brakes will engage with significantly less force than your front brakes, causing dangerous sway during panic stops. Use the chart below to size your trailer electrical wiring correctly.
| Circuit Type | Recommended AWG | Max Run (One Way) | Max Amp Draw |
|---|---|---|---|
| Tail, Marker, and Clearance Lights | 16 AWG | 25 ft | 5A |
| Turn Signals and Brake Lights | 14 AWG | 20 ft | 8A |
| Electric Trailer Brakes (Single Axle) | 12 AWG | 20 ft | 12A |
| Electric Trailer Brakes (Tandem/Tri-Axle) | 10 AWG | 30 ft | 18A |
| 12V Auxiliary Power / Breakaway Battery | 10 AWG | 25 ft | 20A |
| Dedicated Main Ground | 10 AWG (or 8 AWG) | Full Length | 30A+ |
Pro Tip: Never rely on the trailer's steel frame or hitch ball for the main ground circuit. Pivot points, hinges, and rust create massive resistance. Always run a dedicated 10 AWG white ground wire from the 7-way plug directly to a centralized, sealed ground bus bar on the trailer chassis.
Connectors and Terminals: Beating Corrosion and Vibration
The connection points are where 90% of trailer wiring failures occur. Standard vinyl-insulated crimp connectors will eventually crack, wick moisture via capillary action, and corrode the wire from the inside out.
Adhesive-Lined Heat Shrink Terminals
You must use dual-wall, adhesive-lined heat shrink terminals. When heated, the inner layer of hot-melt adhesive flows into the wire strands and the terminal barrel, creating a 100% waterproof, strain-relieved seal. Top-tier brands for 2026 include Ancor Marine Grade and Molex Perma-Seal. Expect to pay between $0.60 and $1.20 per terminal, a necessary premium over $0.10 vinyl crimps.
Dielectric Grease and Anti-Corrosion Sprays
For plug-in connectors (like the 7-way RV blade plug), apply a generous amount of Permatex 22058 Dielectric Tune-Up Grease to the pins. This displaces moisture and prevents galvanic corrosion between dissimilar metals (like brass pins and copper wire). For exposed chassis grounding ring terminals, coat the finished connection with CRC Heavy Duty Corrosion Inhibitor to seal it against road salt.
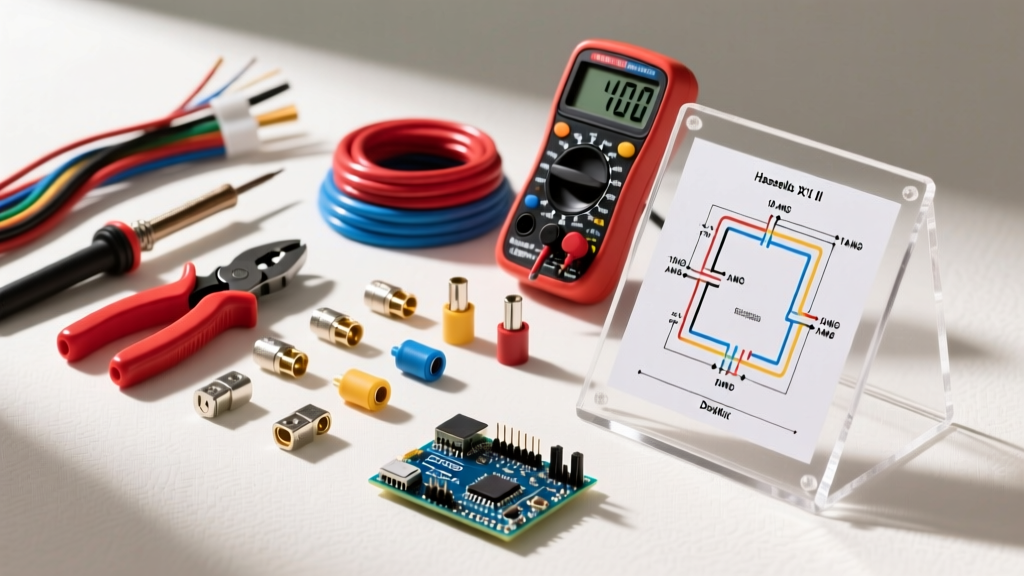
Essential Tools for Professional-Grade Trailer Wiring
Proper materials are useless if the mechanical connection is flawed. A hand-crimped terminal that is under-compressed will arc and melt; an over-compressed terminal will cut the copper strands, reducing the effective wire gauge.
- Ratcheting Crimping Tool: The IWISS IWS-3220M (approx. $45 in 2026) is a ratcheting crimper specifically designed for insulated heat-shrink terminals. The ratchet mechanism ensures the terminal is compressed to the exact manufacturer specification before the jaws release, guaranteeing a gas-tight crimp every time.
- Precision Wire Strippers: Avoid cheap plier-style strippers that nick the copper. Use a self-adjusting stripper like the Titan 11240 or the Jonard JST-1942 ($25-$35). Nicking tinned copper wire compromises the tin coating and creates a stress-fracture point that will snap under road vibration.
- Cordless Heat Gun: A standard plumbing torch will melt your wire insulation. Use a precision heat gun like the Milwaukee M18 Cordless Heat Gun (2688-20) equipped with a reflector nozzle. This allows you to evenly shrink the adhesive terminals without scorching the GXL jacket.
- Circuit Tester / Multimeter: The Klein Tools MM400 digital multimeter ($50) is essential for checking voltage drop under load. For quick plug verification, a dedicated Tekonsha 7-Way Tester ($25) instantly identifies miswired pins on the tow vehicle side.
Routing, Loom, and Physical Protection Materials
Once your harness is built, it must be protected from road debris, exhaust heat, and moving suspension components.
Split Loom vs. Solid Conduit
Standard corrugated split loom is acceptable for interior or protected tongue routing, but it traps water and dirt against the wire. For the main undercarriage run, use nylon braided sleeving (like Techflex) or flexible aluminum conduit near heat sources. If you must use split loom, drill small weep holes at the lowest points so trapped water can drain out.
Fastening Hardware
Do not use standard nylon zip ties; UV radiation will make them brittle in one summer. Use UV-resistant black zip ties (minimum 50 lb tensile strength) or, better yet, stainless steel P-clamps with rubber cushions bolted directly to the frame. Where the wiring harness passes through any metal bulkhead or frame hole, you must install a rubber grommet to prevent the metal edge from sawing through the wire jacket over time.
Troubleshooting Common Material and Installation Failures
Even with the best materials, improper installation techniques can ruin a trailer wiring harness. Here are the most common failure modes and how to avoid them:
- The 'Ground Bounce' Effect: If your trailer lights flicker or the brake controller shows an overload error when hitting bumps, you have a ground bounce. This happens when the ground wire is bolted to a rusty frame point or relies on the hitch ball. Fix: Sand the frame down to bare, shiny metal, apply a star washer for a bite-connection, and coat the finished ring terminal in dielectric grease.
- Brake Controller 'SH' (Short) Errors: This is almost always caused by a pinched brake wire near the axle. When the suspension compresses, the wire is crushed against the axle tube. Fix: Route brake wires above the axle tube and secure them with P-clamps at least 4 inches away from any moving suspension parts.
- Melted 7-Way Plugs: If the plastic housing of your 7-way plug is melting, you have high resistance at the blade connections, usually due to bent pins or lack of dielectric grease causing micro-arcing. Fix: Replace the plug head, ensure the blades are perfectly straight, and pack the back of the plug with silicone sealant to prevent moisture ingress.
For more complex diagnostic scenarios and specific pinout diagrams, the etrailer wiring FAQ database remains an invaluable resource for cross-referencing OEM tow vehicle wiring anomalies.
Final Thoughts on 2026 Trailer Wiring Standards
Investing in GXL tinned wire, adhesive-lined heat shrink terminals, and ratcheting crimp tools will increase your upfront material cost by roughly $80 to $120 compared to a big-box store kit. However, this investment eliminates the need for annual troubleshooting, prevents catastrophic brake failures on the highway, and ensures your trailer electrical wiring outlasts the trailer itself. Treat your trailer harness with the same respect you would a marine vessel, and it will perform flawlessly in any condition.